Editor’s Key Takeaways: Effortless Photo Organization: Strategies for All Photographers
Organizing photos is an essential but often tedious task for photographers. This blog post offers two main strategies for photo organization tailored to different types of photographers, from hobbyists to professionals.
- Where to Start When Organizing Images: Introduction to the importance of organizing and the two different strategies based on the photographer’s level.
- Programs for Photo Organization: Overview of digital asset management software that can help streamline the organization process.
- Organizing Your Photos: The Simple Method: A straightforward approach for hobbyists that involve basic file handling without specialized software or extensive sorting.
- Organizing Your Photos: The Advanced Method: Detailed steps tailored for serious photographers, involving dedicated software and in-depth culling and rating processes.
- Get Those Photos Organized!: Encouragement to start organizing and maintain a disciplined workflow.
- How to Organize Photos FAQ: Answers to common questions about photo organization methods and tools.
By following these strategies, photographers can efficiently manage their photo libraries, ensuring easy access to their best shots and protection against data loss.
Introduction
Let’s be honest: Most photographers hate organizing their images. Sorting, culling, rating, and tagging; it’s enough to put anyone to sleep.
But while file organization isn’t a whole lot of fun, it’s an essential part of any photographic workflow. If you don’t keep your images organized, then you’ll struggle to identify your best photos for sharing and printing. You’ll also fail to find specific photos when you need them (when a client comes calling, for instance). And you won’t be prepared for that worst-case scenario when your hard drive fails and all your beautiful images disappear.
Now, there’s no single best way to organize photos, and the specifics depend on your personal preferences, your requirements, and your digital asset management software. However, I do have a few methods that are basically guaranteed to make your photo catalog both orderly and accessible. And they work for pretty much any type of photographer – so whether you’re a beginner, an enthusiast, or an advanced shooter with hundreds of thousands of files, I’ve got you covered!
Table of Contents
Here’s Where to Start When Organizing Images
In this article, I offer two broad strategies for organizing your photos.
The first is designed for hobbyists and casual photographers. It doesn’t require an image organization program, and it won’t involve any photo ranking or culling (i.e., you won’t need to sort the best photos from the mediocre and bad photos).
The second strategy is designed for serious photographers and professionals. You’ll need a dedicated digital asset management program, and you’ll spend significant time evaluating and sorting your photos.
Both strategies work well, but they’re meant for different types of shooters with different experience levels. So pick the option that makes the most sense for you!
Programs for Photo Organization
Whether you’re a casual photographer or a professional, you’ll want to at least consider some type of photo organizational program. These tend to be relatively affordable, and they’ll help tremendously when sorting your images.
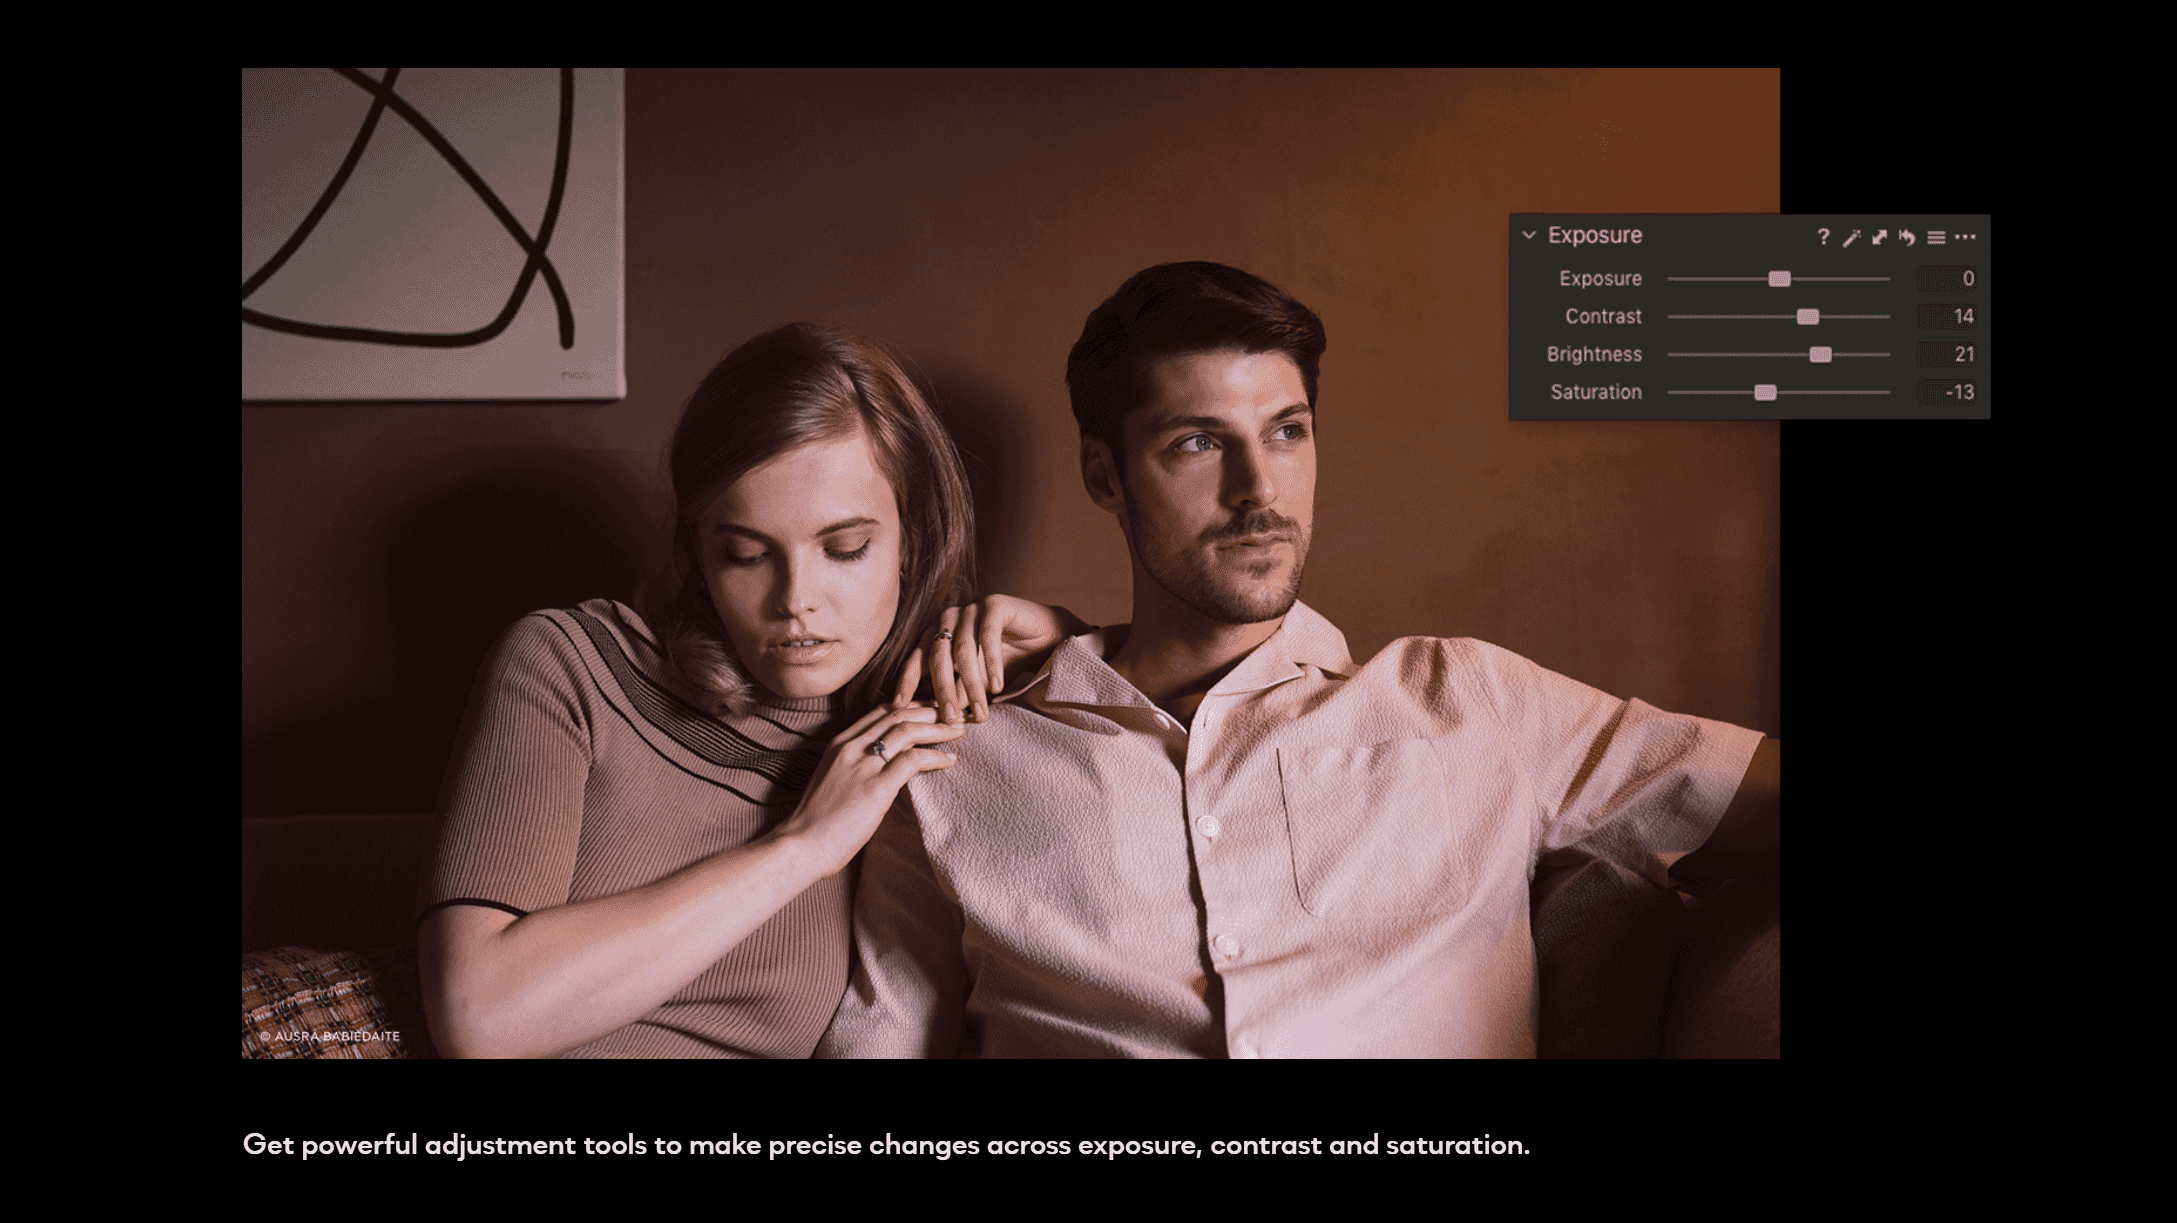
With an organizational program (also known as a digital asset management program), you’ll be able to separate out images, rank them according to quality, add keywords, and more. Most DAM programs allow for at least basic photo editing, so you can organize and enhance your photos in the same place.
Now, the industry standard for organizing images is Adobe Lightroom, which allows for a tremendous balance of organizational comprehensiveness and ease of use.
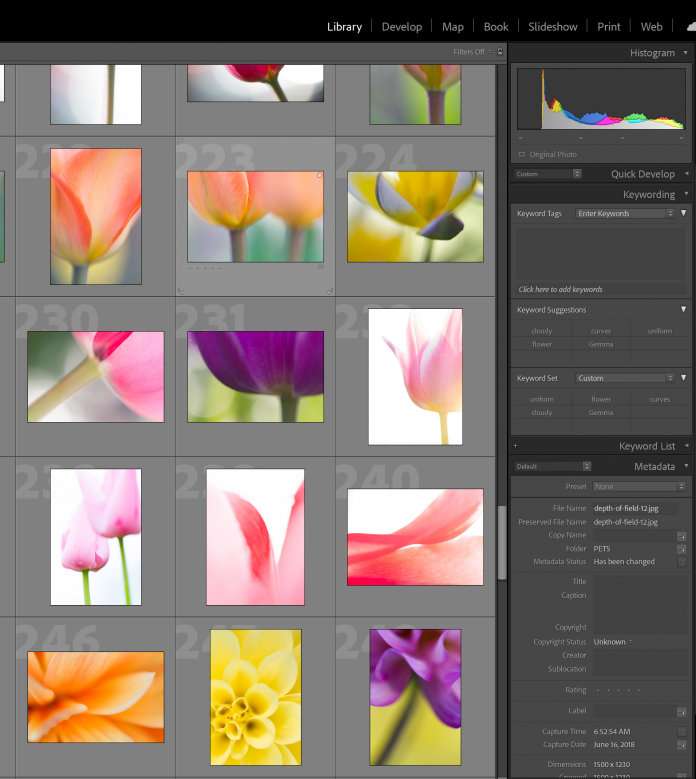
Plus, you can transition rapidly between Lightroom’s organizational module and its editing module, which saves time and keeps everything generally neat and clean.
I’d recommend Lightroom as a DAM program for pretty much everyone, including beginners; it’s easy to use, but it’s also very sophisticated. However, if you shoot professionally, another good option to check out is Capture One Pro.
Organizing Your Photos: The Simple Method
If you’re a casual photographer or someone simply hoping to get your photos in order, then this is the method for you. It may take a bit of time, but it’ll be worth it in the end.
Step 1: Gather All of Your Images
Any good photo organization method starts here: Actually gathering all of your images in one place.
This includes all digital images, as well as all printed images. So track down any prints that you’re interested in organizing. Also grab any memory cards, backup hard drives, photos off your phone, etc.
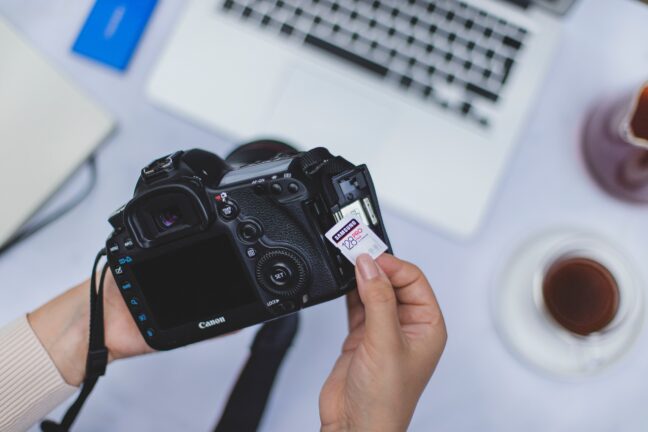
I’d recommend checking your old camera bags for memory cards. Check your old cameras, too; you might have an SD card or two hiding in a card slot! Also, check any old computers and flash drives you have in your possession.
Finally, bring all of the images together into one spot.
Step 2: Upload All Your Images to a Single Hard Drive
You’re going to need a large hard drive for this one, especially if you’ve been taking photos for a while.
If your computer hard drive doesn’t offer enough space, then I’d recommend purchasing an external hard drive; you can plug one of these into your computer via a USB port, then transfer all your photos.
(How big of an external hard drive should you get? That depends on the number of photos you have! But a one- or two-terabyte drive won’t cost too much, and it’ll generally give you plenty of room for expansion.)
Note that if any of your images are prints, you’ll need to scan them onto your computer.
Step 3: Create a Folder Structure Based on Your Needs
Your folder structure will be the core of your organizational strategy, so you must get it right.
Now, I’m going to discuss image structures and hierarchies that you can create on your desktop using basic folders. However, if you’re using a digital asset management program (discussed above), then you can recreate the same thing, just within the software.
There are two basic methods I recommend for creating folders:
1. The Year-Month System
Start by creating a folder for every year up to the present. Then create a set of subfolders within each year folder; each subfolder should correspond to a month in which you took photos.
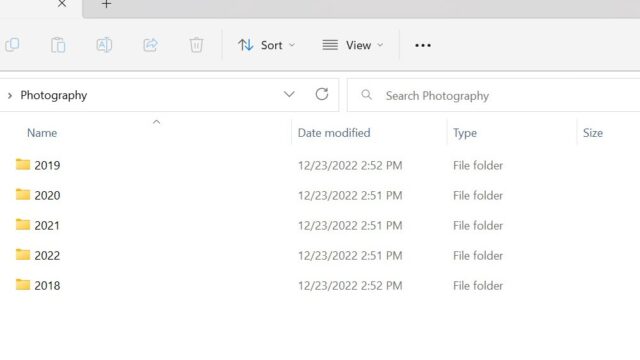
This system is easy to implement because most photos include date data. Simply drag and drop photos into the right subfolder. Then, at the end of each month, create a new subfolder and add the photos from the last 30 days.
This is the system I suggest for casual photographers. If you don’t plan on creating any sort of portfolio, keeping your images sorted by date makes them relatively easy to look back through. If you’re searching for a photo taken the previous year, for example, you can quickly hone in on a couple of possible months, skim through them, and find the photo.
There are also modified versions of this method where you create subfolders within the month folders that correspond to events (e.g., Florida vacation and Sister’s wedding). Alternatively, you can create folders within the month folders that correspond to specific dates.
2. The Topic System
This method takes more work than the Year-Month system I shared above, but it’ll keep your photos nicely organized and works especially well if you frequently post images to a portfolio website or social media.
Here’s how the topic system works:
First, skim through all your photos and identify any broad categories. Then create a folder for each of these categories. (For instance, you might create a folder for scenic images, another folder for flower images, another folder for family images, etc.)
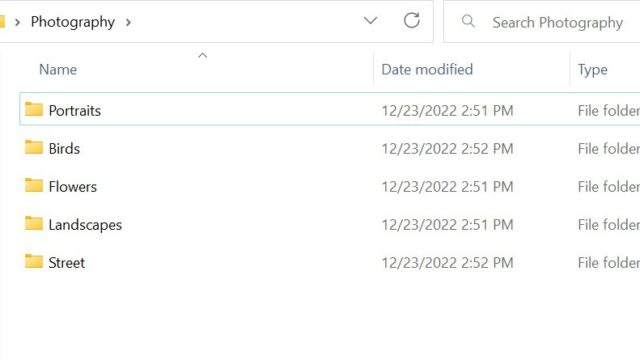
Then sort your images into each of these folders by topic. If you have lots of files, you might consider creating subfolders to further sort by year or by subtopic (e.g., beach landscapes, mountain landscapes, desert landscapes, etc.).
When you’re done, you’ll have a true portfolio at your fingertips! Though note that you will need to work harder to locate specific photos because you won’t have the neat year-date system discussed above.
Step 4: Back Up Your Photos
It’s the final step of any image-organization process: Backing your images up. Because while images on your computer will generally stay safe, things can happen.
For instance, your computer could get viruses. Your hard drive could fail. Your room could get flooded. There could be a fire. And in each case, you’d risk losing all your precious images.
So you should always, always, always have at least one backup of your photos. (I’d really recommend having two backups at all times.)
Many photographers like to use two different backup types:
- A physical backup (e.g., an external hard drive)
- A cloud-based backup
This approach will help diversify your photo storage methods. And while no system is foolproof, it can work quite well. At the very least, make sure you have a physical backup. External hard drives aren’t very expensive these days, and they’re worth every penny!
Organizing Your Photos: The Advanced Method
If you’re a more serious photographer, one who needs to cull and sort images based on quality, then I’d recommend using this method when organizing your photos.
Step 1: Gather All Your Photos in a Digital Asset Management Program
When I say, “All your photos,” I mean all your photos! Grab images from your hard drive, from your memory cards, from your backup hard drives, from your flash drives, from your old computers, and more.
Then put them all on a hard drive of some sort (either your computer’s hard drive or an external hard drive) and import them into a DAM program such as Lightroom.
Note: The importing process may take a while. If you have thousands of photos, your computer will need to do a lot of work, so don’t necessarily expect it to be done within minutes.
Step 2: Set up a Folder Structure Based on Sessions, Topics, or a Combination of the Two
Now it’s time to create your organizational hierarchy. Depending on your DAM program of choice, you’ll have various organizational “buckets,” such as folders, collections, or albums. However, I like to think of all these as folders (just with a few extra, customizable options).
When it comes to choosing a folder structure, I’d recommend one of two options.
- Organize based on topic (e.g., create a folder for landscapes, a folder for portraits, and a folder for street shots). Then create a second folder within each of those folders, one that’s designed to hold the “best” files for each topic.
- Organize based on the session (this works well for photographers who frequently do client shoots). Simply create a top-level folder for each session (e.g., Product Shoot 10/2). Then within each folder, create a subfolder for your best photos. (You can also create other subfolders for photos that you’re currently editing as well photos that you’ve rejected.)
Personally, I use Option 1 because I don’t do session-based shooting frequently enough to justify the second type of workflow. But I do find it useful to combine the topic- and session-based organization, so that you create session folders within the high-level topics.
Using such a strategy, you might have a landscape folder. Then within the landscape folder, you would include subfolders labeled by date (and within those subfolders, a second subfolder for the best images).
Step 3: Sort Your Photos
Now it’s time to put your organizational structure to use. Simply take your images and sort them into the top-level folders based on the topic or the session.

This can be time-consuming, especially if you have thousands of images. But it’s very important. And it’ll feel good, too – like you’re taking a messy room and making it nice and clean.
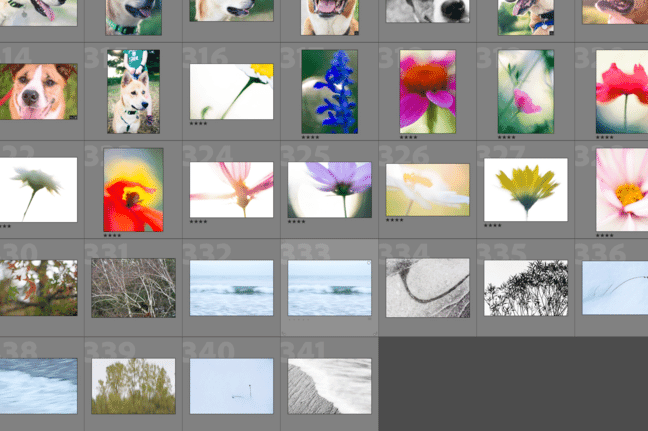
By the way, you definitely don’t need to go through every single photo in order to do a good sorting job. Instead, you can use image thumbnails to evaluate whole batches of images at once. Then you can drag groups of images into the right folders!
Step 4: Do a First Pass and Pick the Decent Images
Once you have all your images sorted, it’s time to do some culling.
Most digital asset management software includes some form of picking, which you can flag and reject images depending on their quality. So go through your images. And mark the best images as picks.
Don’t be choosy, however. Be very loose with your definition of “best.” This step isn’t about finding your top-notch images; instead, it’s about separating the decent images from the terrible ones.
If you come across images that are bad – for instance, they’re completely blurry or they’re far too underexposed – you can mark them as rejects.
Once you’ve finished this process, take all your picked images and move them into the “best” subfolder.
Step 5: Do a Second Pass and Rate Your Images More Carefully
Next, go into all your “best” subfolders, then go through the images again.
This time, use some sort of rating system. For instance, you might use stars, colors, or numbers (depending on your organizational program).
Make sure that only the absolute best, portfolio-worth images get the top rating. That way, it’s easy to find your best images for printing, uploading to your website, and posting on social media.
Step 6: Back Up Your Images Regularly
At this point, your photos should be organized. But you need to back them up, and you need to do it regularly.
It’s far too easy to lose images due to computer problems, theft, or natural disasters. So make sure you have at least one backup hard drive. I’d also recommend using some form of cloud storage as a second backup.

That way, you have your images in three places at all times. And if one – or both – of your backups fails, you always have a third copy just in case.
Get Those Photos Organized!
Now that you’ve finished this article, you should know precisely what you need to do to get your photos cleaned up and organized.
So get started! Don’t dawdle. And pretty soon, your image library will be so much neater. (It’s a wonderful feeling; I promise!)
Just make sure to give yourself plenty of time. Image organization can be a hefty task, so you shouldn’t expect to get it done in just a day or two.
How to Organize Photos FAQ
Do I need software to organize my photos?
No. It’s possible to create a nicely organized collection of photos with some careful sorting on your desktop. However, software will make photo organization a lot easier because you’ll be able to quickly move images from group to group without struggling to find them.
What’s the best photo organization software?
Lightroom is a great choice for photographers of all stripes, though professionals – especially those who do regular photoshoots – should also check out Capture One Pro.
How do you organize film photos?
If you have lots of film photos that need sorting, I’d strongly recommend investing in a good-quality scanner. Scan your film, get it all on your hard drive, and then start organizing (using the methods I share in the article).
How do you sort thousands of pictures?
Start by sorting based on the date. From there, you can sort the images into specific outings – or if you prefer, you can sort them by genre (landscape photos, portrait photos, macro photos, etc.).