Editor’s Key Takeaways: Master Indoor Photography with These 15 Tips

Indoor photography can be challenging due to lower light conditions compared to the outdoors. However, by following these 15 tips, you can achieve stunning indoor photos.
- Use a Higher ISO: Increase your ISO to brighten your images but be mindful of noise.
- Wide Aperture Lenses: Wide apertures like f/1.8 or f/2.8 allow more light, improving exposure.
- Image Stabilization: Utilize lenses or cameras with stabilization to mitigate blur.
- Tripod and Remote: Keep your setup still to avoid camera shake.
- Burst Mode: When faster shutter speed is needed, burst mode can help capture sharp images.
- White Balance Adjustment: Adjust white balance to ensure proper color accuracy.
- Ambient Light: Use available light sources to enhance your shots.
- Best Time of Day: Shoot when natural light is abundant to get the best results.
- Artificial Light: Don’t hesitate to use artificial lighting for better illumination.
- Against a Window: Utilize windows as a backdrop to create interesting lighting effects.
- Composition: Pay attention to your framing and create compelling compositions.
- Embrace Shadows: Use shadows to add depth and dimension to your photos.
- Storytelling: Build atmosphere and tell a story through your images.
- Details: Focus on intricate details to enhance the overall image.
- Post-Processing: Utilize editing software to refine and enhance your indoor photos.
By incorporating these tips, photographers can overcome the challenges of indoor photography and produce images with clarity and impact.
Introduction
While the outdoors can be a dream, indoor photography can be the bane of any photographer’s existence. But it doesn’t have to be!
Although your camera’s sensor doesn’t see as well as your eyes, there are some tips, tricks, and workarounds for this limitation. So grab your camera, head inside, and read our 15 indoor photography tips to get you going!
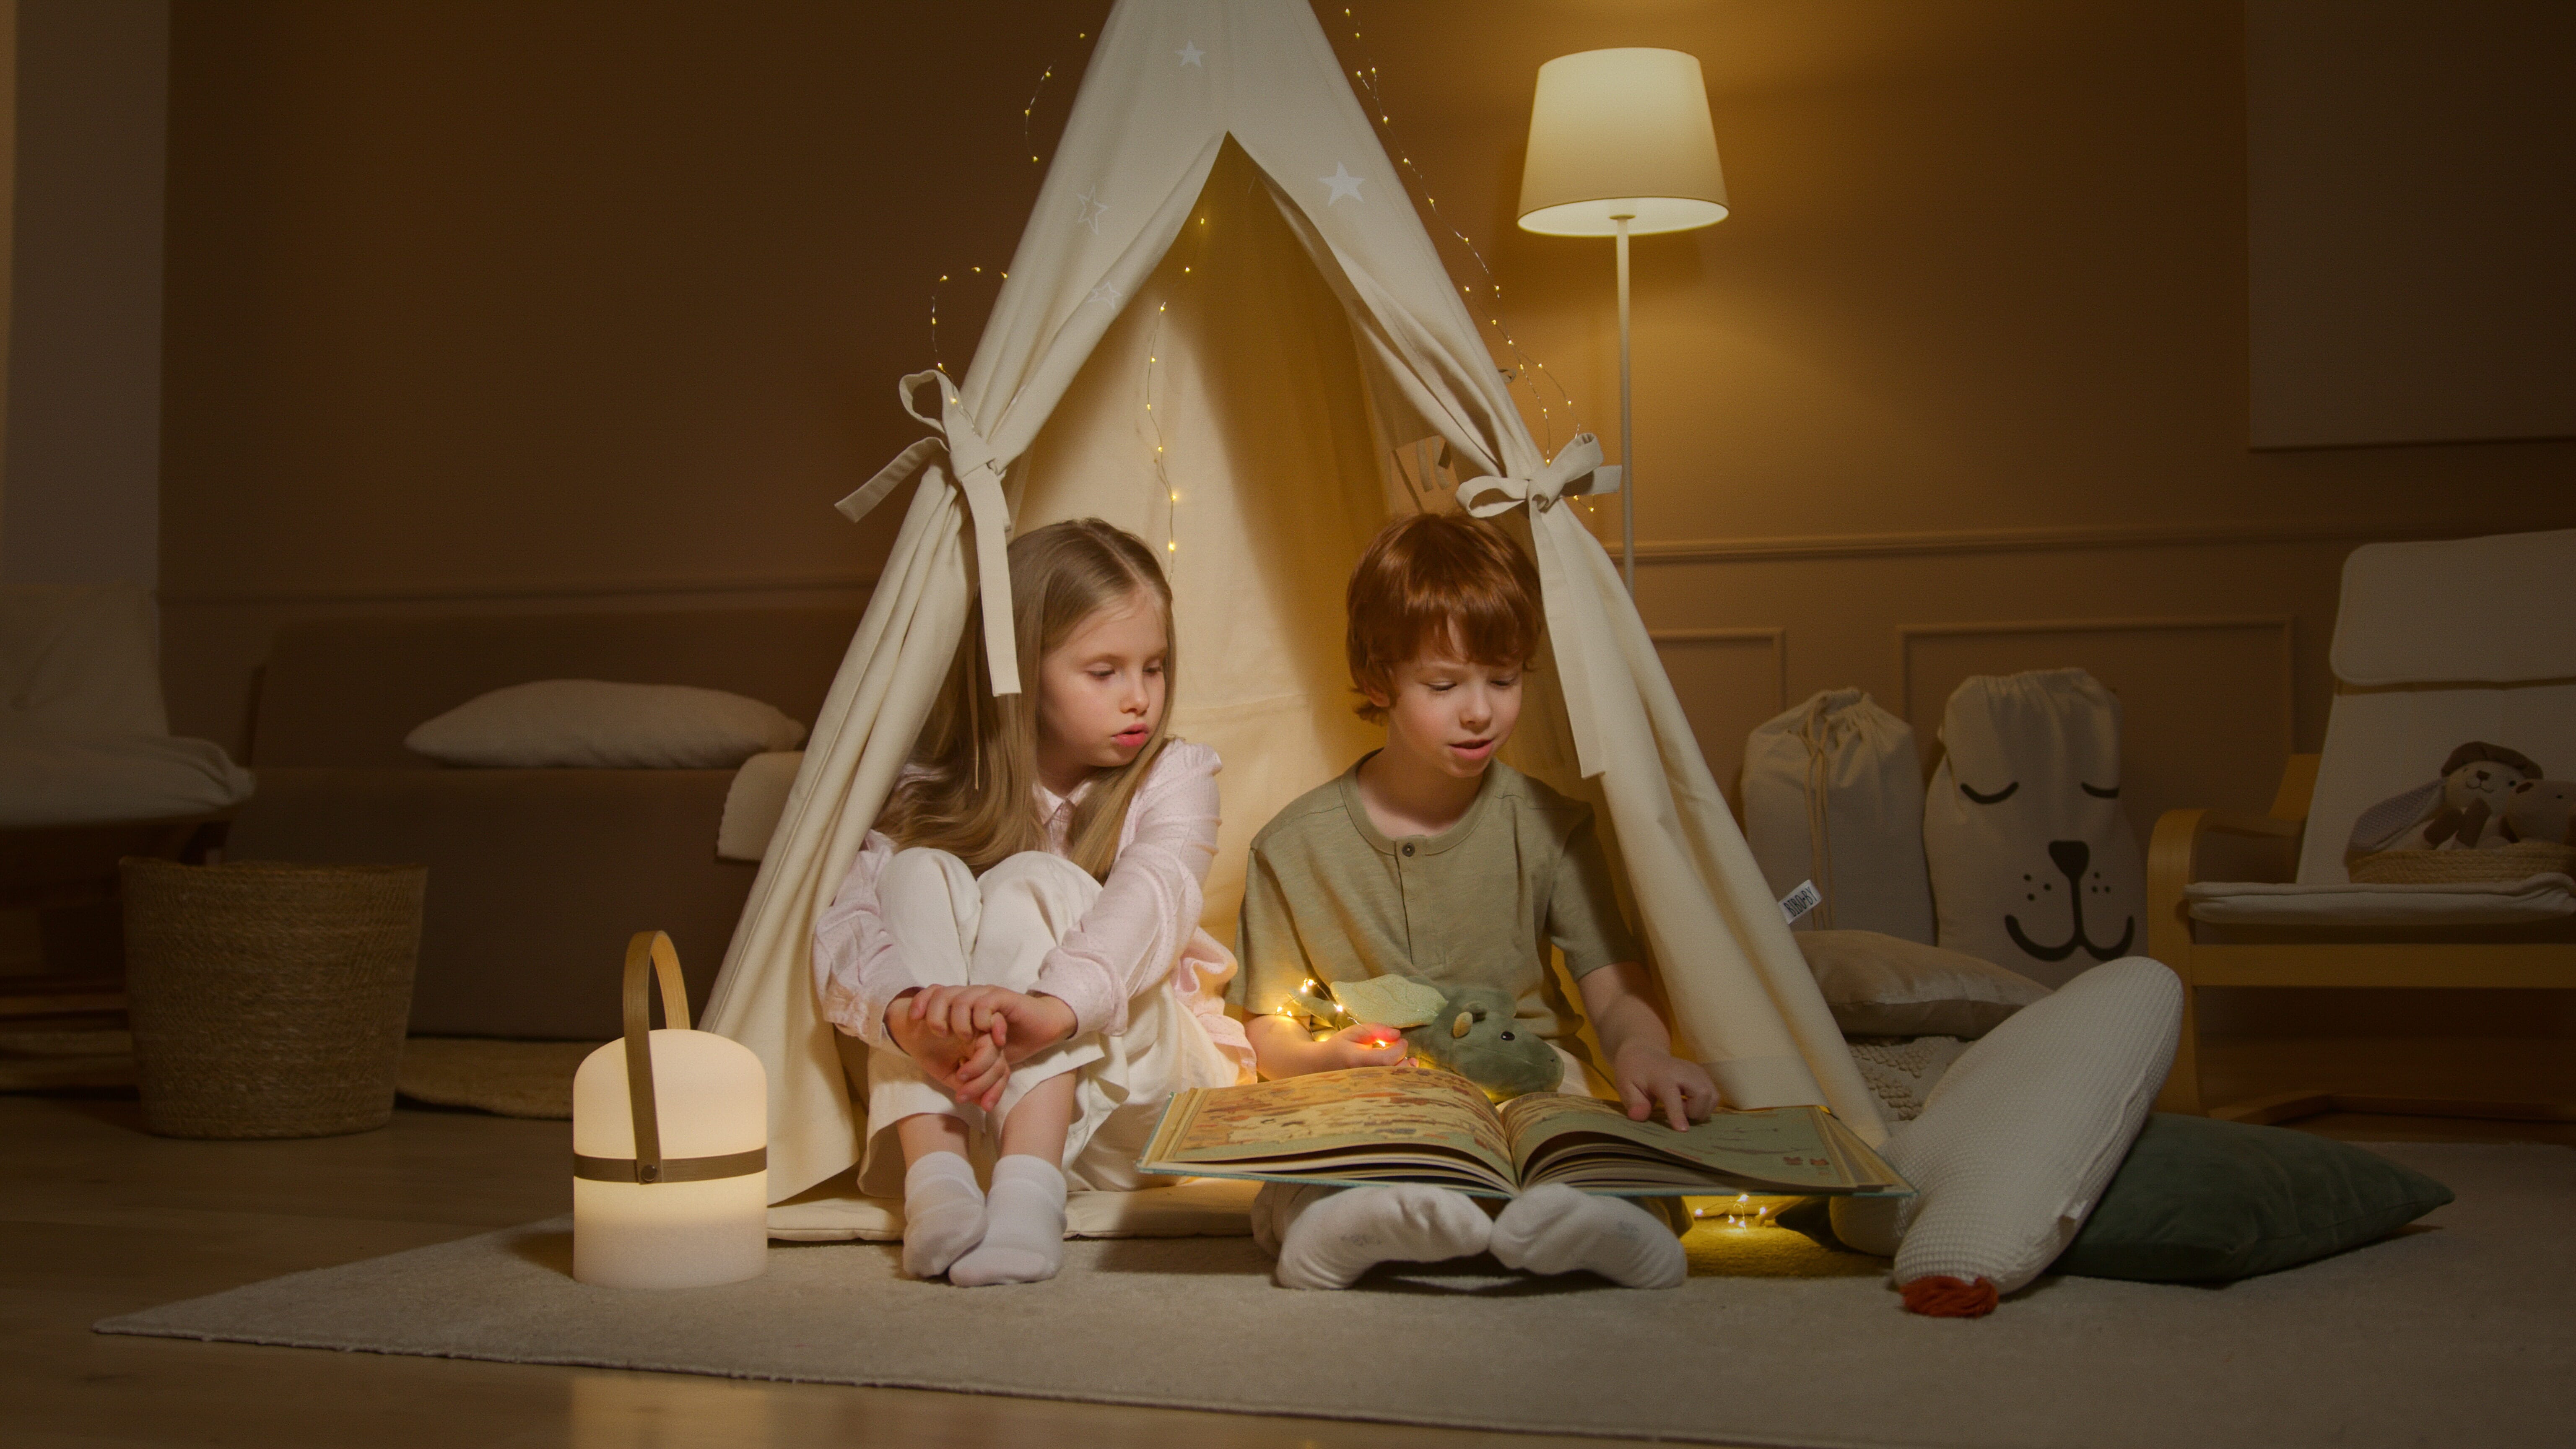
Indoor Photography Tips:
1. Use a Higher ISO for Beautiful Exposures

Most photographers refer to ISO as the camera sensor’s sensitivity to light. While this isn’t exactly right, it is a useful way to think for the purposes of indoor photography.
If you’ve taken a photograph indoors at the base ISO of 100, you’ll likely find that the image is rather dark. The quickest and easiest remedy is to increase the ISO, which then increases the brightness of your photograph tremendously!
Unfortunately, using a high ISO does come with a catch. Since the ISO is actually increasing the brightness of the recorded pixel, sometimes it increases this too much, and you start to see specks in your photograph: dreaded noise! The goal is to keep noise to a minimum while still maintaining a proper exposure, so don’t push your ISO too high.
For indoor photographs of a room with just a lamp illuminating the area, ISO values above 3600 will likely be needed. For a room with window light, you can keep your ISO lower (around 300 or 400). Event photographers often keep their ISO set between 1000 and 8000.
Bonus tip: How high you can push your ISO depends on the type of camera you use.
Full frame cameras let you shoot at much higher ISO numbers than crop-sensor/APS-C cameras. This is because the full-frame sensor has a bigger surface area for the light to hit, therefore making the most of the light you have available! When deciding between cameras, compare images taken at the same high ISO to determine which camera has less noise.
2. Wide Aperture Lenses Can Save the Day
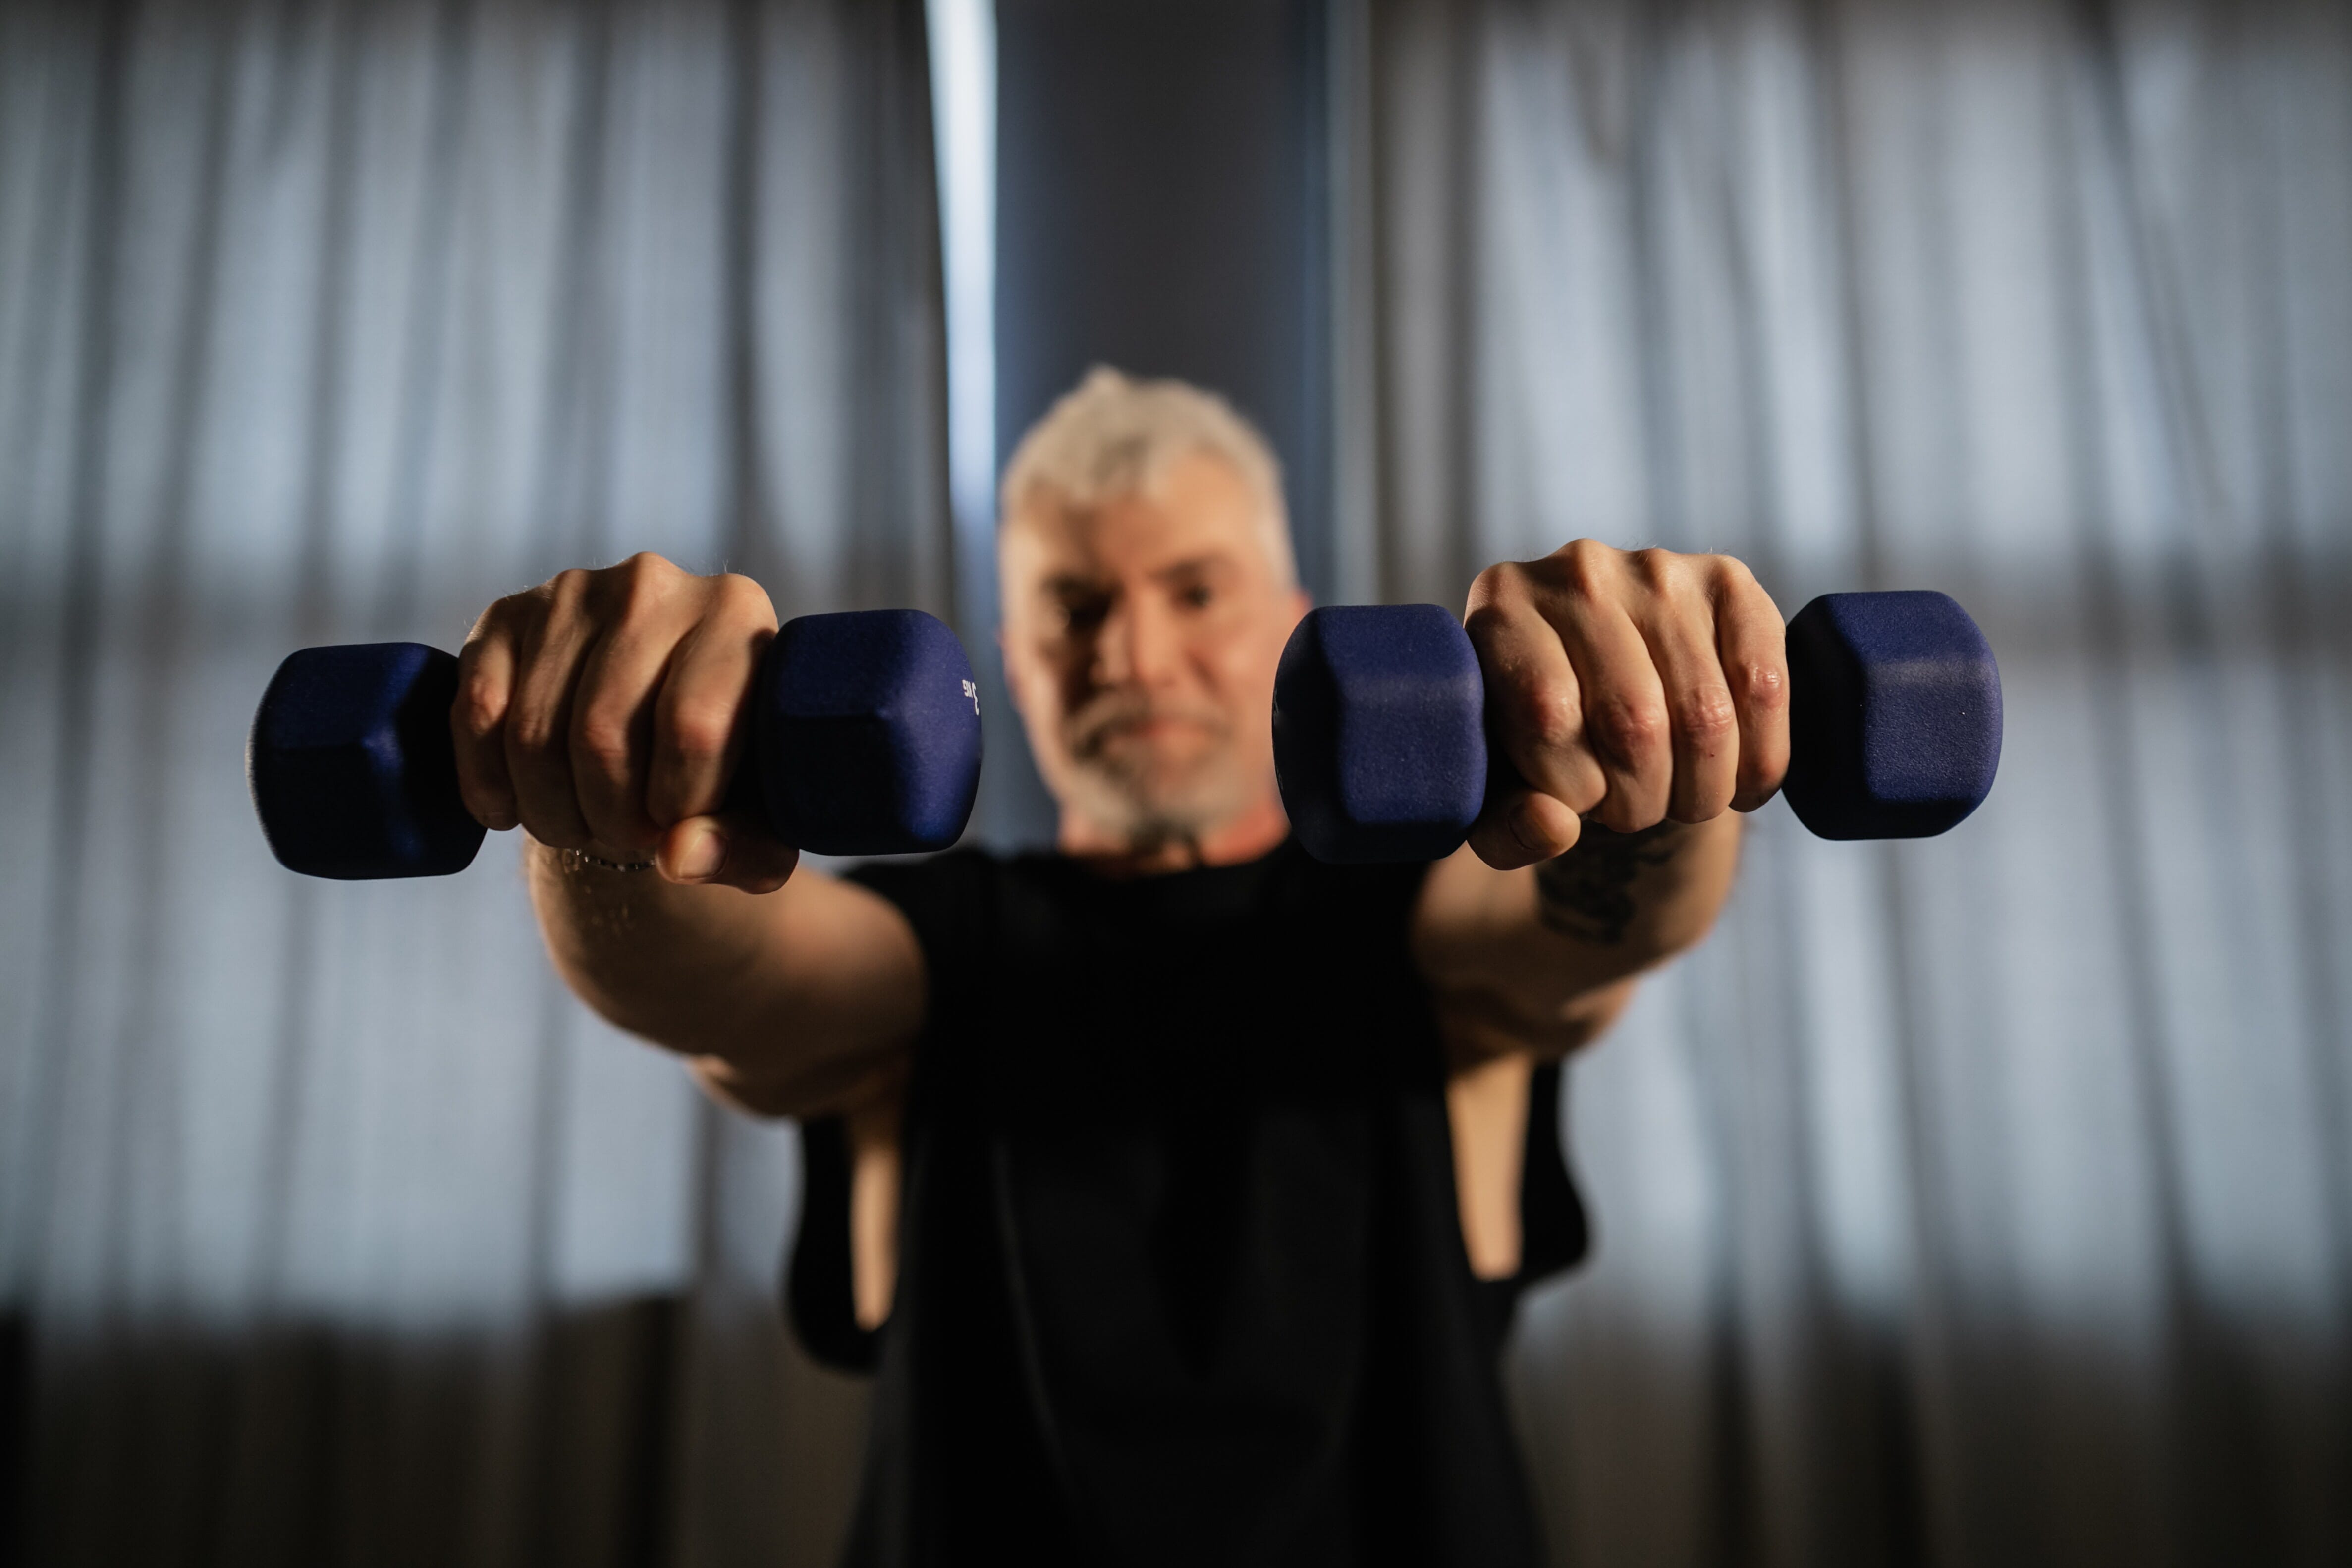
In order to keep your ISO numbers low and avoid as much noise as possible, you’ll need to adjust your aperture and shutter speed.
The aperture is a hole in the lens that controls how much light does (or doesn’t) hit your sensor.
For indoor photography, due to the general lack of light, you’re going to want a lens that has a wide aperture – ideally f/2.8 or wider, though f/1.2 is a real beauty for indoor photography and is the widest aperture you can get with an autofocus lens!
Aside from letting in light, the aperture has a secondary purpose: depth of field. Since you’re playing with wide apertures in order to let in as much light as possible, your depth of field will be shallow. This is great for indoor photography because a shallow depth of field allows the viewer’s focus to fall solely on the subject; the rest of the background just blurs away and becomes the atmosphere.
3. Use Lenses (or Cameras) with Image Stabilization
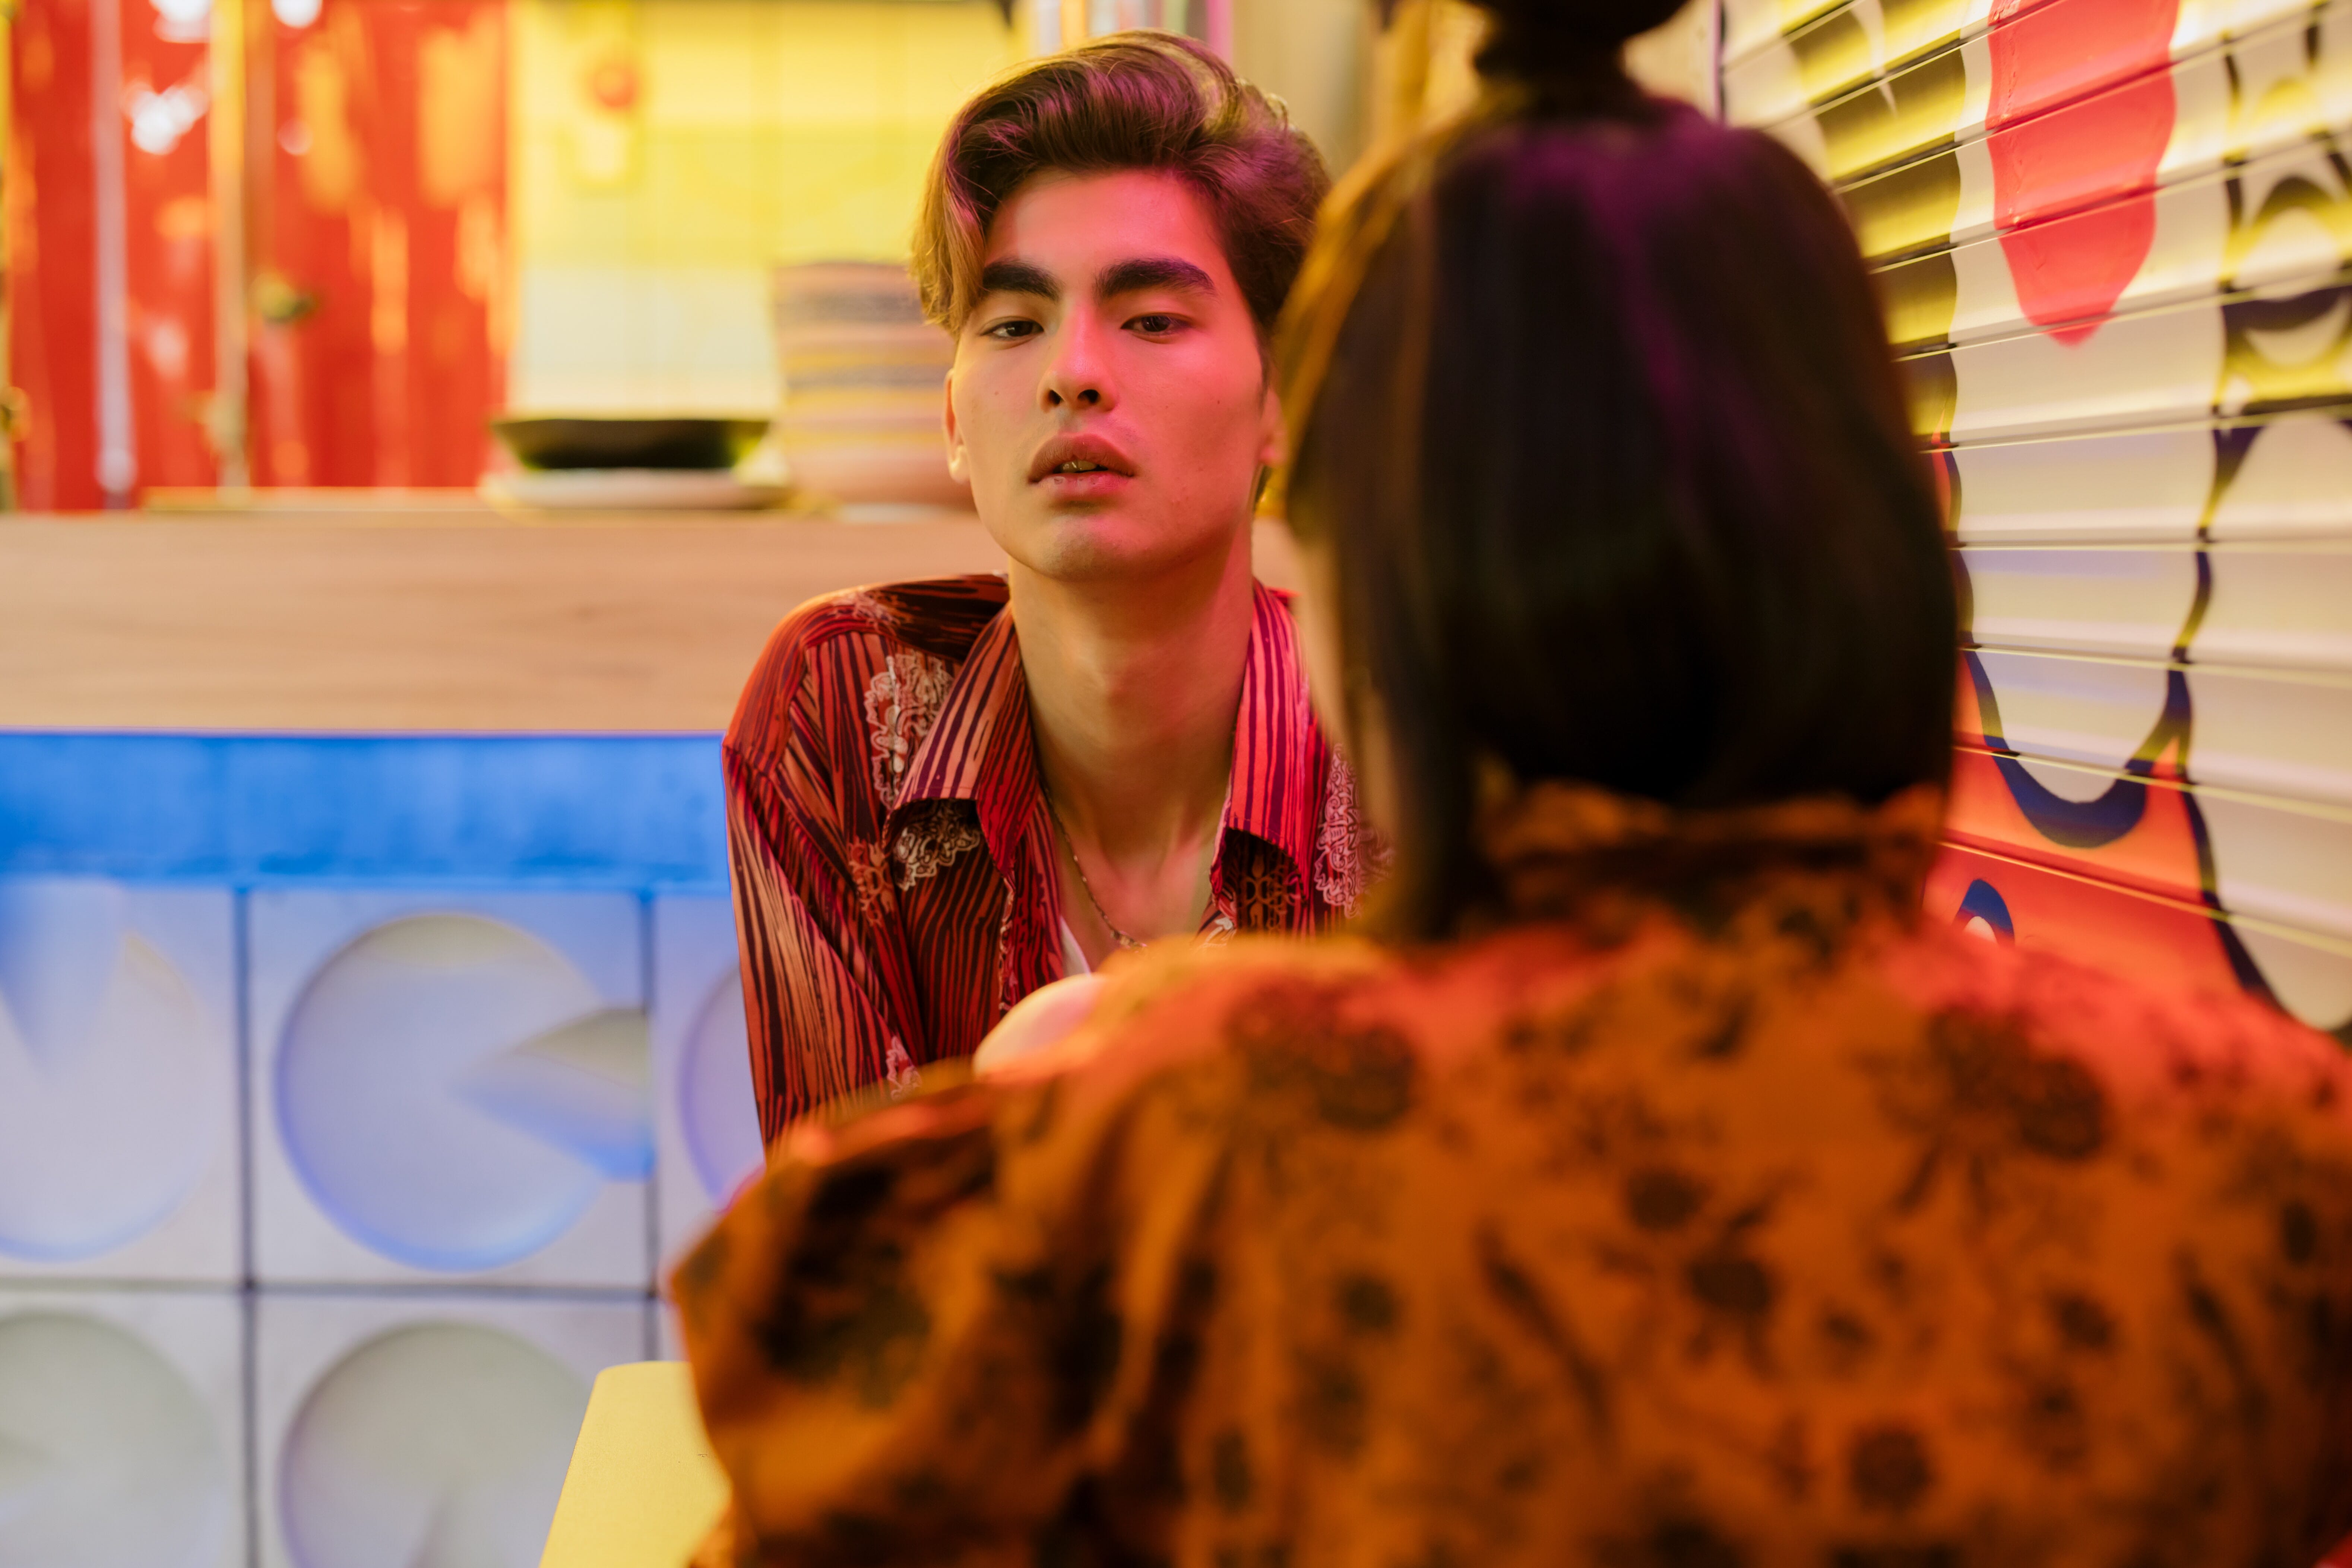
Your lens and camera combination may also have another nifty feature in it: image stabilization. Image stabilization is a technology in your gear that helps reduce motion blur caused by camera shake.
What this allows you to do is keep the shutter speed low (while still capturing sharp shots!).
For indoor photography, you want to keep your shutter speed slower than it would be if you were outdoors in bright light. But if you need to go handheld with your camera, you should make sure that your slow shutter speed isn’t going to cause camera shake.
And an easy way to prevent camera shake?
Pick a lens or camera with image stabilization!
4. Keep Your Setup Still with a Tripod and a Remote
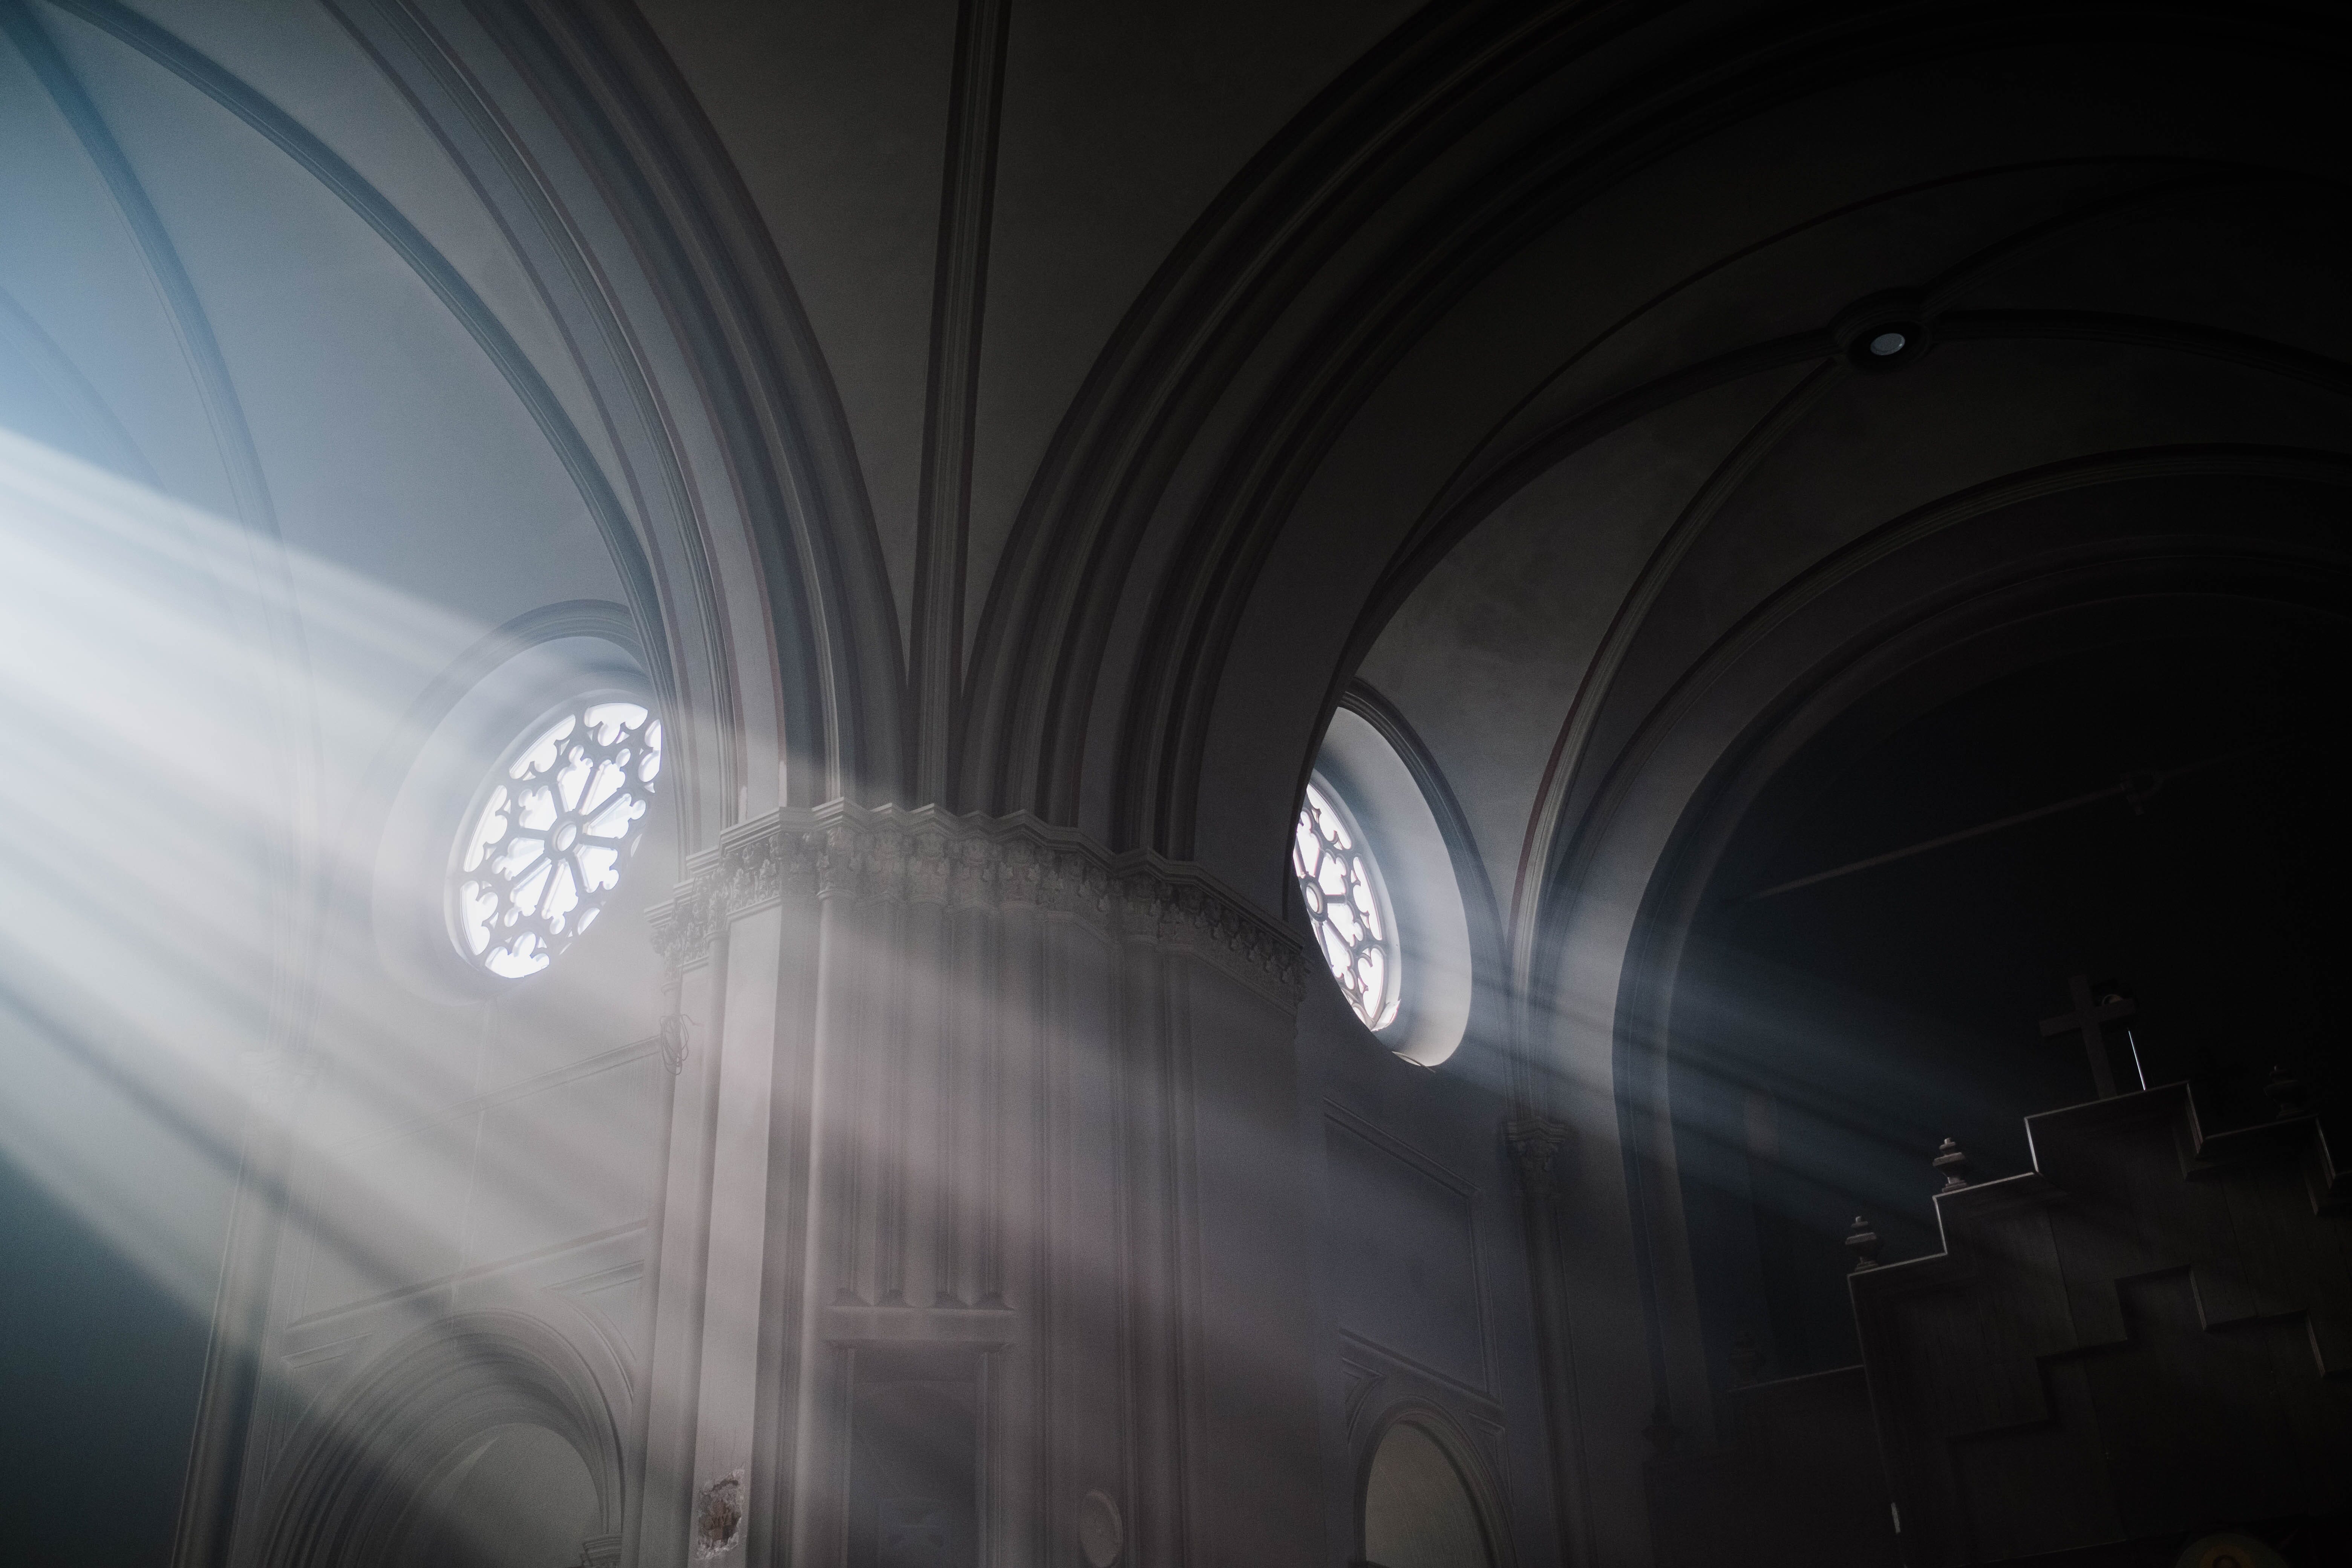
If you’re photographing in a really dark place, even image stabilization won’t help you. That’s where you need to invest in a tripod and a remote to work the shutter and take the shot.
By putting your camera on a tripod, you can set your shutter speed to a much slower number than if you were holding the camera. Add a remote release to trigger the shutter, and not even pressing the shutter button will impact the photograph!
And by slowing the shutter speed down, you can keep your ISO low and prevent noise from creeping into the image.
This is best for still life or interior photography as moving subjects will still cause a lot of blur.
5. If You Need a Faster Shutter Speed, Try Burst Mode
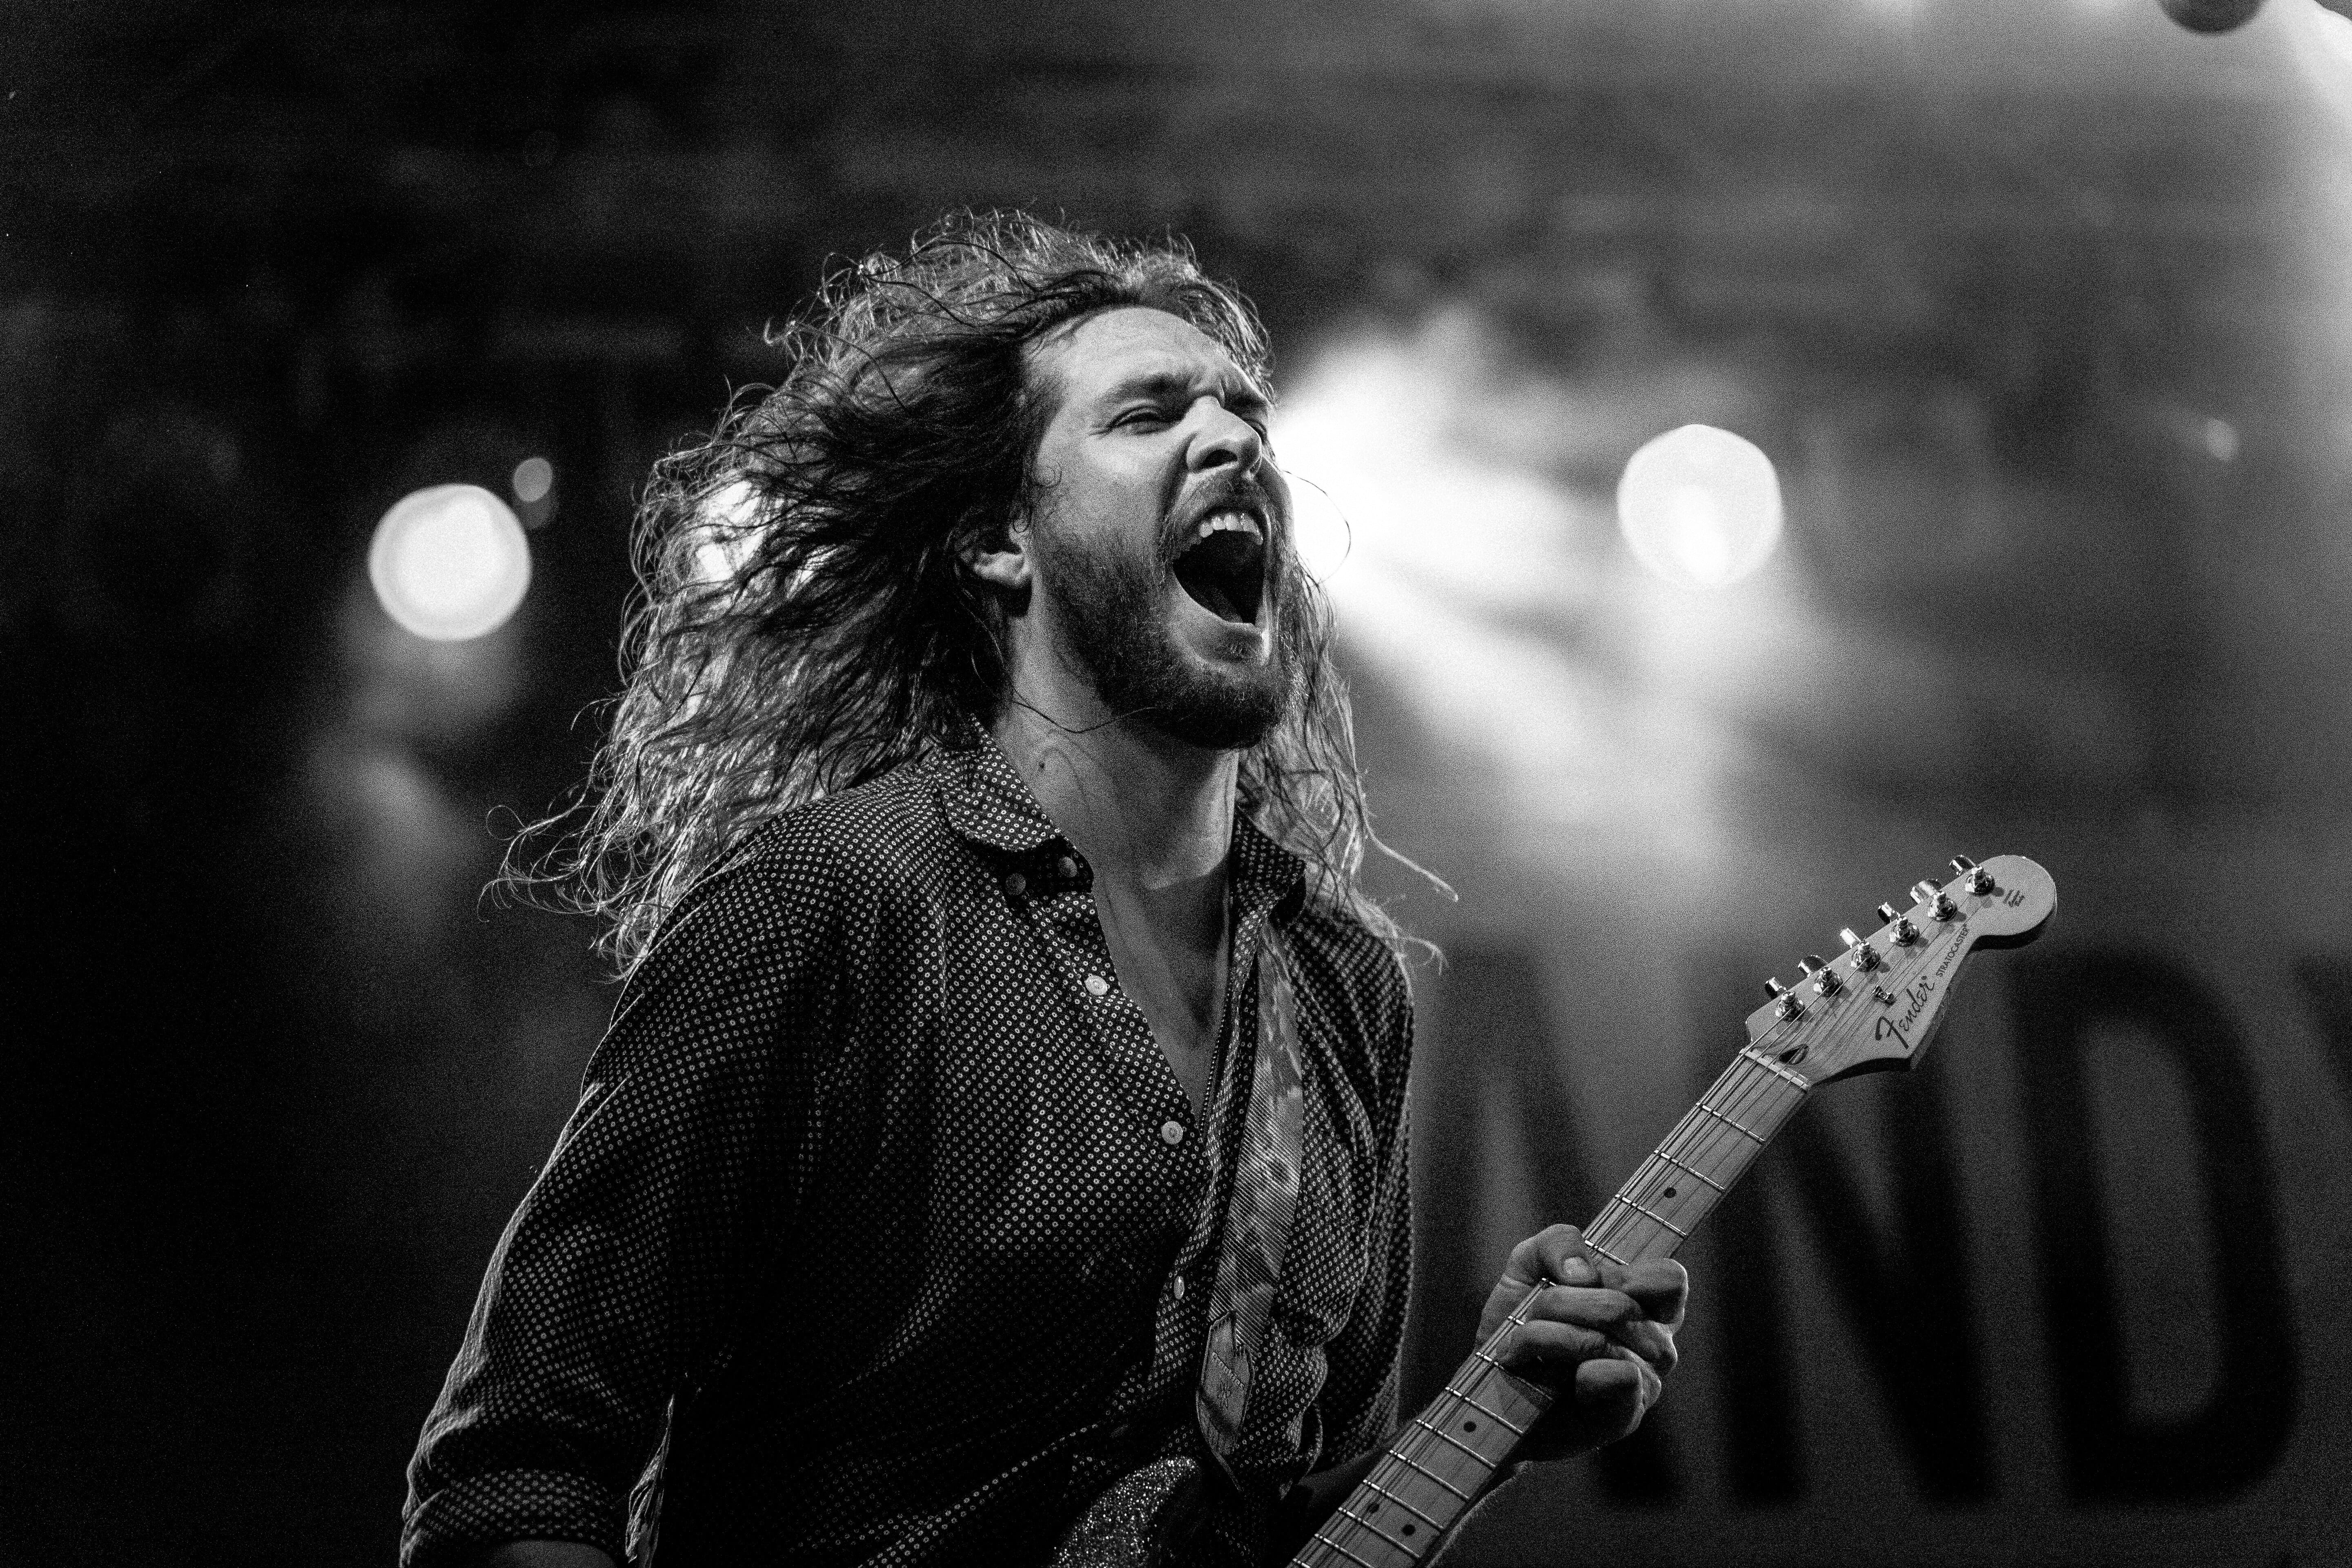
While a tripod is great, what if you want to photograph a moving pet or person? A slow shutter speed won’t help you there.
Here’s a little secret: You can remedy some slower shutter speeds by setting the camera up for burst mode or high-speed continuous shooting!
Burst mode allows you to take as many photographs as possible while your finger is pressing down the shutter button. This is where a camera’s frames per second (denoted as FPS) capabilities come into play. It refers to how many images a camera can capture per second.
Since a major goal of indoor photography camera settings is to prevent noise from creeping in, you can’t use a high shutter speed; this will force a high ISO that produces lots of noise.
However, if you have your camera pointed at your subject and you’re shooting at high speeds, at least a handful of the shots will be perfectly sharp and in focus, even at a slower shutter speed.
This is a big secret among concert and event photographers; in those venues, the light is low but your subject is full of movement and action.
Note that this works on shutter speeds around 1/60th of a second. Aything slower won’t be able to use burst mode to its fullest advantage because your camera will be too slow.
6. Don’t Skip Out on a White Balance Adjustment

If you’re finding that your indoor photography colors aren’t true to life, adjusting your white balance is the quickest and most effective remedy.
When you capture images indoors using the available light, sometimes the output of the lighting can look warm or cold (or straight-up weird, as with fluorescent lights). To bring the colors back to where you want them, you’ll have to change your white balance settings. The white balance neutralizes colors for a more authentic result.
Related Posts
By default, your camera’s white balance is set to Auto. But most DSLRs and mirrorless camera systems have preset white balance options. The ones that will likely be used most in indoor photography are the Tungsten/Incandescent, Fluorescent, and Shade white balances.
That being said, if you adjust your white balance with presets and the colors still don’t look right, you may benefit from creating a custom white balance.
For most cameras, all you need is something white in front of you. Aim your camera at this white reference point. Press the shutter button like you’re taking a picture. The camera will scan the color temperature of the light that hits the sensor and adjust the white balance.
7. Take Advantage of Ambient Light
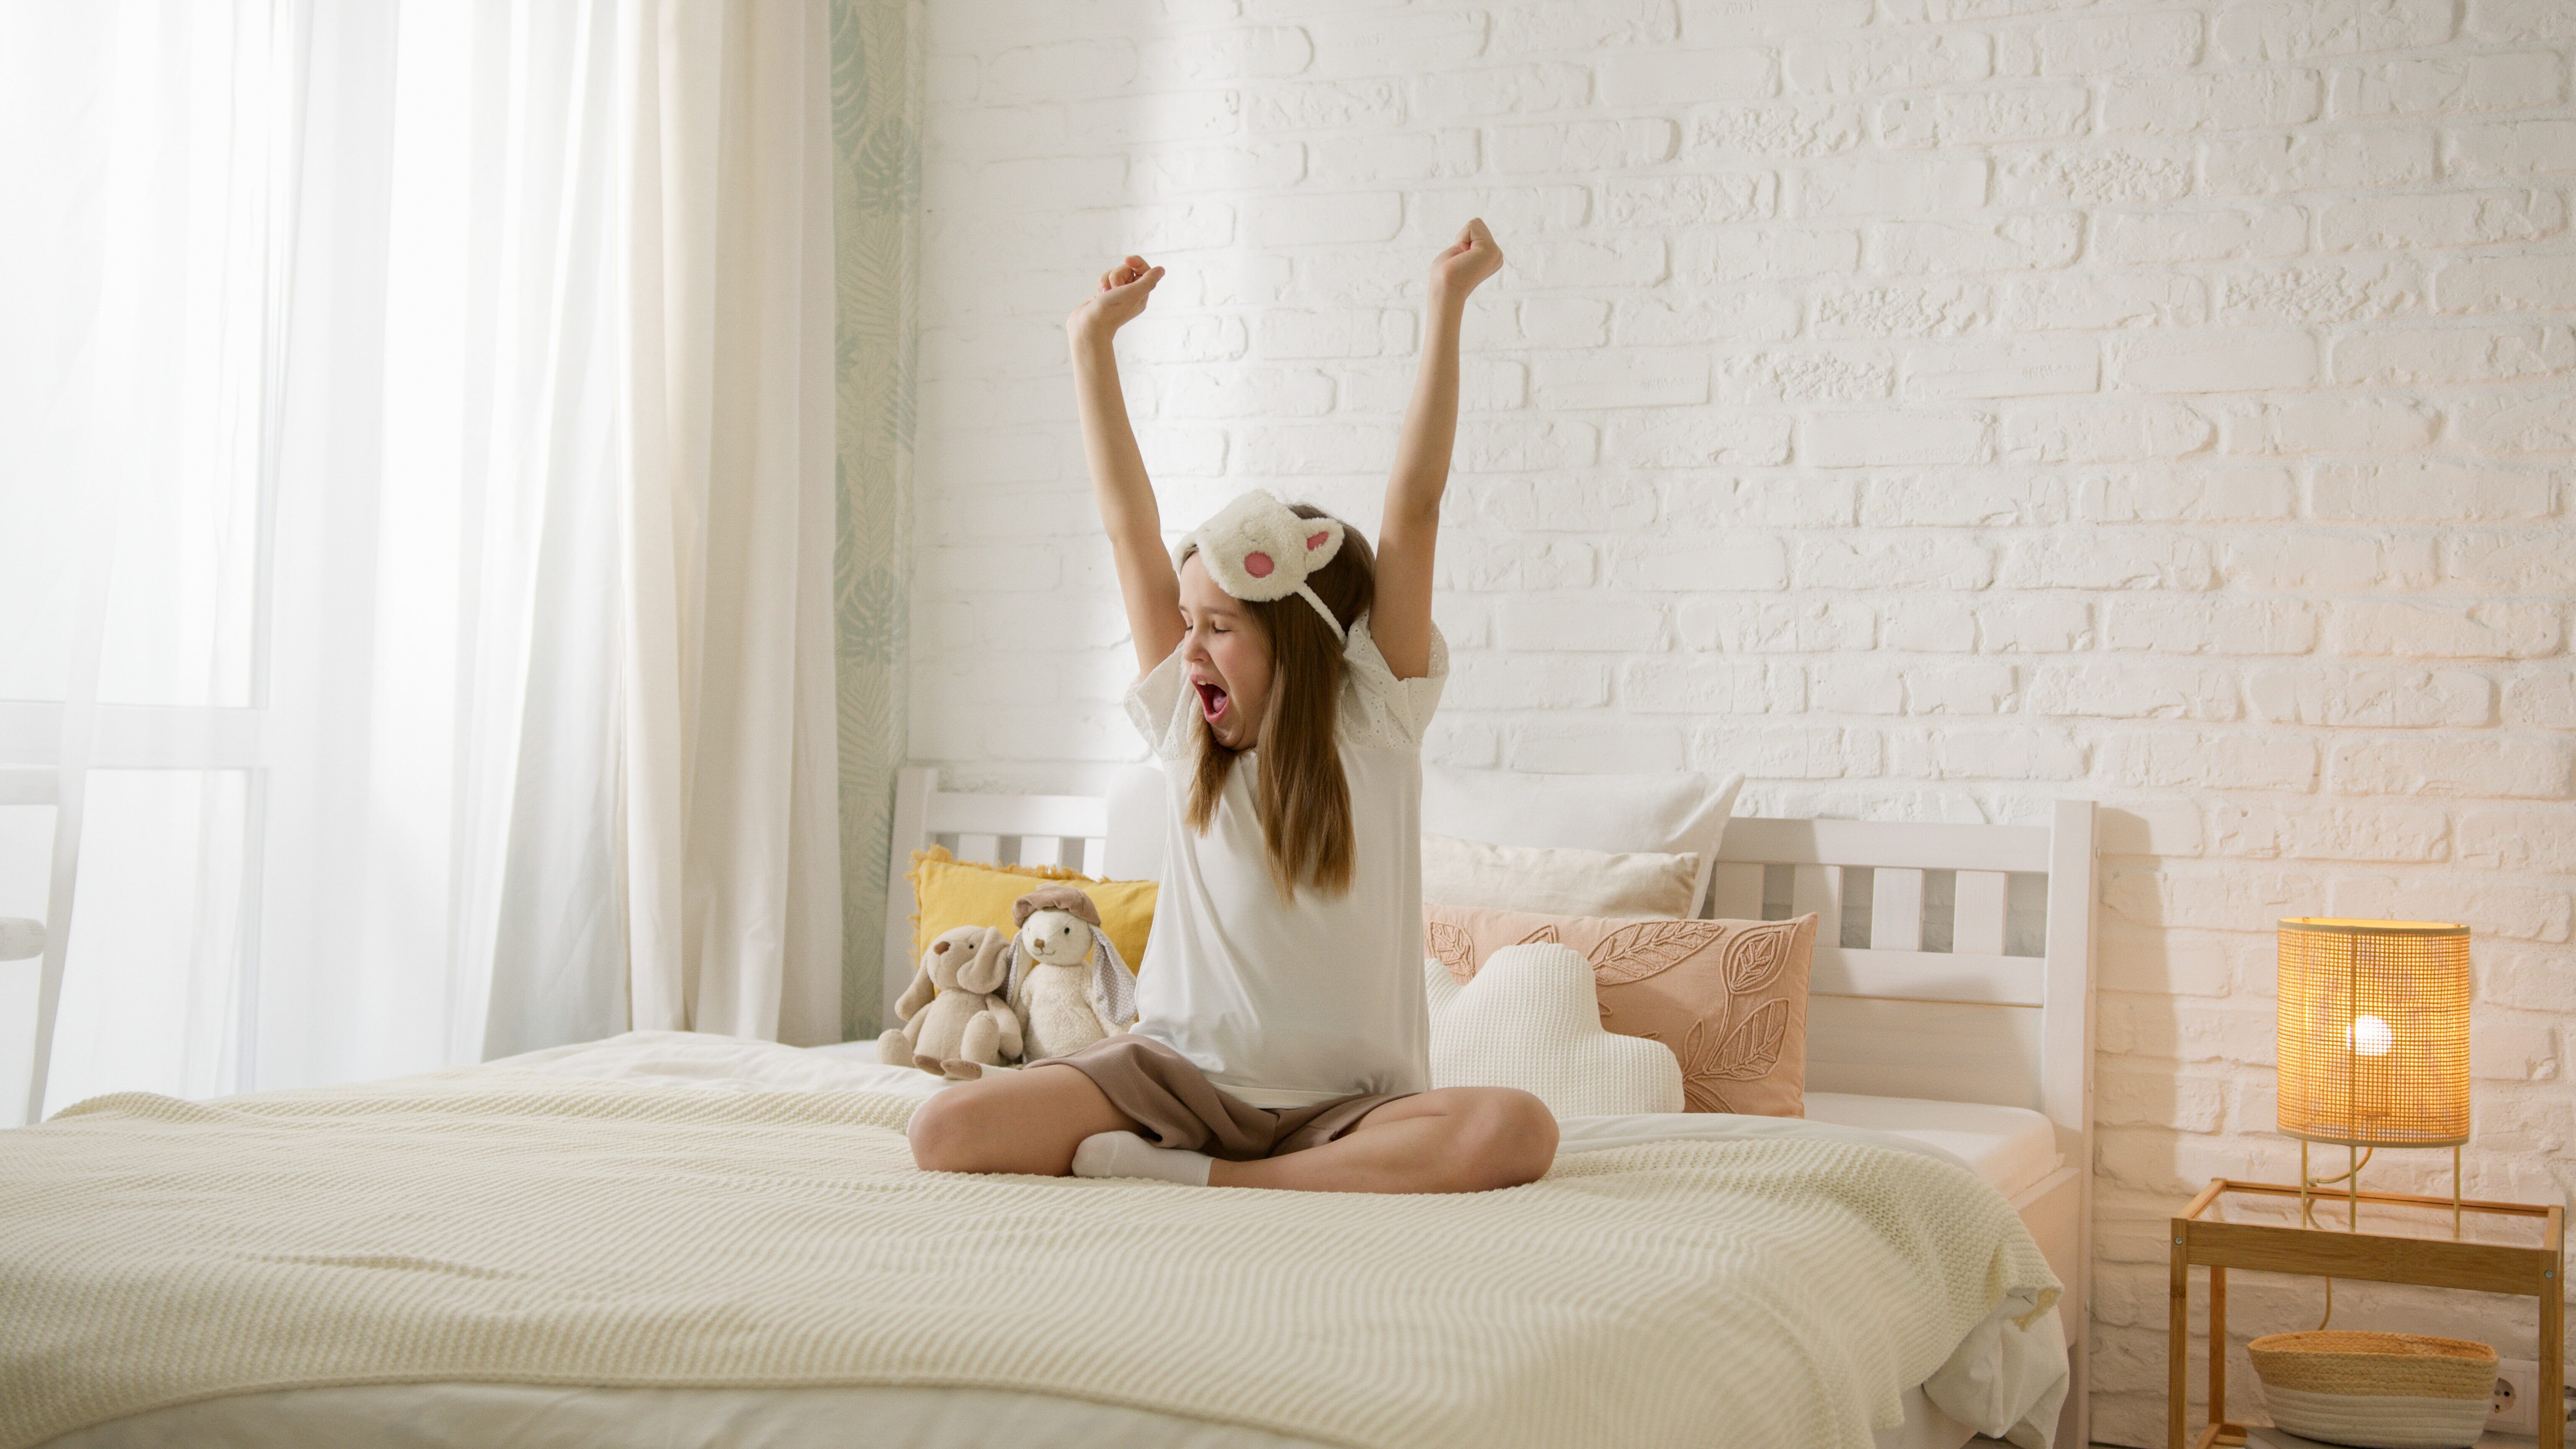
Ambient lighting refers to illumination from natural sources, such as a window or a lamp. Ambient lighting is excellent in indoor photography because it preserves the feel, intent, and genuine story of your setting!
The easiest and most effective ambient light is that of a window. In particular, if you’re photographing living subjects, position them near a window. If you have white or light-colored sheer curtains available, that can help diffuse the light from the window and provide a soft glow, as well. This even lighting flatters most subjects.
If you’re capturing objects near a lamp, let the warmth add to your shot. The glow of the lamp can create a moody shot or an inviting and cozy image (depending upon your positioning).
Bonus tip: Avoid placing subjects directly underneath a light; lighting from above can cause unflattering shadows.
8. Shoot at the Best Time of Day for Indoor Photography
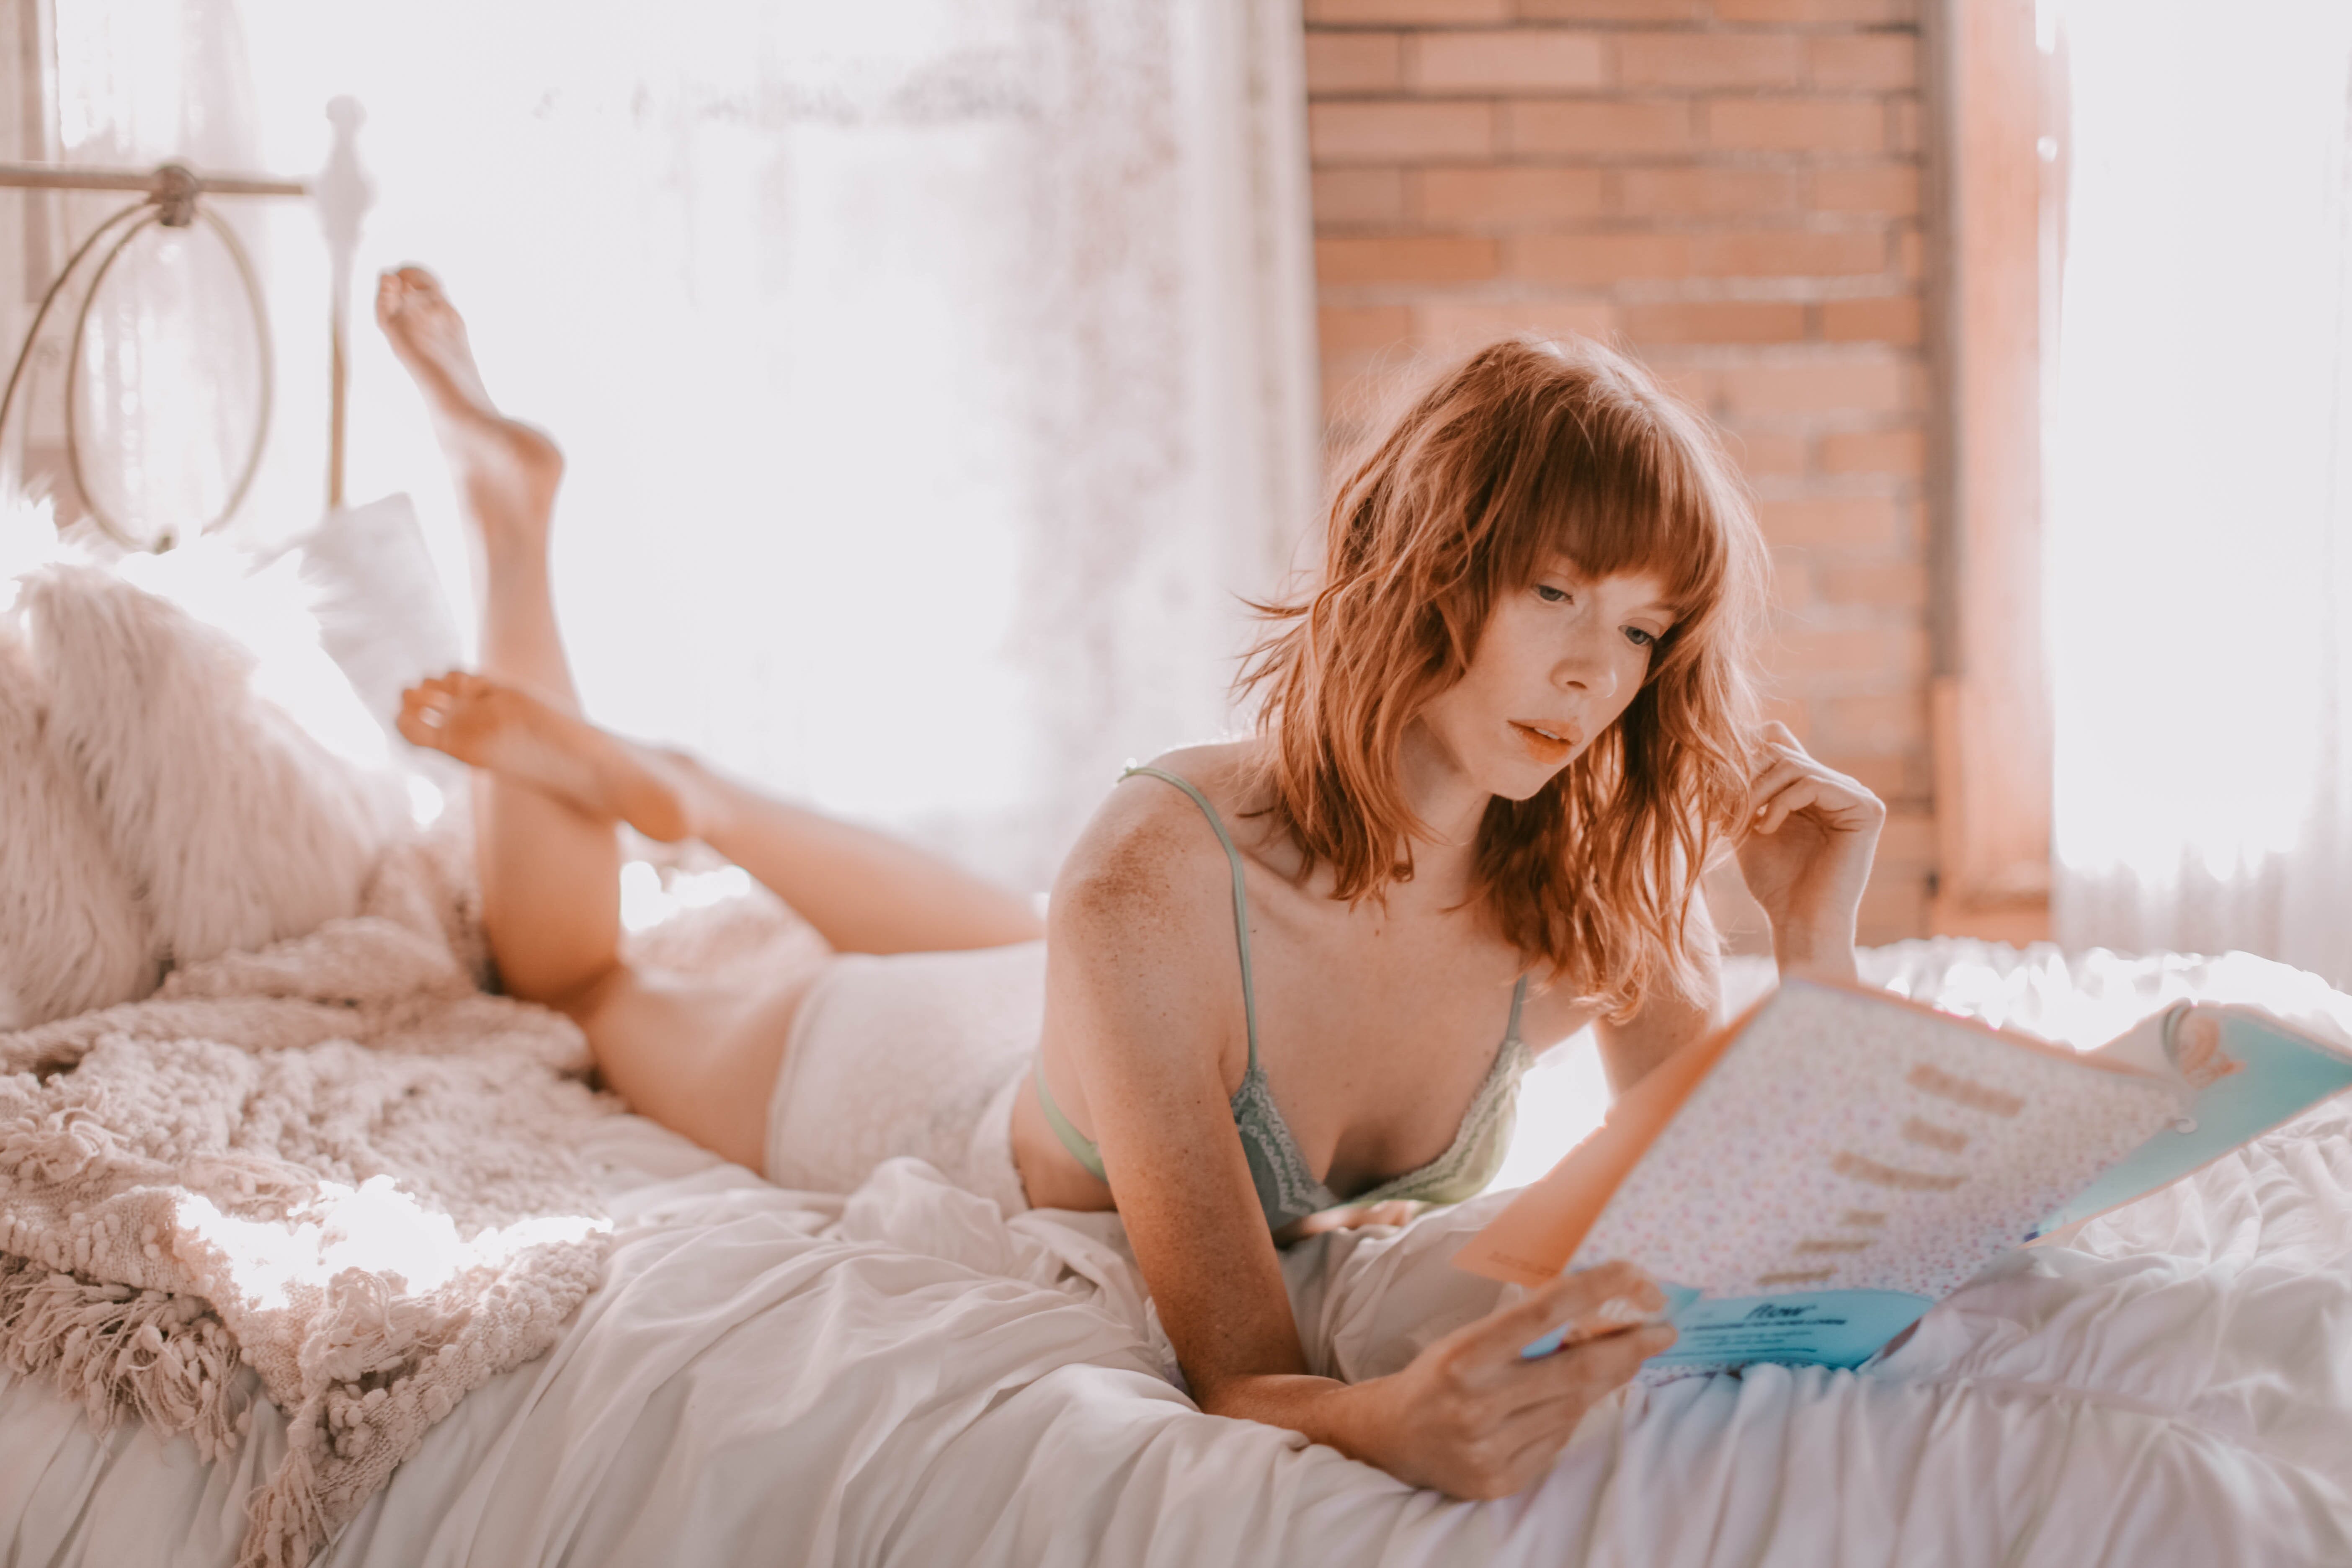
There are actually certain times of day that make for great indoor photographs (or photographs that fit a certain mood).
Midday is one such time. Although shooting at midday can be a disaster for outdoor photography, it works brilliantly for indoor photography. The bright light really helps enhance your shot.
Also, the golden hour (the hour after sunrise and the hour before sunset) can fill your indoor frame with beautiful, golden light (that’s both whimsical and fantastical). Golden hour light is flattering on almost all occasions, whether you’re photographing outside or inside.
So if you have the ability to schedule your indoor photo shoot, do it for midday or the golden hours!
9. It’s Okay to Use Artificial Light, Too
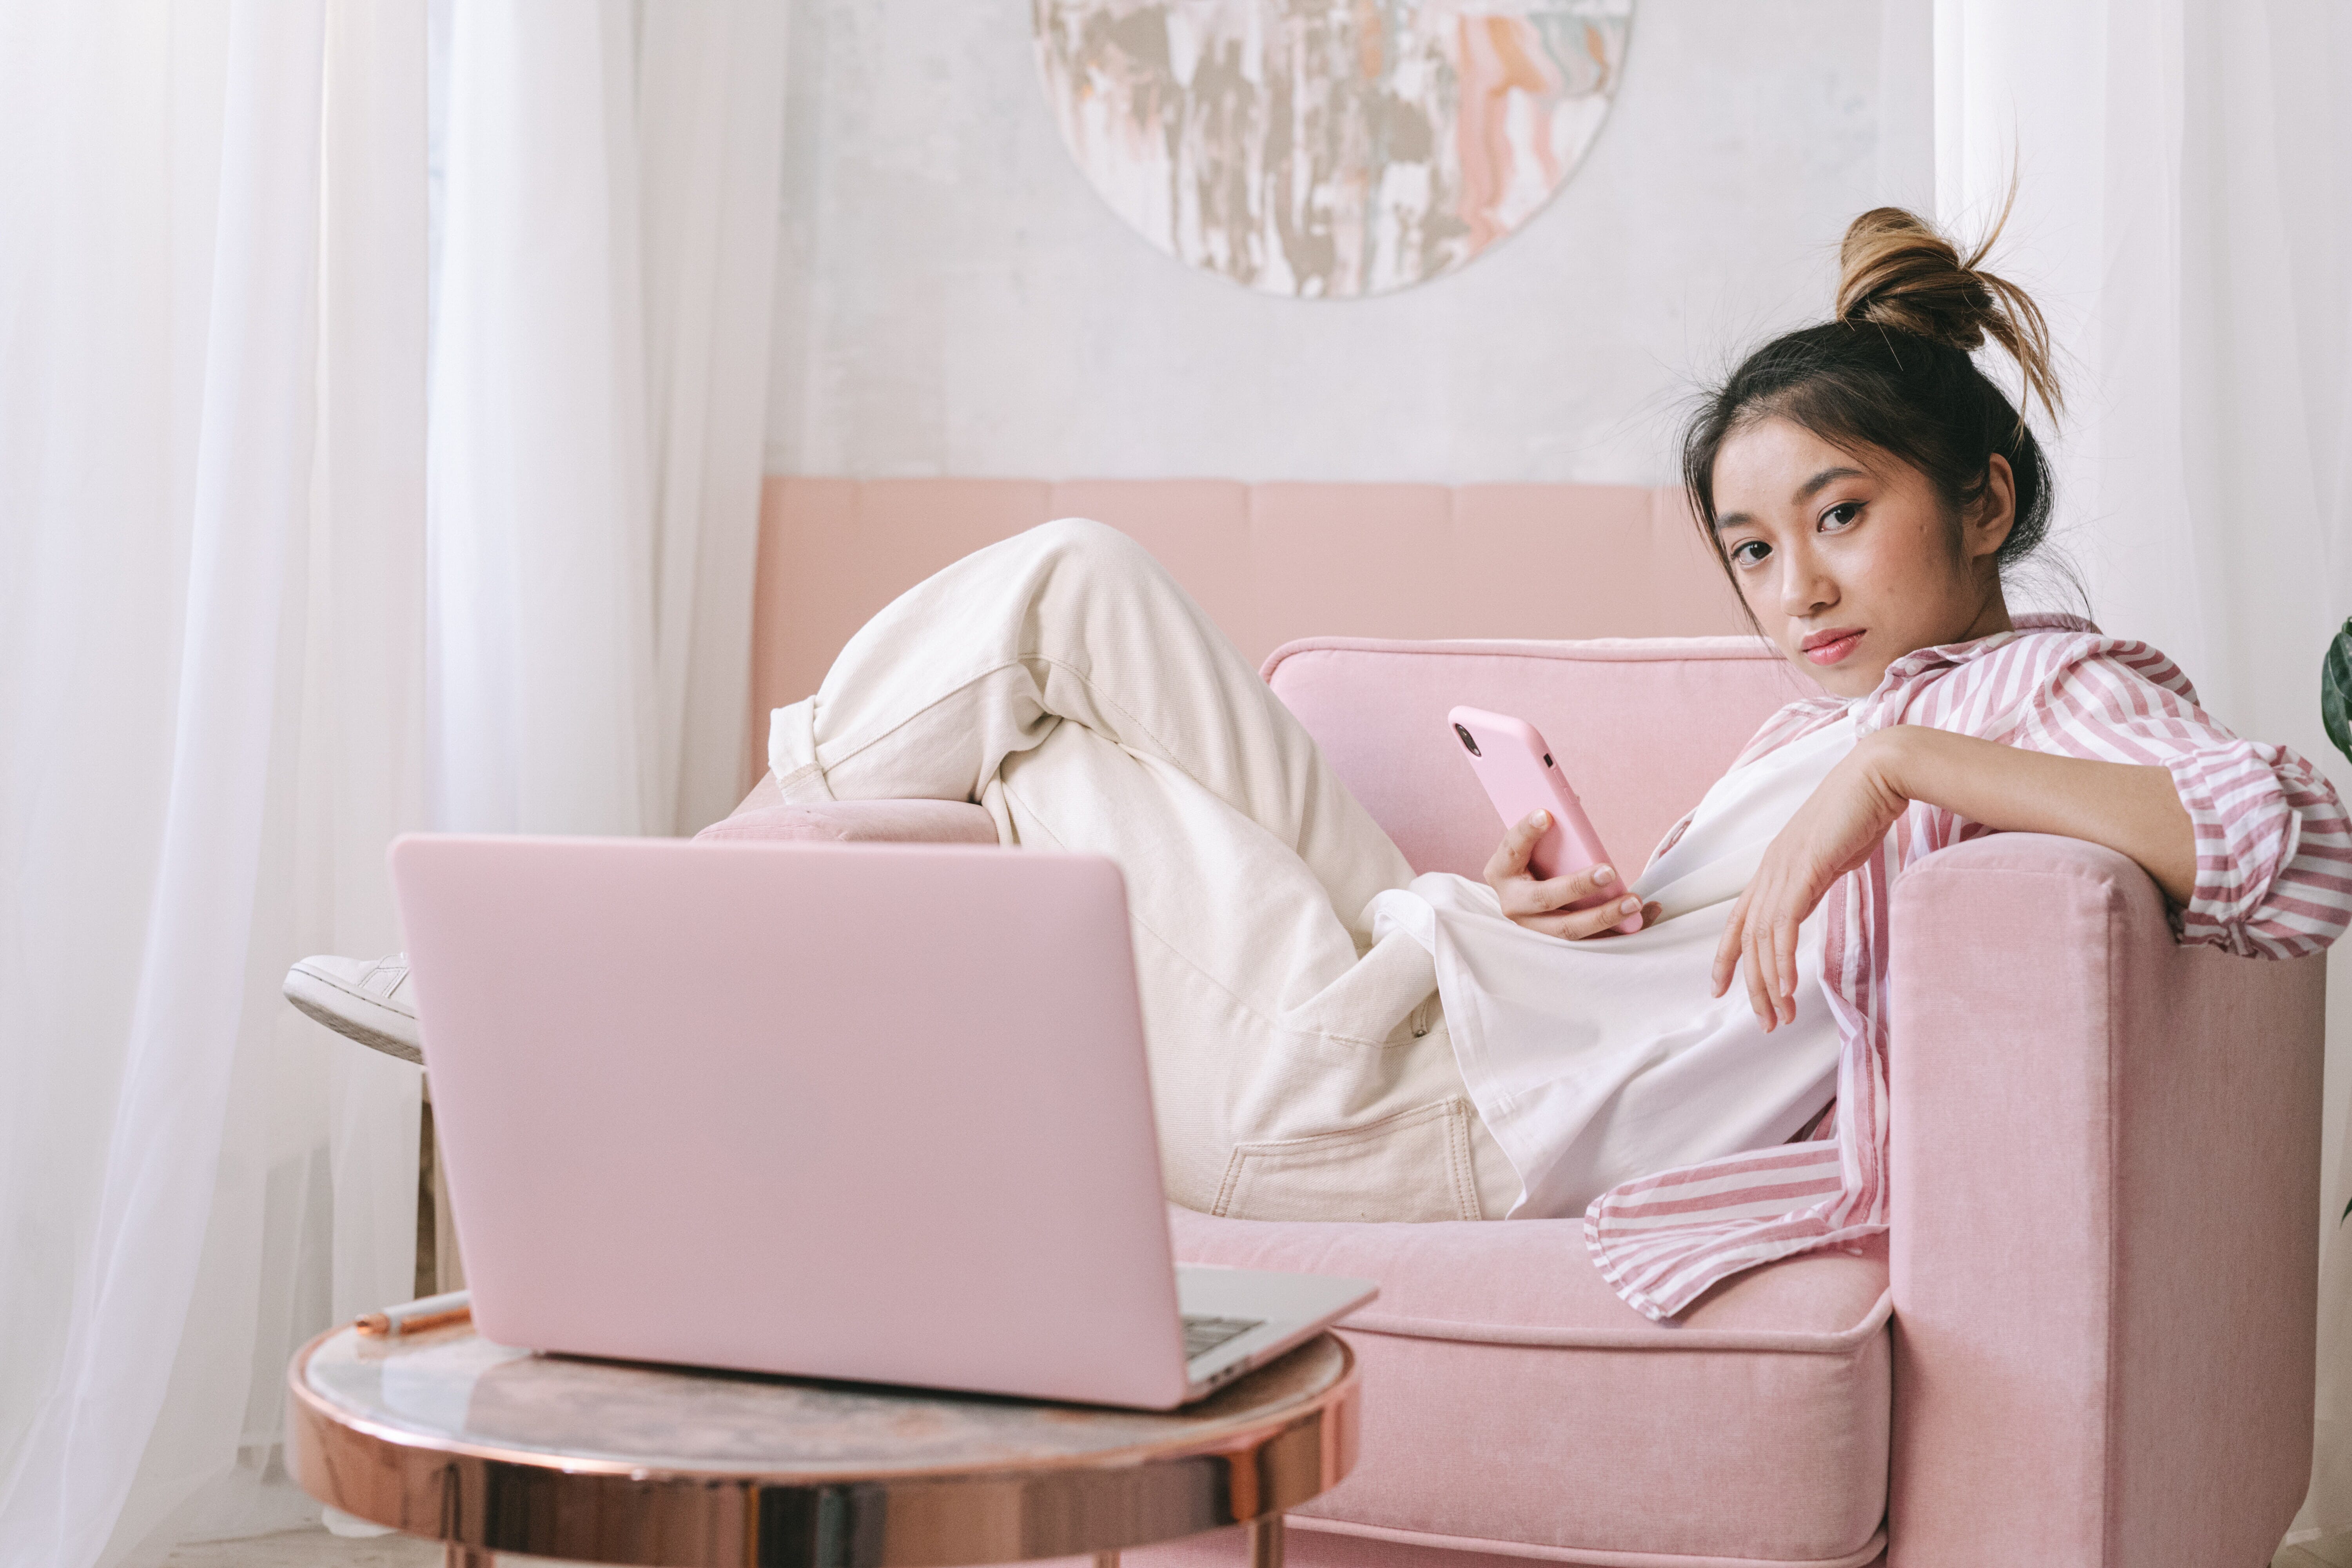
If your ambient or natural light isn’t doing wonders for the photograph you want to take, use artificial light to achieve your goals! Use a flash, strobe, or continuous lighting unit to increase the available light in a space.
Using artificial light can also help keep your ISO levels lower and shutter speeds faster, which makes for much more user-friendly camera settings. Just know that flashes and strobes are better for lowering your ISO (continuous light is not as powerful).
If you’re using a flash or strobe, make sure you don’t aim directly at your subject. Aiming directly at where you are shooting will cause a very harsh and unflattering light. Instead, point the lighting unit towards the wall or ceiling, which bounces the light around. When this bounced light hits your subject, it’ll be much more organic and natural.
If you’re using continuous lights, you can aim directly at your subject rather than bouncing the light around. Just make sure your continuous light has some form of diffuser on it, such as a softbox.
You can also use artificial light to create interest in an otherwise boring indoor location. Add a colored gel to your light to suddenly fill the room with an interesting tint! This can add a unique and unexpected twist to your indoor photography.
10. Try Shooting Against a Window
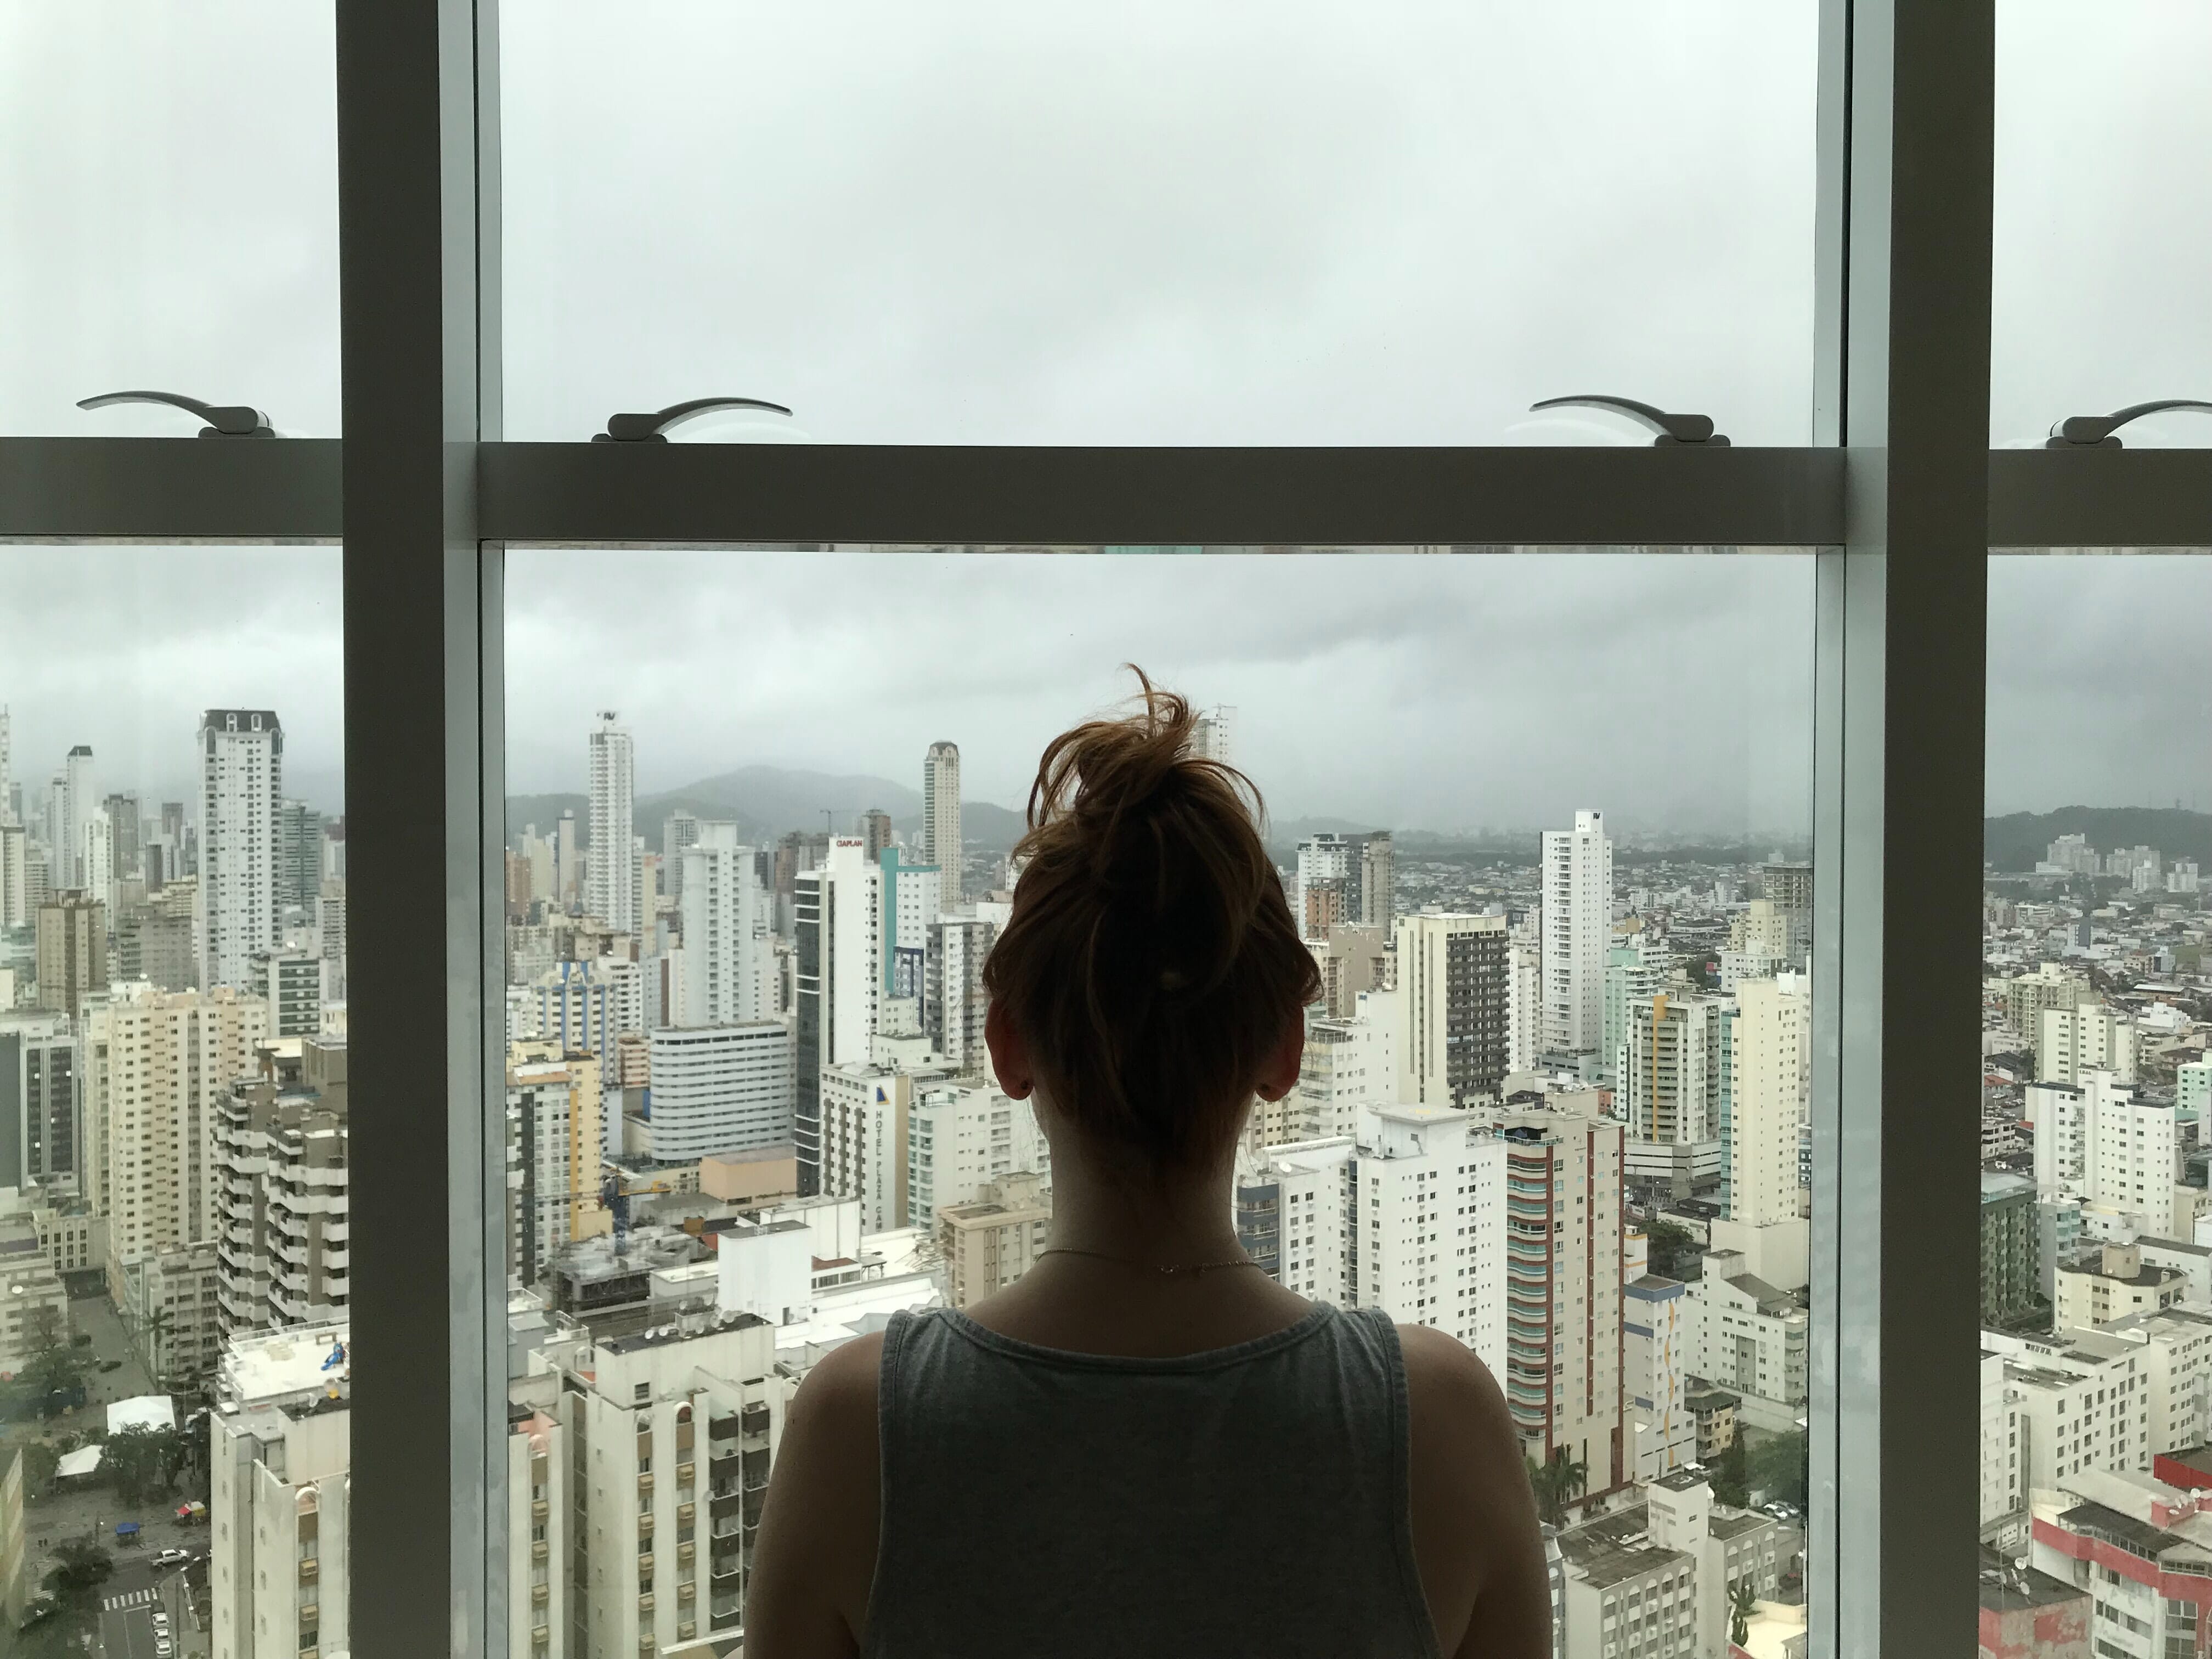
Believe it or not, it is possible to capture subjects against a window. But it can be difficult to achieve a proper exposure. If you expose for the subject, your window will be an overexposed bright white. And if you expose for the window, your subject will be too dark. What a dilemma!
Sometimes, the solution is to embrace the phenomenon that happens! Let your subject be silhouetted against the light of the window. This is a very emotive and emotional look that’s very popular.
However, if you want to expose for both the window and the subject, just point an artificial light at your subject. This allows your model to be lit as brightly as the window, making exposure much easier.
If you don’t have an artificial light, you can use HDR (high dynamic range) techniques to capture multiple exposures (exposing for the window, exposing for the subject, and exposing for the midtones). Then you can stack them together in post-processing (effectively exposing every part of your image!).
11. Think About the Composition
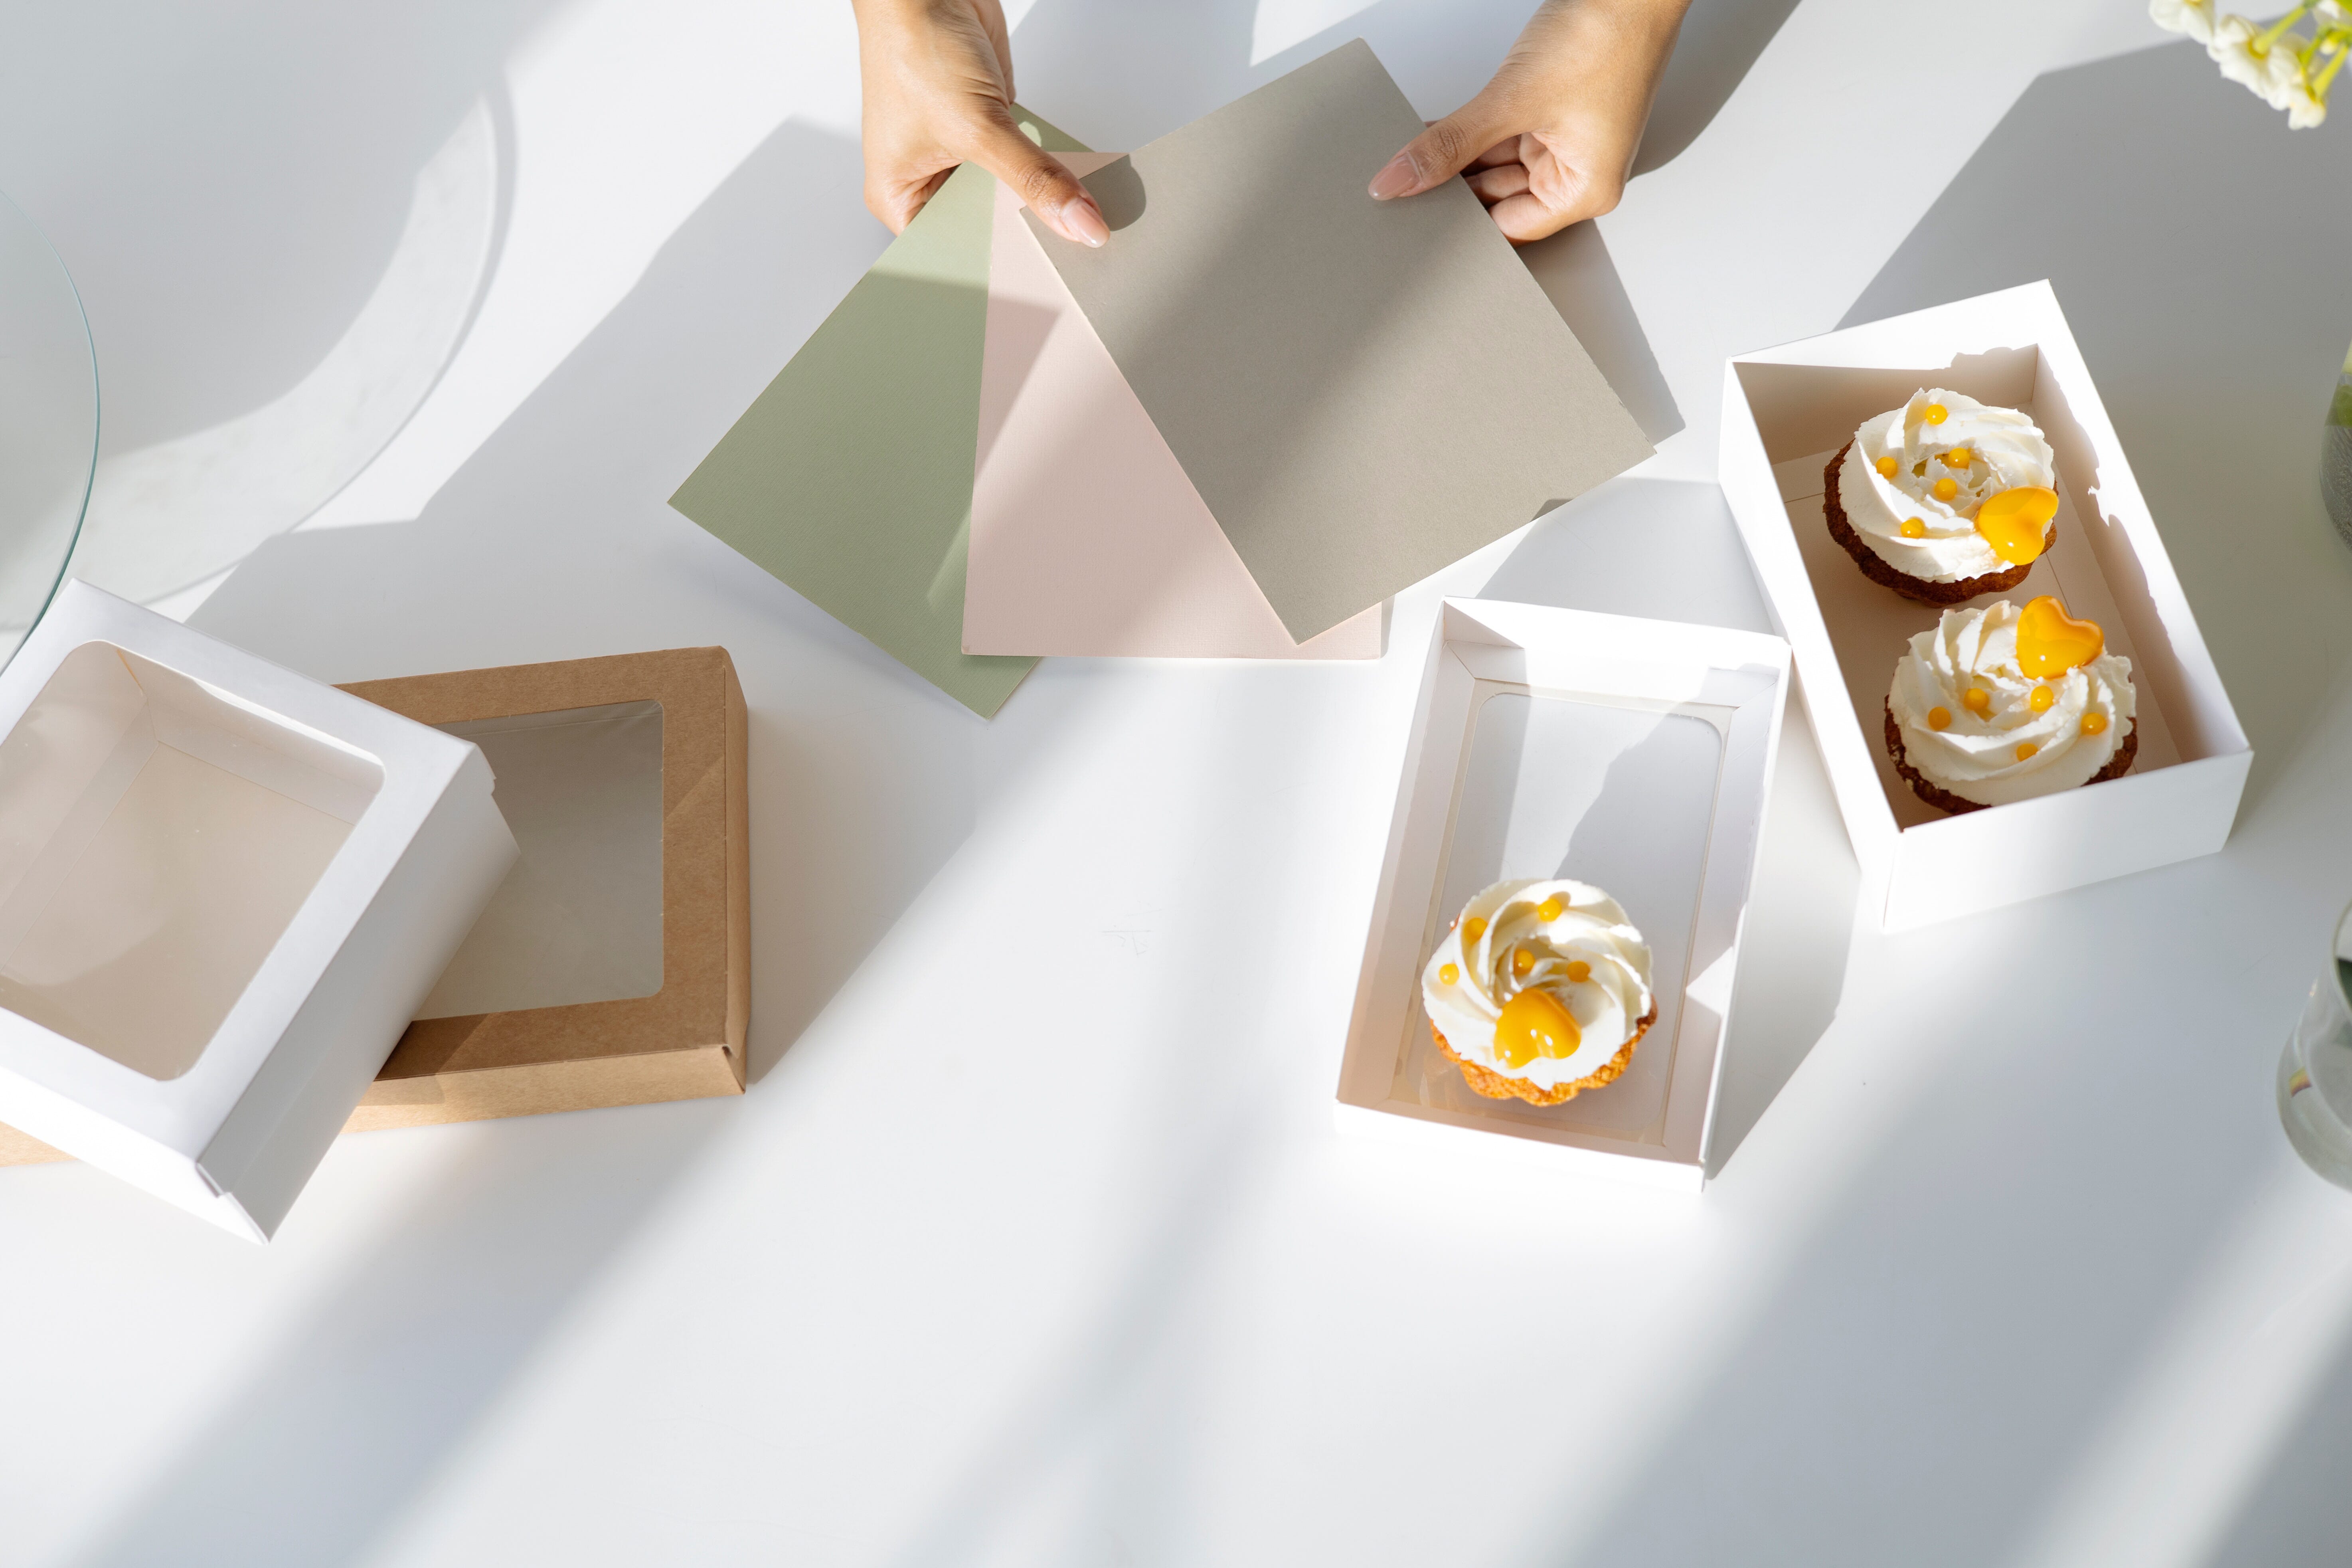
Composition is extremely important in photography, especially when capturing indoor images. Composition directly affects the viewer whether they know it or not! Even if someone isn’t artistic, they may feel something is off or wrong about an image if it is not well composed.
Since indoor photography often features a lot of items, architectural elements, lighting sources, and even subjects, how you arrange all of these elements is key. The most effective compositions are the ones in which the viewer looks around the frame before landing right on the subject. This might sound silly, but the goal of composition is to keep the viewer interested, and a big part of that is making sure that the viewer understands who or what you are trying to show them.
The most common compositional guidelines for indoor photography include the rule of thirds, leading lines, framing, and symmetry. Although these rules don’t apply one hundred percent of the time, they are good compositional starting points.
(To use the rule of thirds: Divide your photograph evenly into thirds, then place key elements along the gridlines and the subject of the image at a line intersection.)
When photographing non-living subjects such as brick walls, look for symmetry and patterns. The human mind naturally gravitates towards repeated information, making for pleasing images.
12. Embrace the Shadows
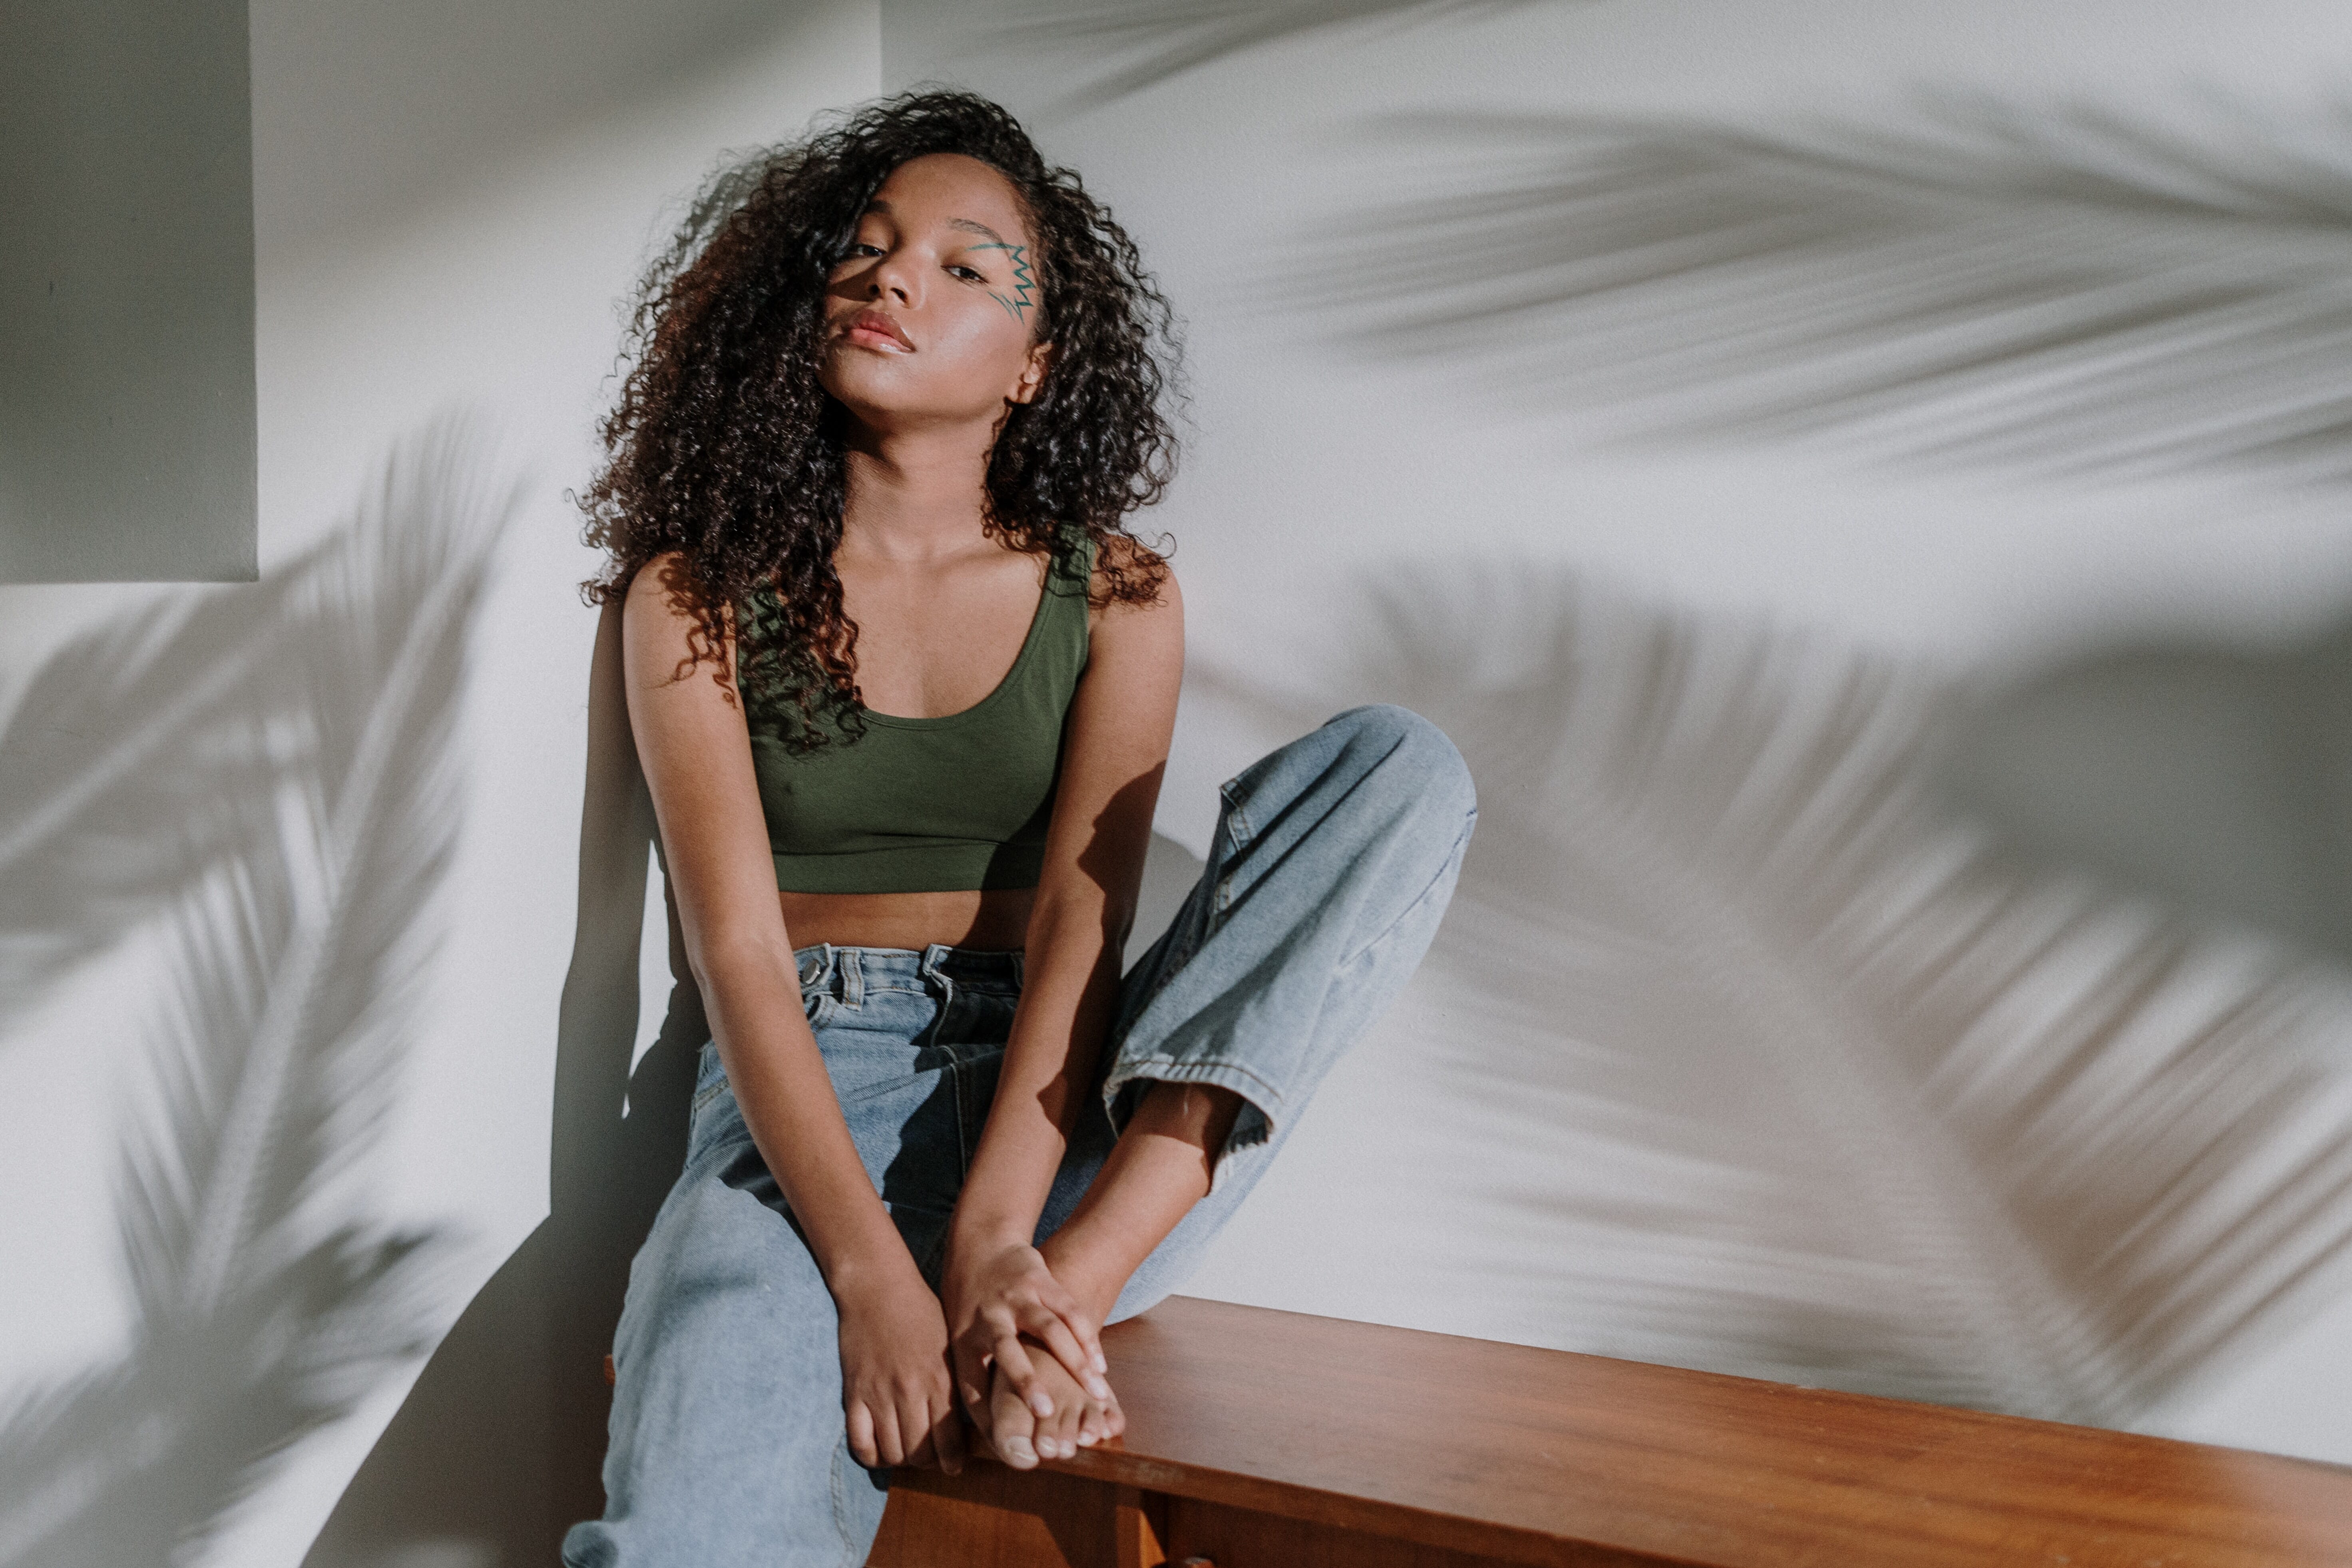
Indoor photography is riddled with shadows due to the low light. Instead of trying to avoid shadows, consider using them! Shadows can add a lot of drama and visual interest to your indoor photography.
If you’re photographing people, turn one side of their head towards the light source, leaving the other side shrouded in darkness. This can make your photographs look mysterious!
If you’re near a window, try partially closing the shades and allowing the shadows to create a pattern on your subject. This is an easy and effective way to create eye-catching shots.
13. Tell the Story with Atmosphere
The mood you develop in your images will tell the story of an indoor setting. Cinematic and atmospheric images have a novel quality to them, transporting the viewer into the photographer’s world.

Indoor photography can be light and airy, which is bright, vibrant, and fun. You achieve this by overexposing the photograph a bit.
Indoor photography can also be dark, mysterious, and filled with deep tones. This is done by underexposing the photograph.
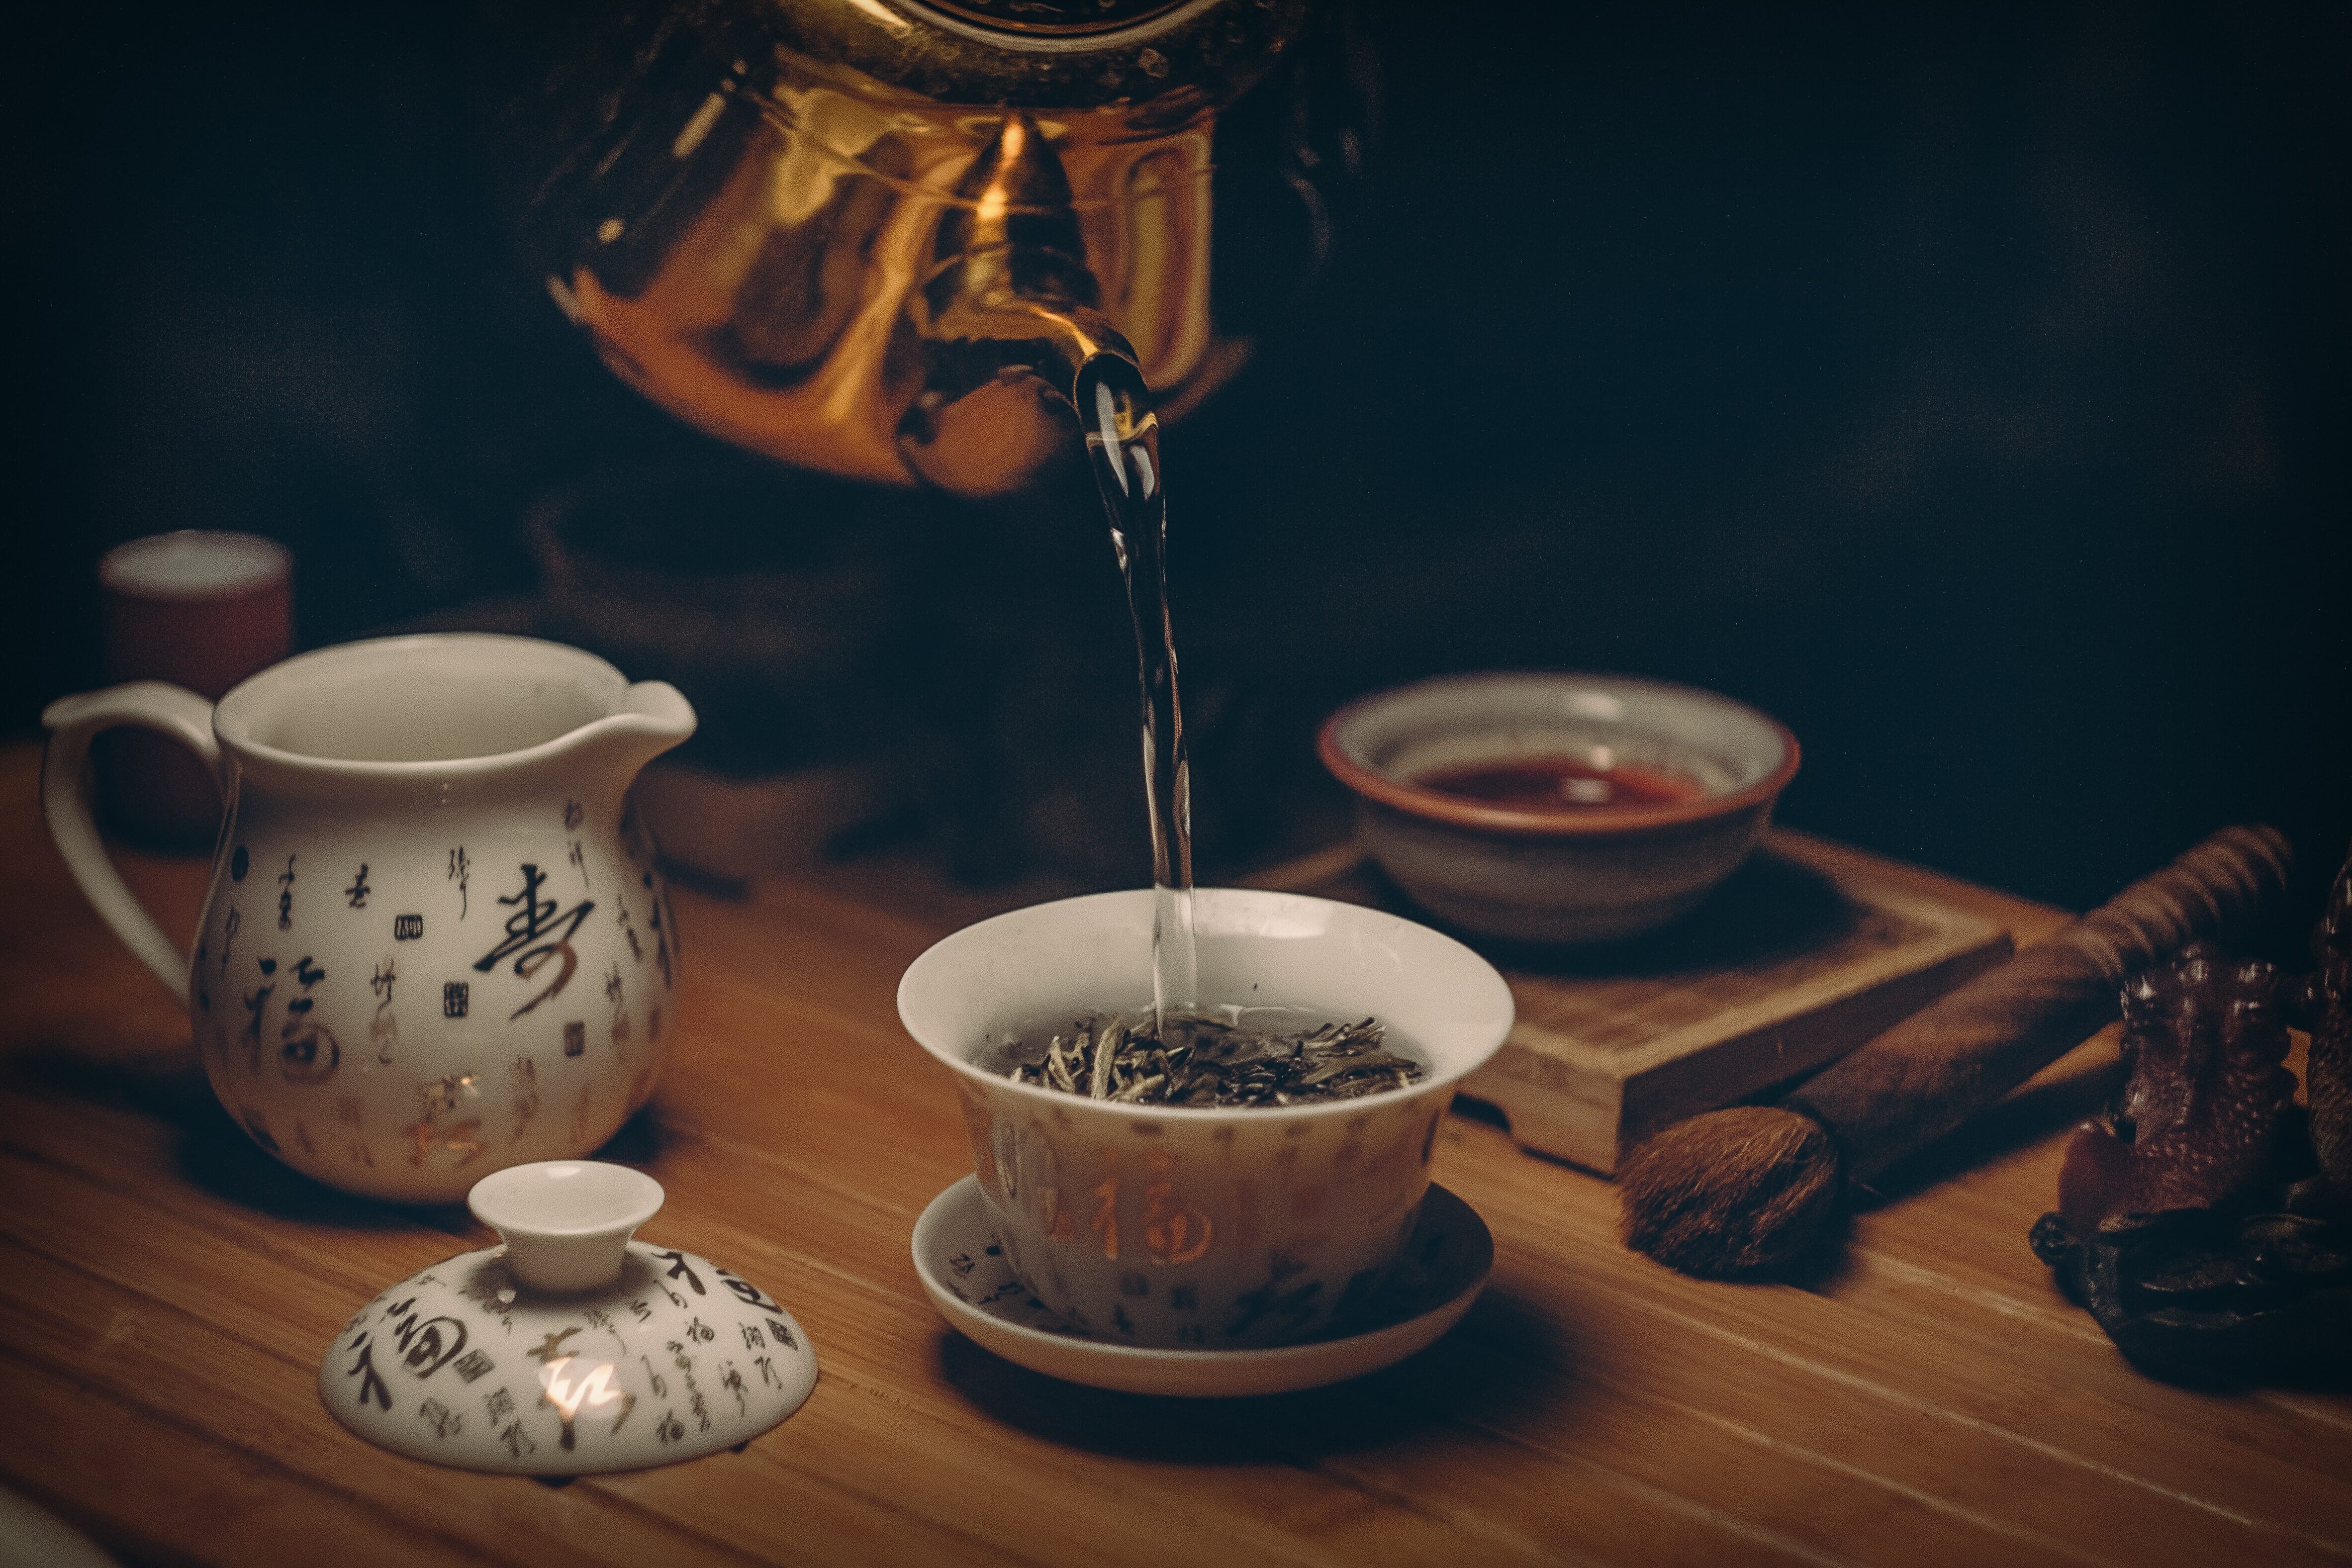
So adjust your exposure to set the mood of your photograph and bring the story to life.
14. Pay Attention to All the Details
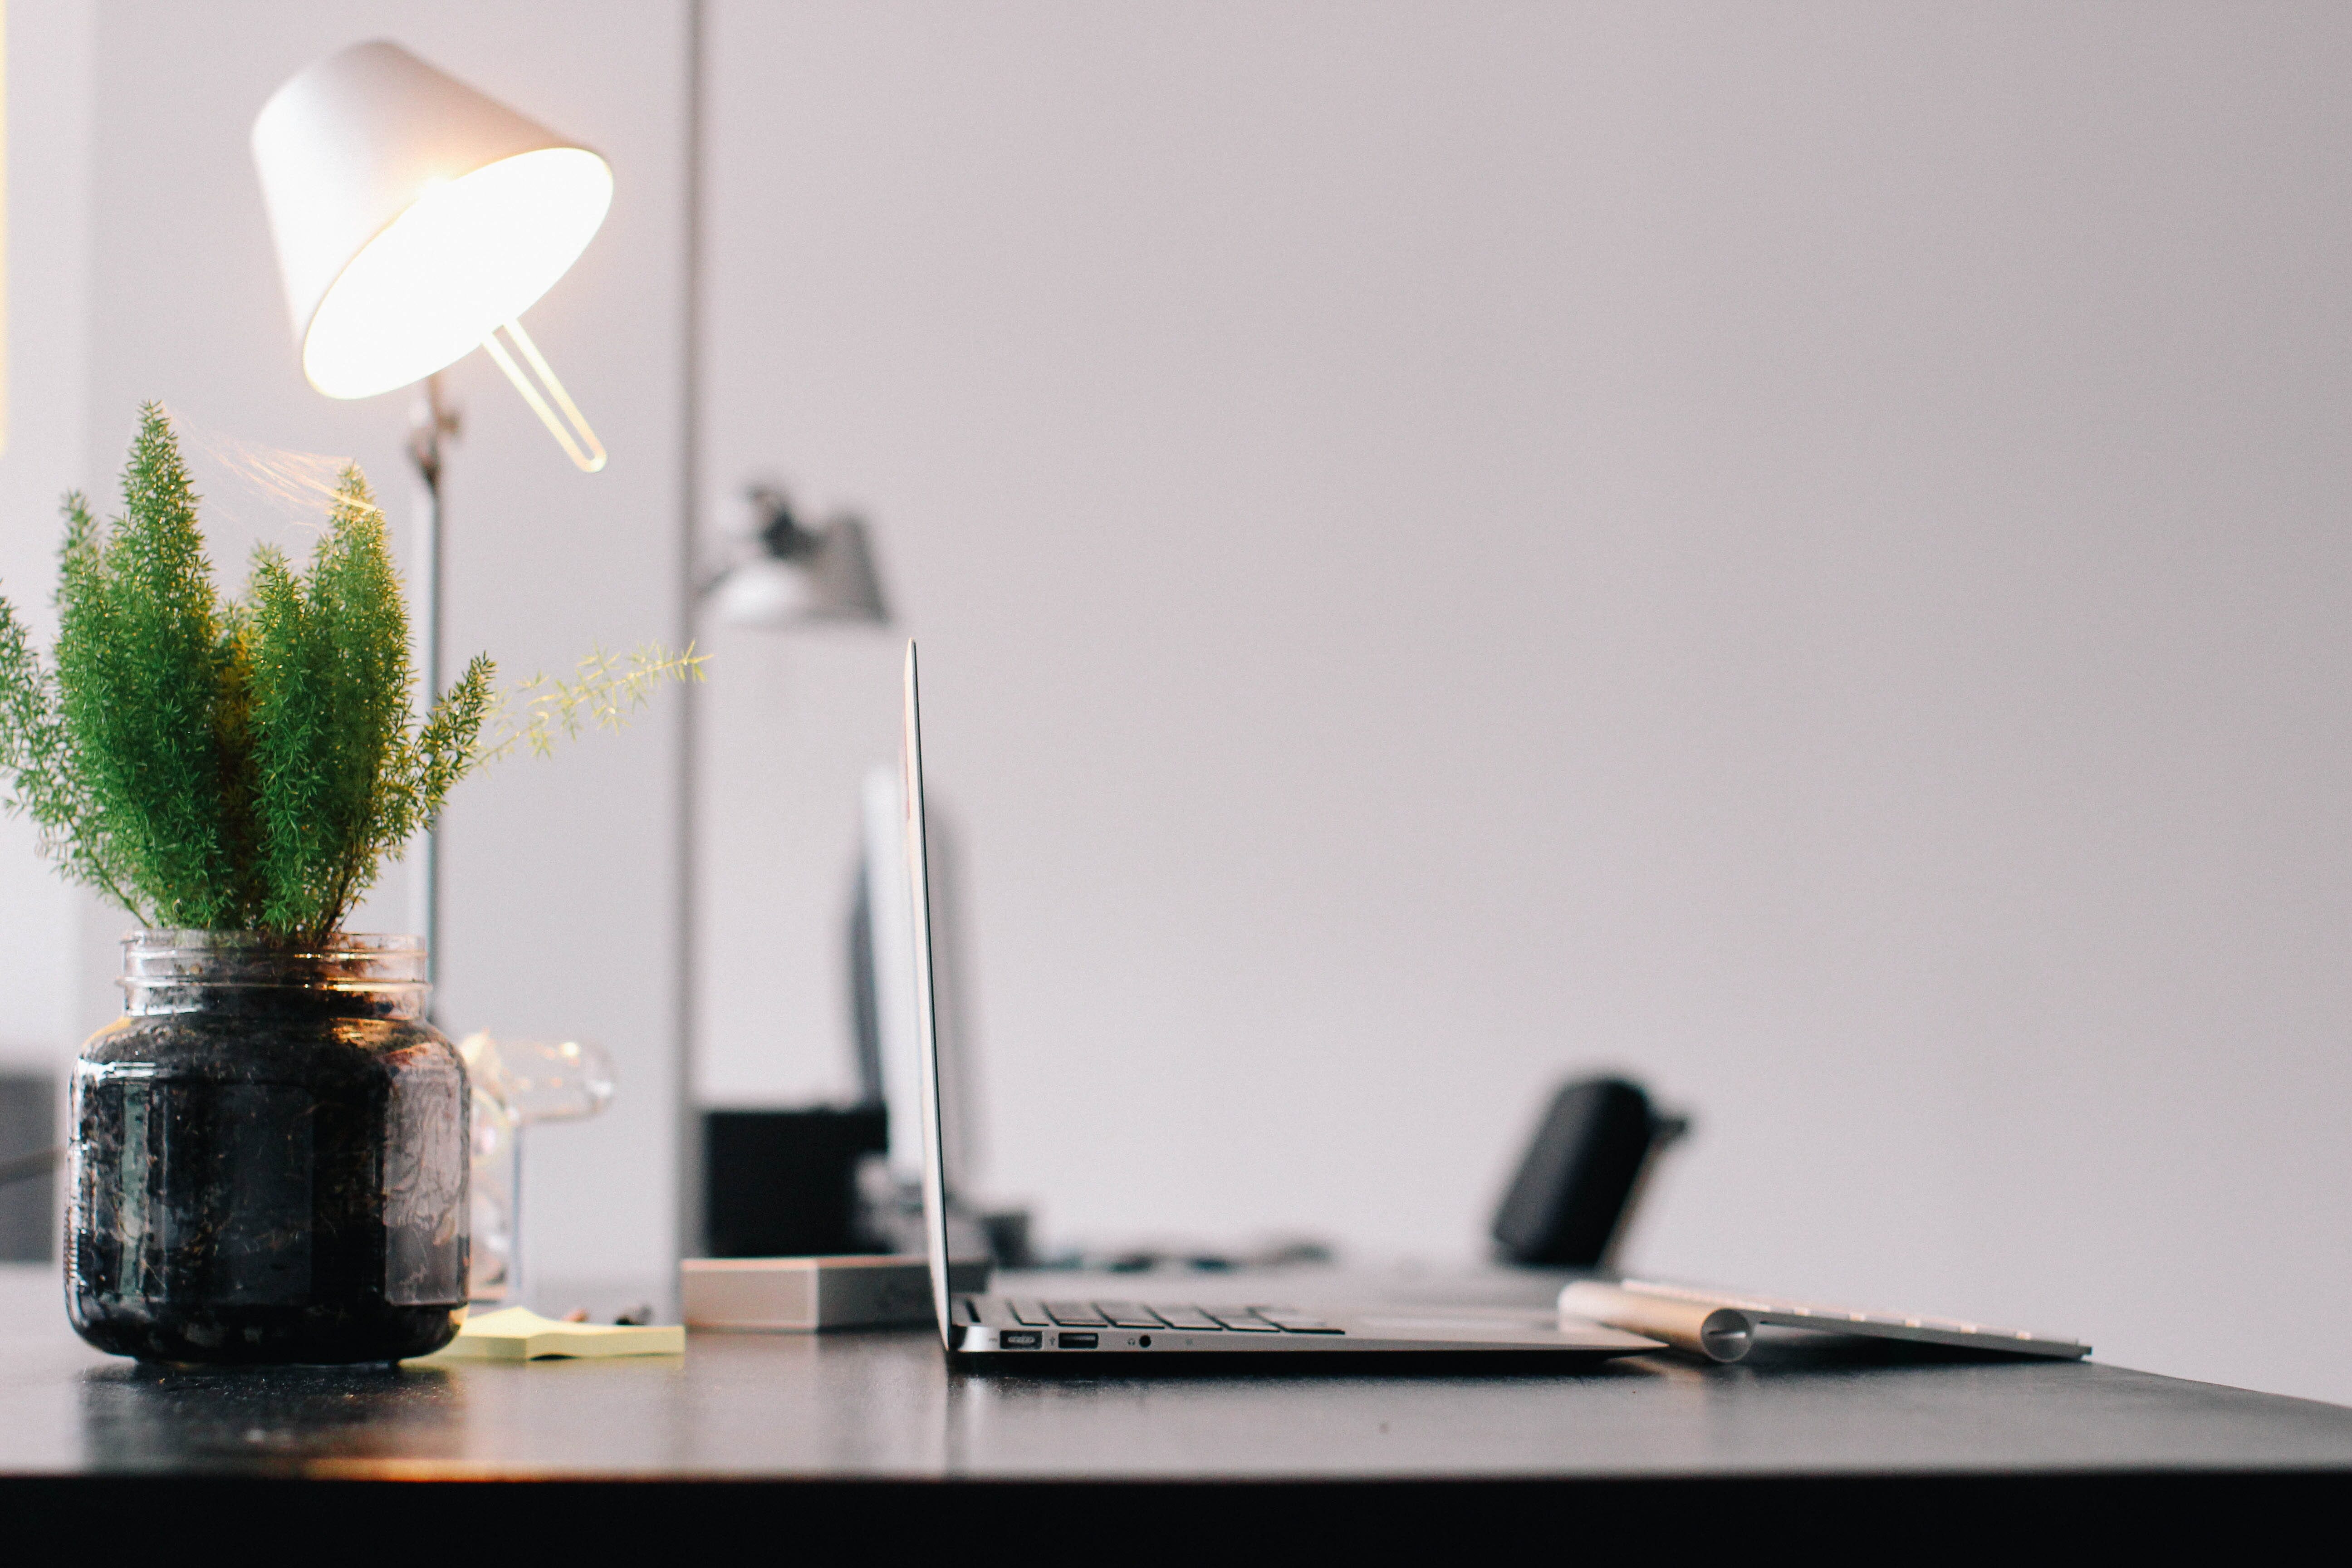
All of the details in your photographs are important, even the most miniscule ones. Adding props, little touches, and setting the scene is what really makes a photo look great. Removing unnecessary clutter, distracting elements, and otherwise unappealing things from your photo keeps it looking professional and clean.
Because indoor photography is so deeply rooted in the sentimental and familiar, you really want to make sure that every single detail in your image is intentional; otherwise, your photograph may appear out of place or messy.
The best course of action is to look at your composition and notice all of the props and objects. Do the items belong there? Do the items make sense for the image? Do they add something positive to the composition? If the answer is “No” to any of these three questions, remove the items!
15. Use Post-Processing to Enhance Your Indoor Photos
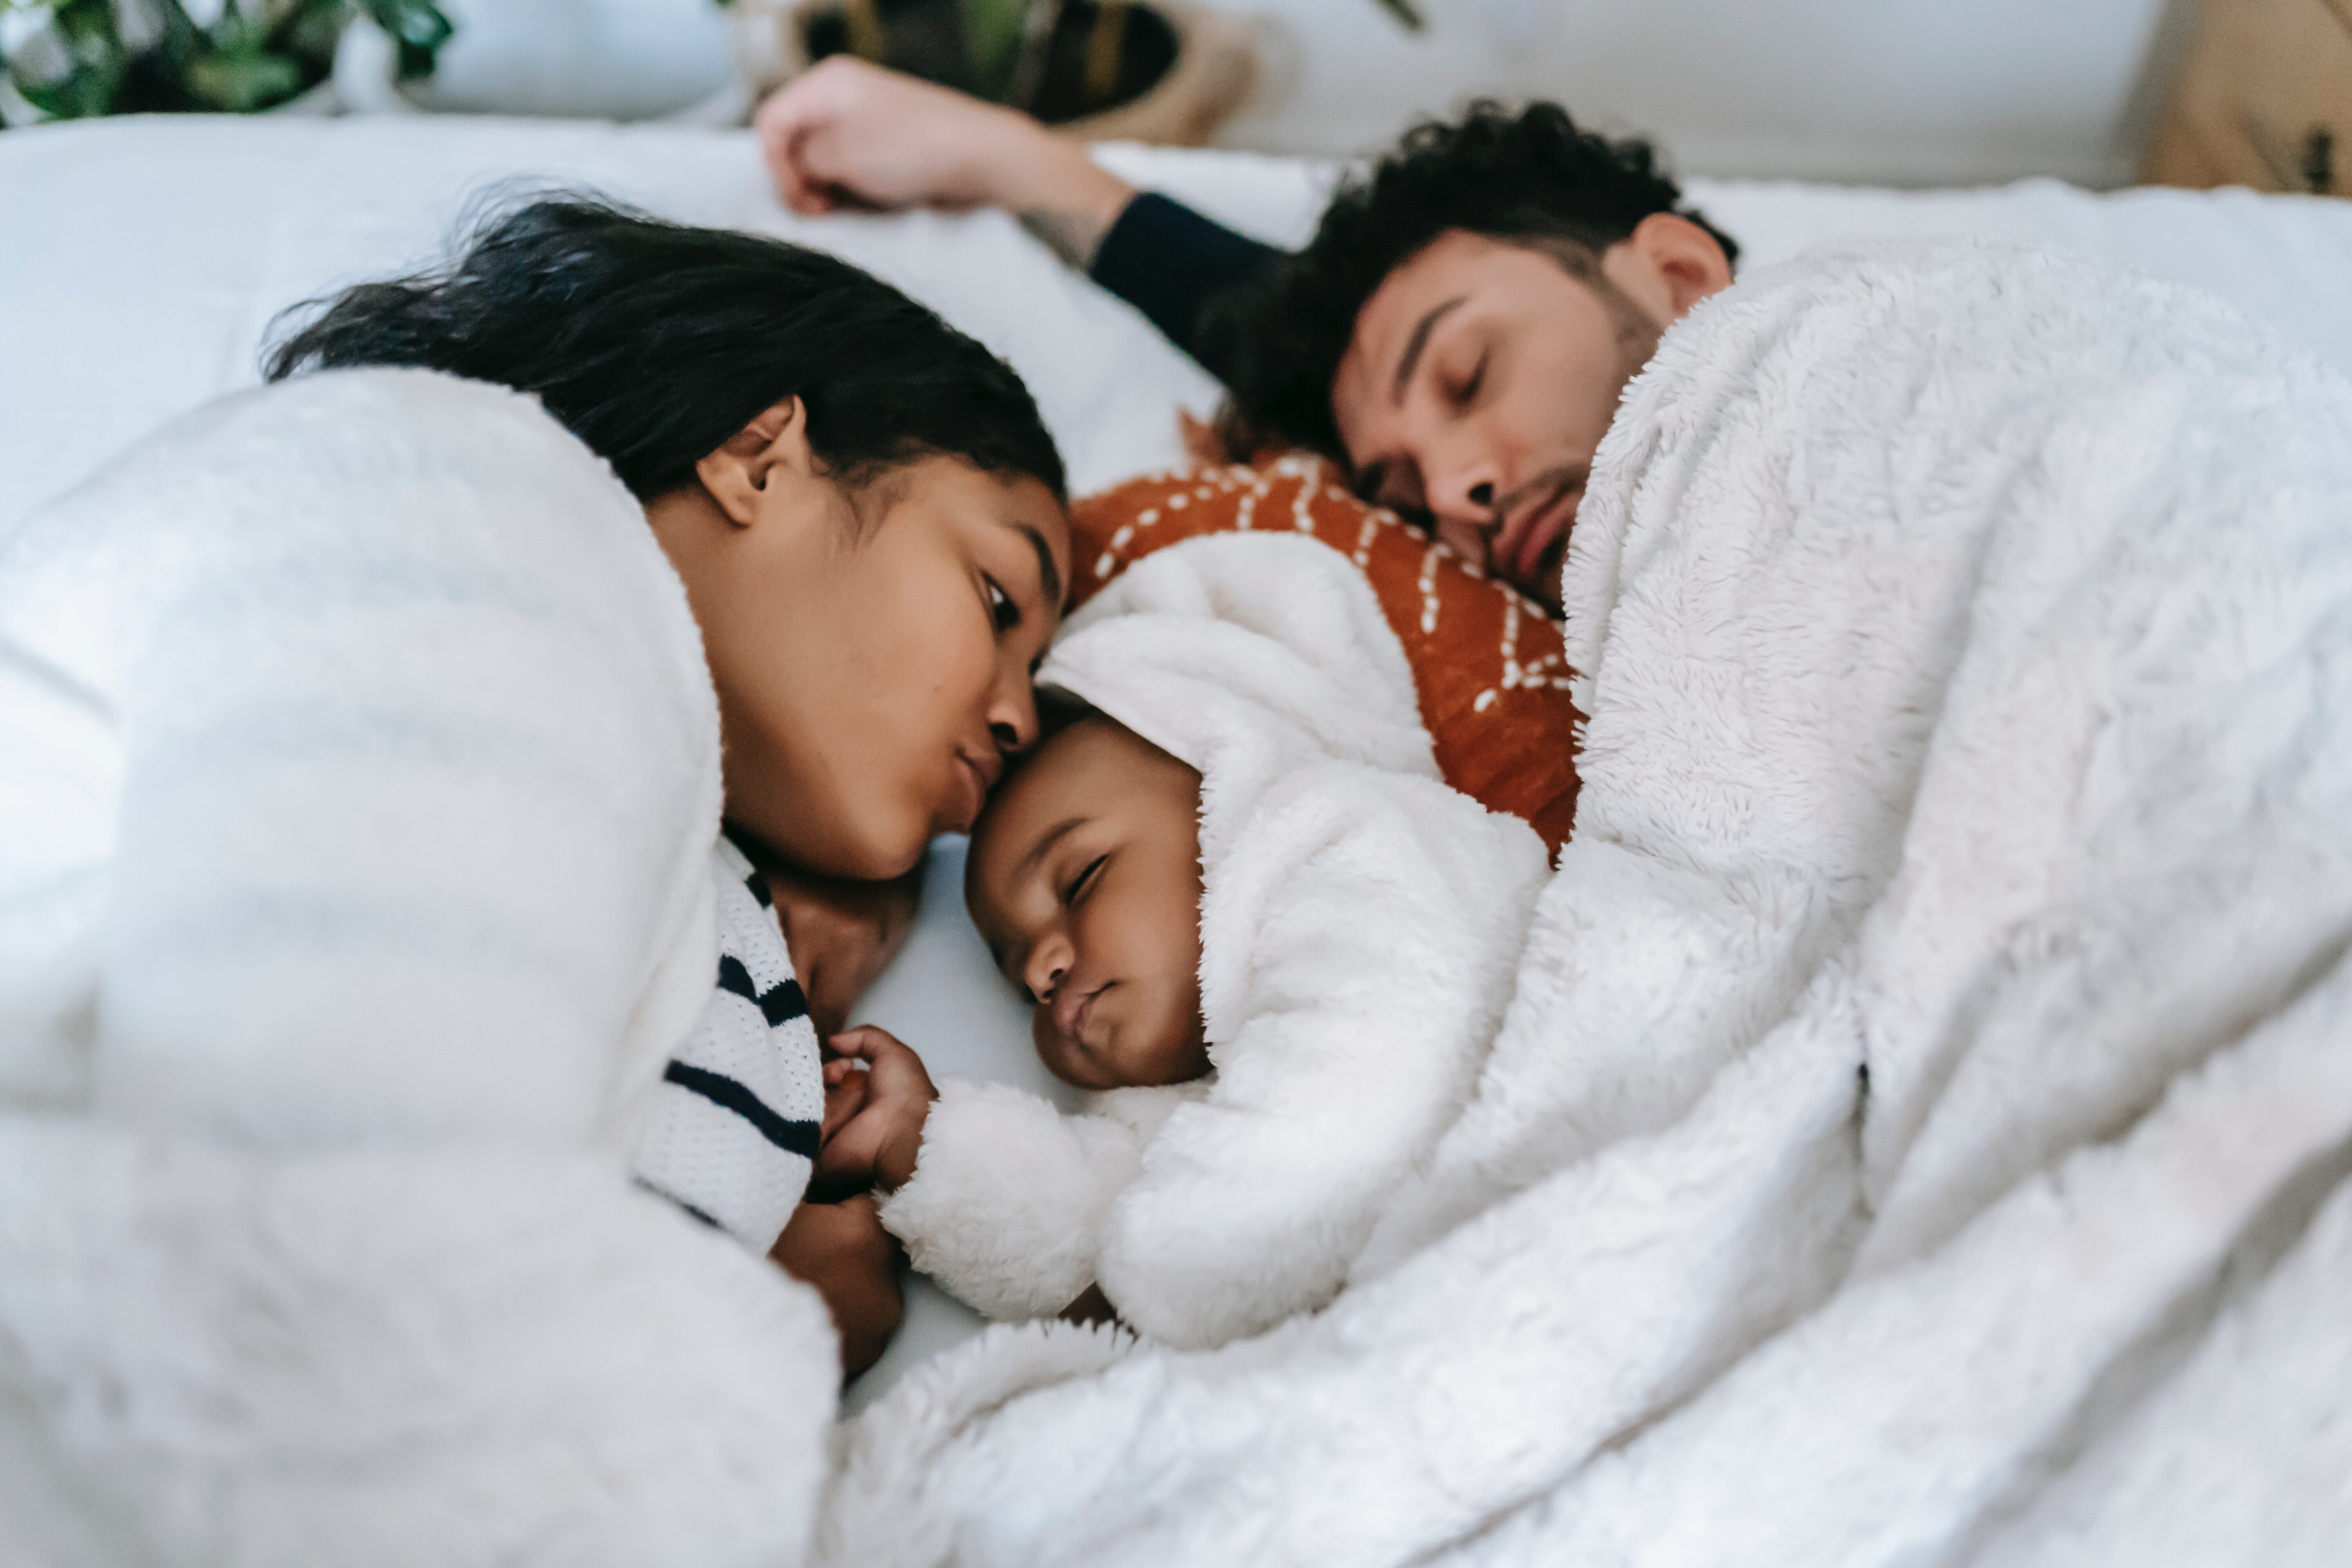
Sometimes, no matter what you do in-camera, photographs don’t look the way you want them to. It’s okay to turn to post-processing – such as Adobe Lightroom Classic – to create the photo in your mind.
You can use the exposure sliders to brighten a shot or the color grading features to recolor an image. Don’t be afraid to tweak your image to look much more flattering.
Just remember that photographing in RAW format rather than in JPEG will help you in the editing room. RAWs are uncompressed images, giving you far greater control when editing. JPEGs lose some information when the file type is created, which may cause a drop in quality.
Getting the Most Out of Indoor Photography with These Top Tips
Cameras may struggle more indoors, but this will not stop your amazing indoor photography.
Keep these 15 tips in mind, and you should be well on your way to creating phenomenal indoor images. Just remember to bump that ISO, slow that shutter, and bring your world to life with great compositions!
