Key Takeaways: Cheap and Easy Phone Photo Printing Methods

This article guides readers on how to print photos from their smartphones. Jaymes describes three main methods for achieving high-quality and cost-effective results.
- Printing to a Home Printer: The article explains steps for both Apple and Android users. It covers direct printing for Wi-Fi-enabled printers and alternative ways for non-Wi-Fi printers.
- Using a Printing Lab: The author details using various services like the Shutterfly app for convenient online printing or in-store printing options. High-end printing companies are also mentioned for superior photo quality.
- Using a Portable Printer: This method gets special attention for its ease of use; portable printers connect with smartphones to produce prints instantly.
By following these methods, readers will be equipped to create beautiful prints from their mobile devices efficiently and affordably.
When you buy through links on our site, we may earn a commission at no cost to you. We evaluate products independently. Commissions do not affect our evaluations.
Introduction
How can you print photos from your phone? And how can you do it for cheap while still getting great results?
If you’ve taken plenty of smartphone images, you may find yourself in a situation where you want to print, but you don’t know how.
That’s where this article is useful.
Because I’m going to share with you everything you need to know about printing from a smartphone.
And by the time you’re done, you’ll know exactly how to use your phone to produce beautiful, high-quality prints (and at a very low cost!).
The Three Methods of Printing Photos from Your Phone
Printing photos from your phone is simple:
You must take a file from your phone and get it sent to some sort of printer.
And there are three easy ways to do this.
First, you can send the photo to a home printer.
Second, you can use a printing lab.
Third, you can use a portable printer. These are designed to interface with your phone and produce prints in seconds.
Let’s take a look at each of these options, and I’ll give step-by-step instructions to ensure you can print quickly and easily:
Print to a Home Printer
If you have a home printer that produces high-quality photos, then you may not need to use a lab at all.
Instead, you can simply send the image from your phone to your printer, and – voila! – get a great print.
Of course, you should know that most home printers don’t do as good a job as a dedicated printing lab.
But if you’re not concerned with quality, or you do own a high-quality photo printer, then using this method makes a lot of sense.
Related Posts
Note that there are two ways of proceeding with this.
First, if your printer connects to your phone via Wi-Fi, you can print directly.
Second, if your printer cannot connect to your phone, you can send the image to a desktop computer, then print.
For Apple Users
If you’re an Apple user, check your printer for wireless compatibility. For instance, AirPrint is an easy way to send images from your smartphone to your printer, but not all printers can use AirPrint.
If your printer doesn’t support AirPrint, research your printer to find any wireless printing apps that it can handle. Some companies actually offer their own printing apps, which you can download via the app store and use to print images almost instantly.
Once you’ve found an app that works, connect your phone and printer to your Wi-Fi network. Select the photo you’d like to print, then use the app to select your printer (you may need to add this in the app settings).
Finally, hit Print.
Within moments, you should have your print!
For Android Users
The process for Android smartphone users is similar to Apple users.
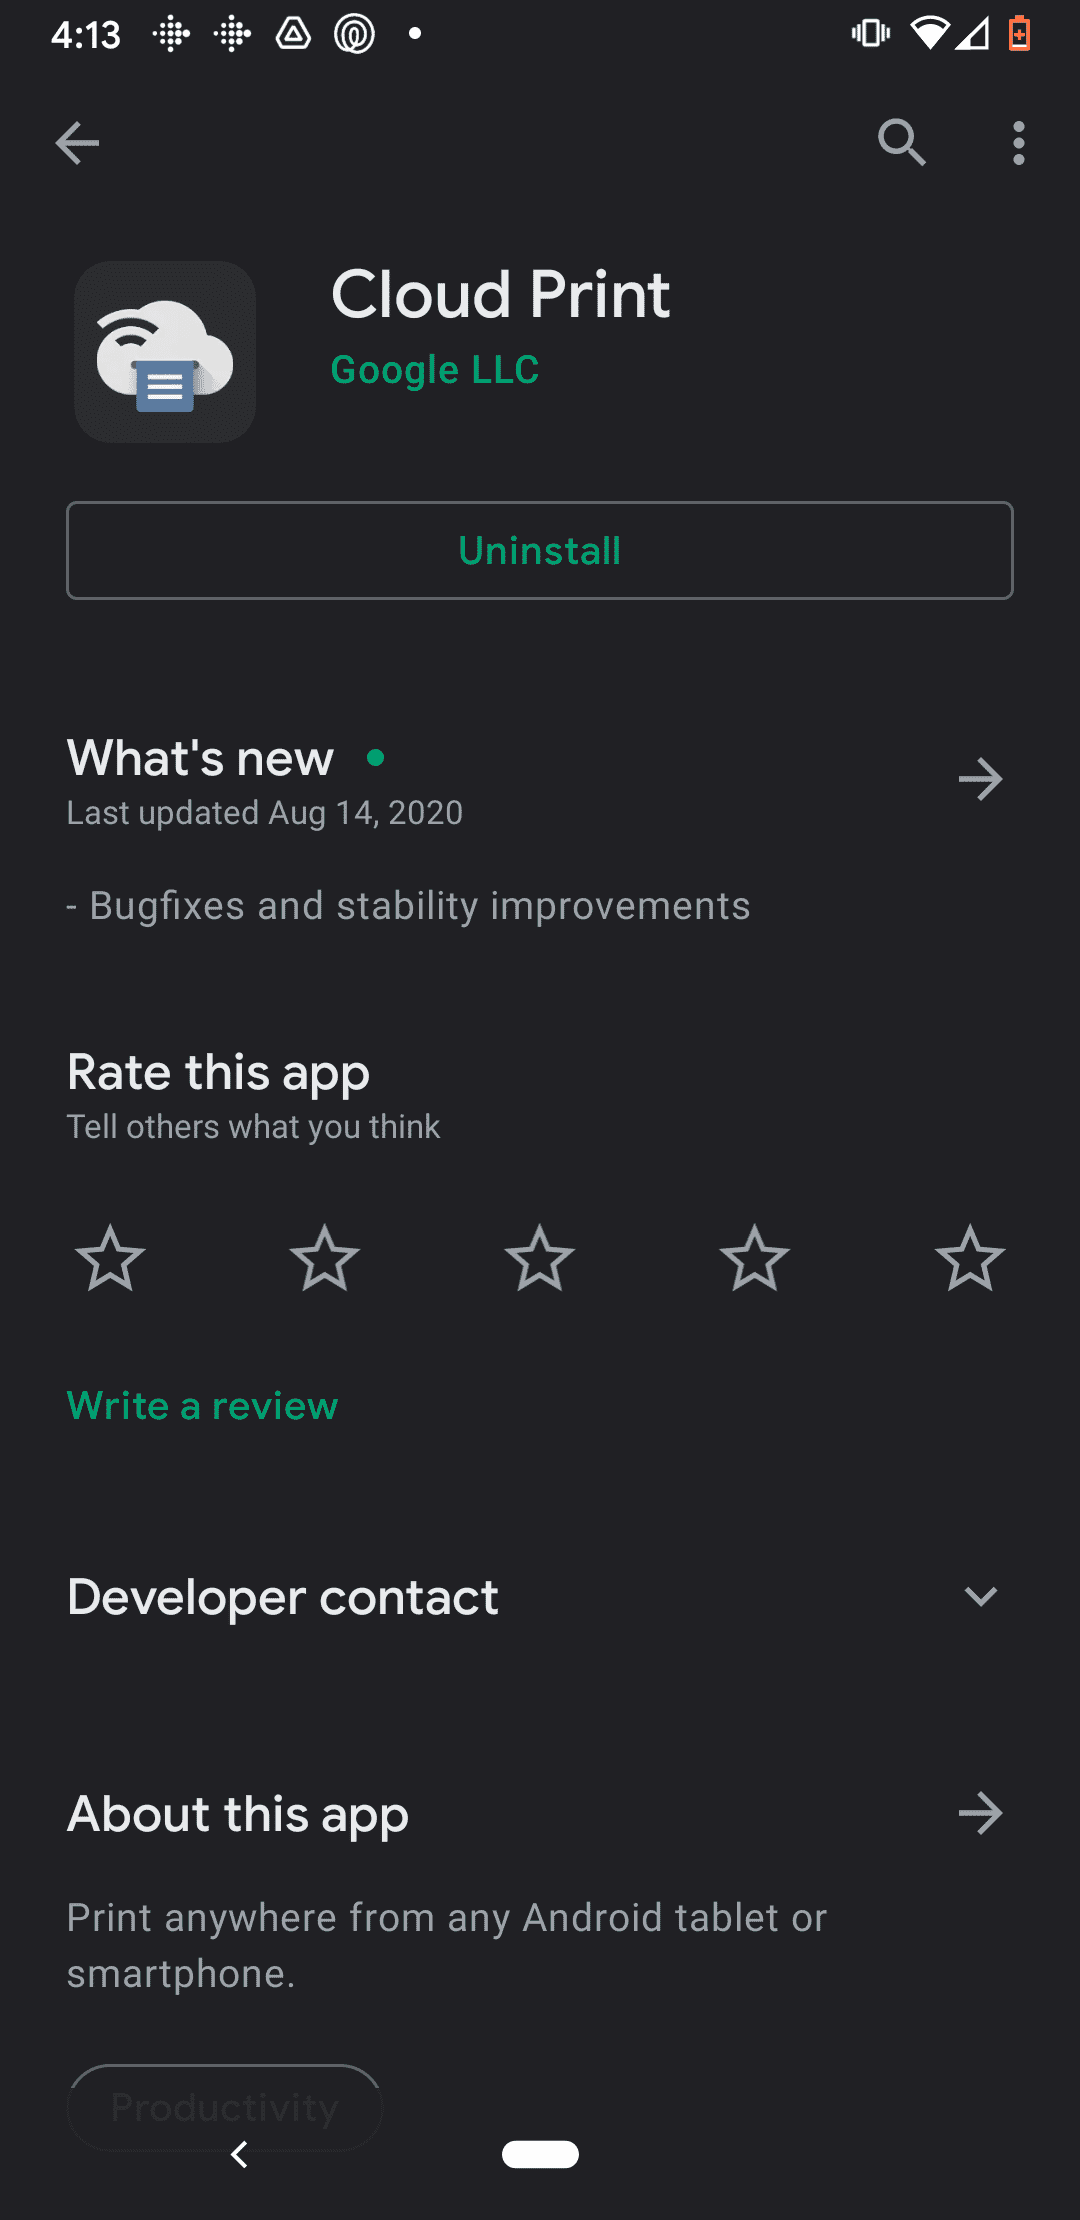
And while some printers will have their own printing apps, a great solution is Google Cloud Print, which allows for quick and easy results from supported printers. So check to see if your printer can use Google Cloud Print, then proceed.
First, connect your phone and printer to your Wi-Fi network.
Then make sure Google Cloud Print is installed on your smartphone, and ensure that it’s set up so that it can communicate with your printer. Check Settings > Connected Devices > Connection Preferences > Printing to see whether you have Google Cloud Print installed.
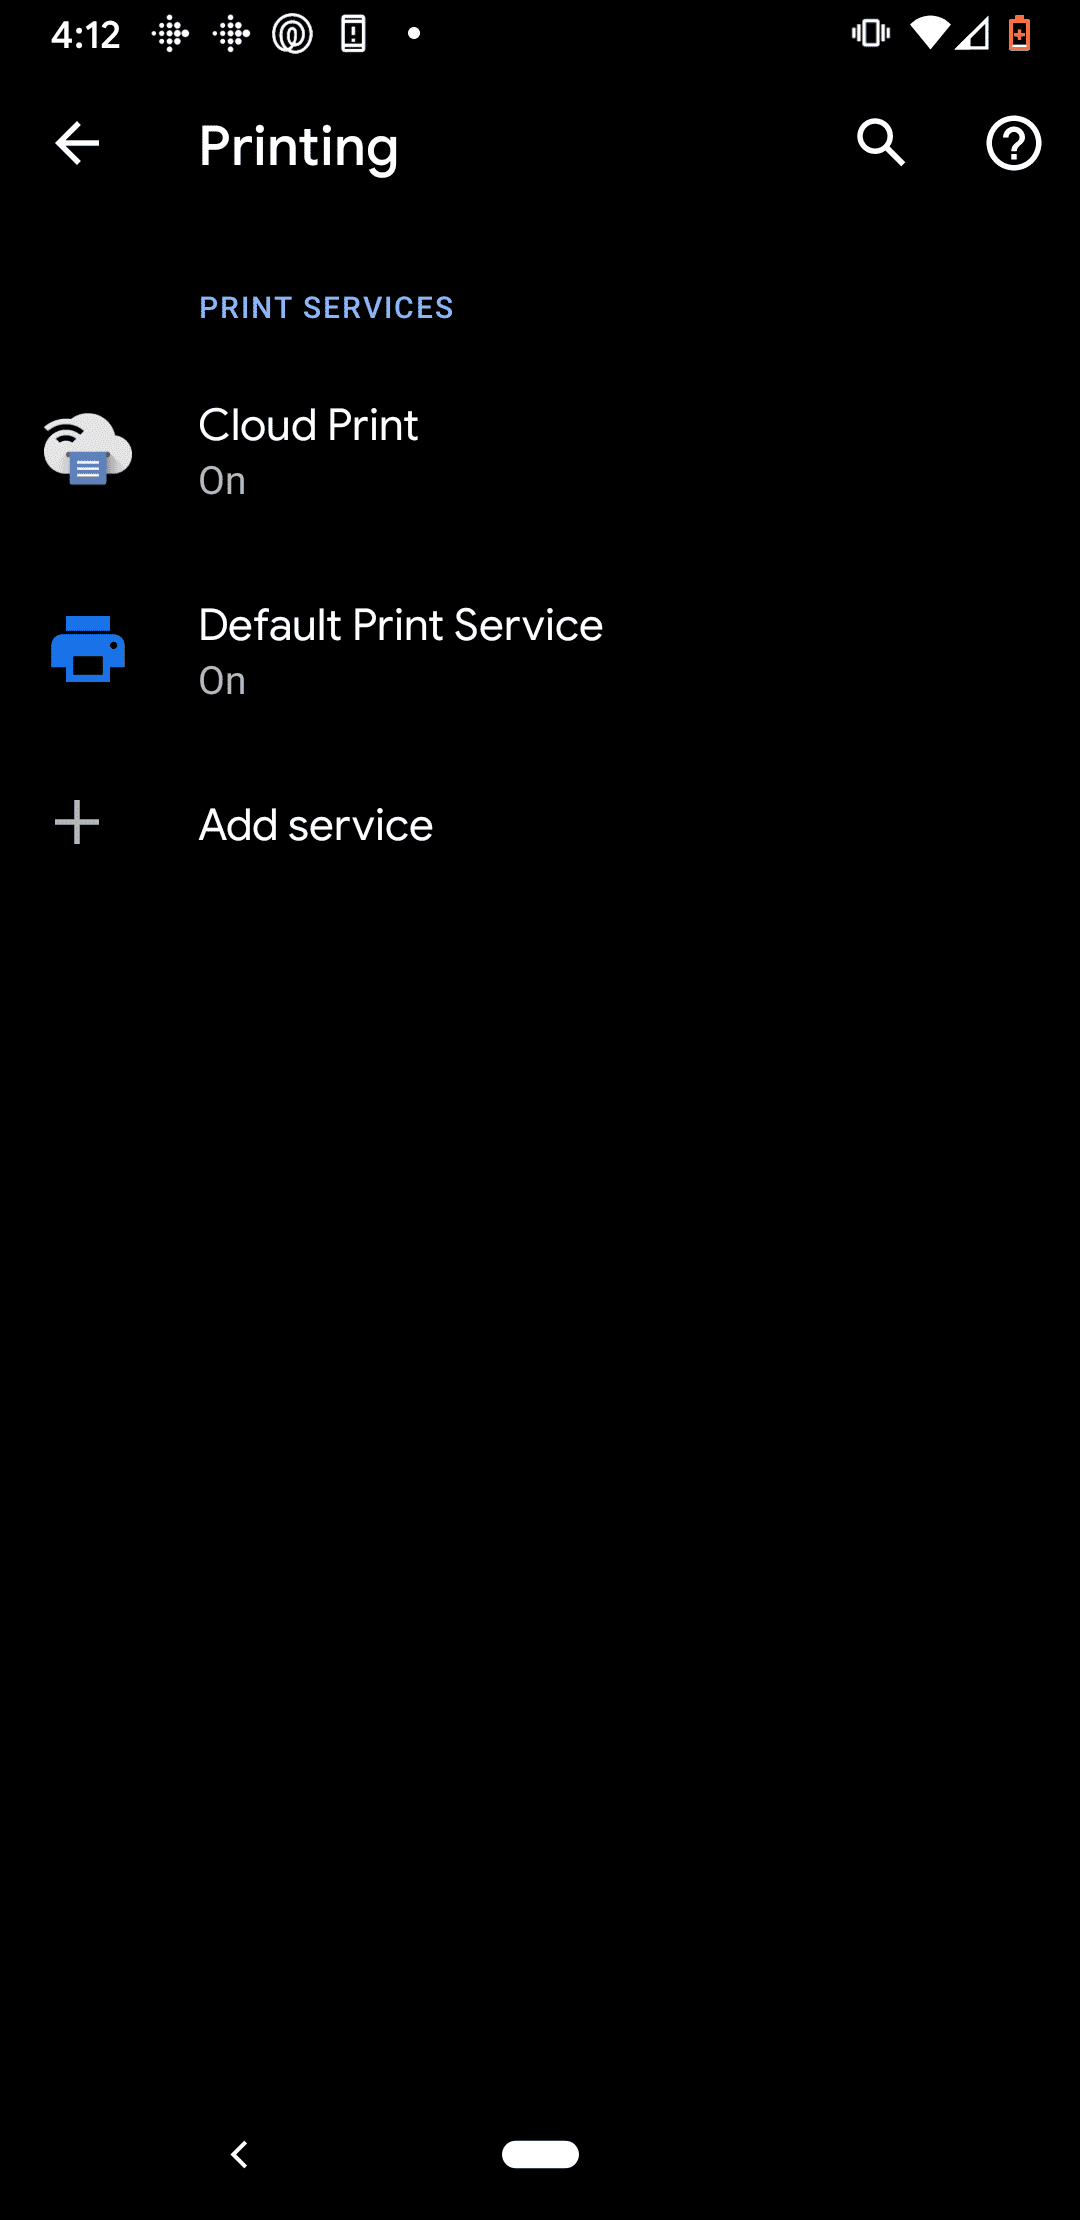
If Google Cloud Print is installed, tap to see available printers:
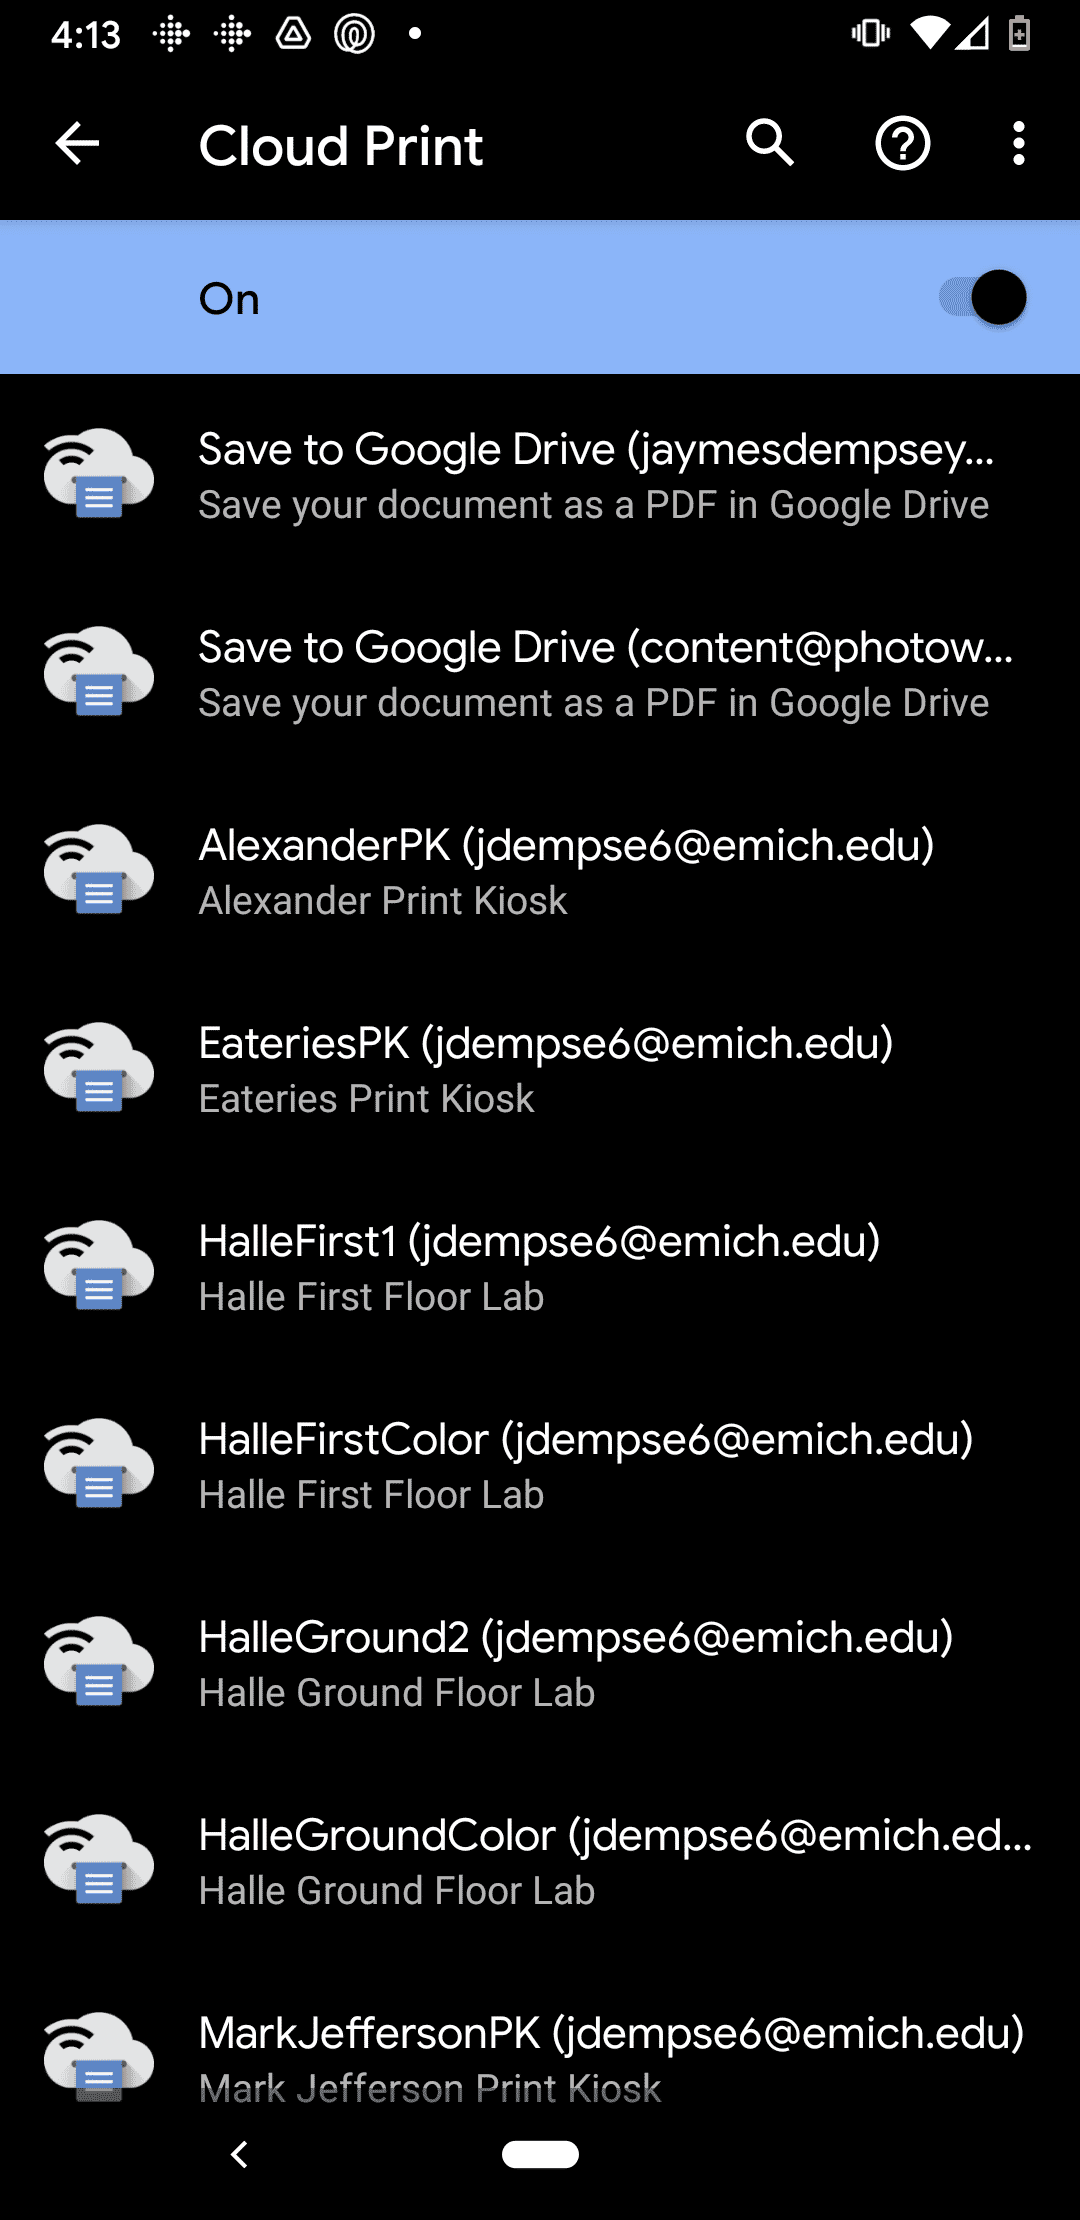
And pick the printer you plan to use.
If Google Cloud Print isn’t installed, tap Add Service and download the Cloud Print app, then follow the steps above.
Finally, open the photo you’d like to print, then proceed with the printing process.
Printing from Home Without a Wi-Fi-Enabled Printer
If your printer doesn’t support Wi-Fi, or you simply can’t get your printing app to work, then you do have another option.
Just send the photo to a computer that’s connected – via wire – to the printer.
You could send it over Facebook, email it, use a flash drive, etc.
Then upload it to the desktop and go through the normal printing process.
Print with a Lab
Labs vary in quality, with cheap services offering quick pick-up but unimpressive prints, while high-end printing companies take longer but will give truly stunning results.
The type of lab you choose is up to you, but I’d like to quickly highlight a couple of good options here:
The Shutterfly App
Shutterfly is a printing company that offers a handy little printing app.
It allows you to order prints of all sizes, as well as other items (such as photo mugs, photo puzzles, and photo books).
But best of all, Shutterfly offers a hugely compelling deal:
Free 4×4 and 4×6 prints – with no limit.
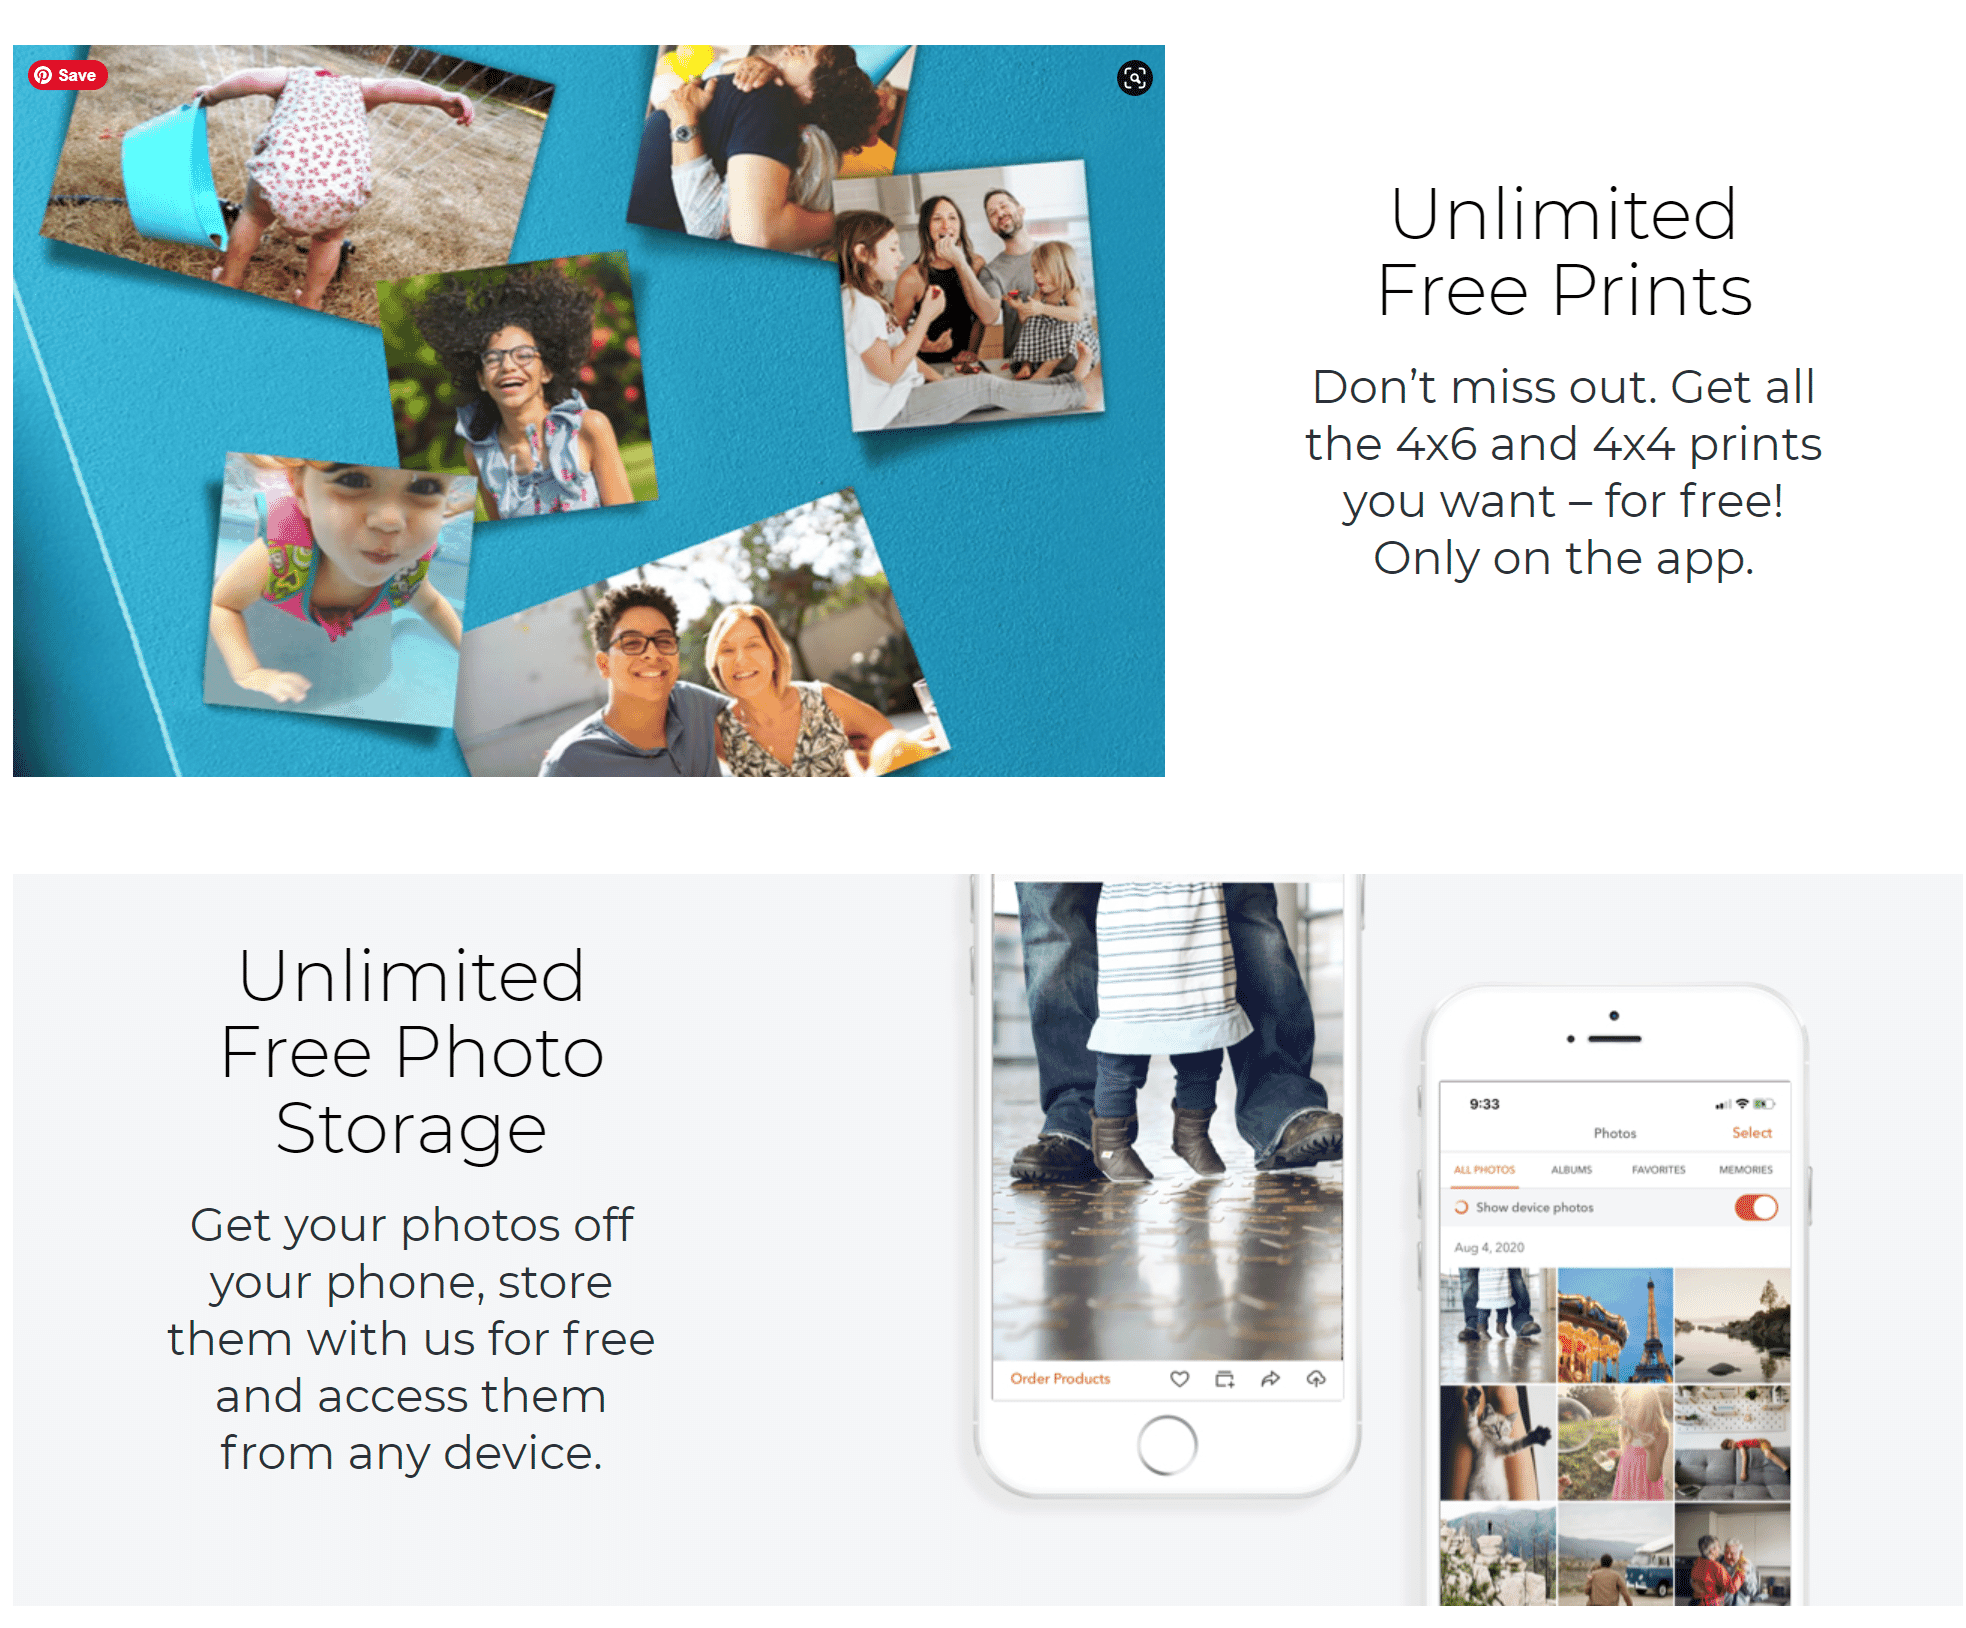
So, you can print as many 4×4 and 4×6 prints as you want, without ever paying a cent (though you will need to pay for shipping). Of course, you will have to pay for other Shutterfly prints and items.
To print from your phone via Shutterfly, simply download the app, upload the photos you’d like to print, and proceed with the order process.
You should receive your items within 1-2 weeks!
In-Store Printing
If you’re looking for near-instant printing but you don’t have your own printer, you might consider using an in-store printing service.
CVS, for instance, offers same-day printing. You can upload your photos online, place the order, and pick them up just a few hours later.
And if you’re really in a rush, you can walk into the store and use a printing kiosk; I’ve done this, and the entire process takes less than 15 minutes.
Unfortunately, companies such as CVS don’t offer the highest-quality print options.
But the results aren’t terrible. And if you need photos fast, using a printing kiosk at your local store will be one of your best options.
High-End Printing Companies
If you’re looking for the absolute best-quality prints, you’ll need to pick a higher-end printing company – one that specializes in printing, and that caters to the needs of more serious photographers.
Some of these companies exist purely online, whereas others have a storefront. I’d recommend doing a quick Google search to see if you have any printing companies nearby because you may find that you’re located next to a premium printer or two.
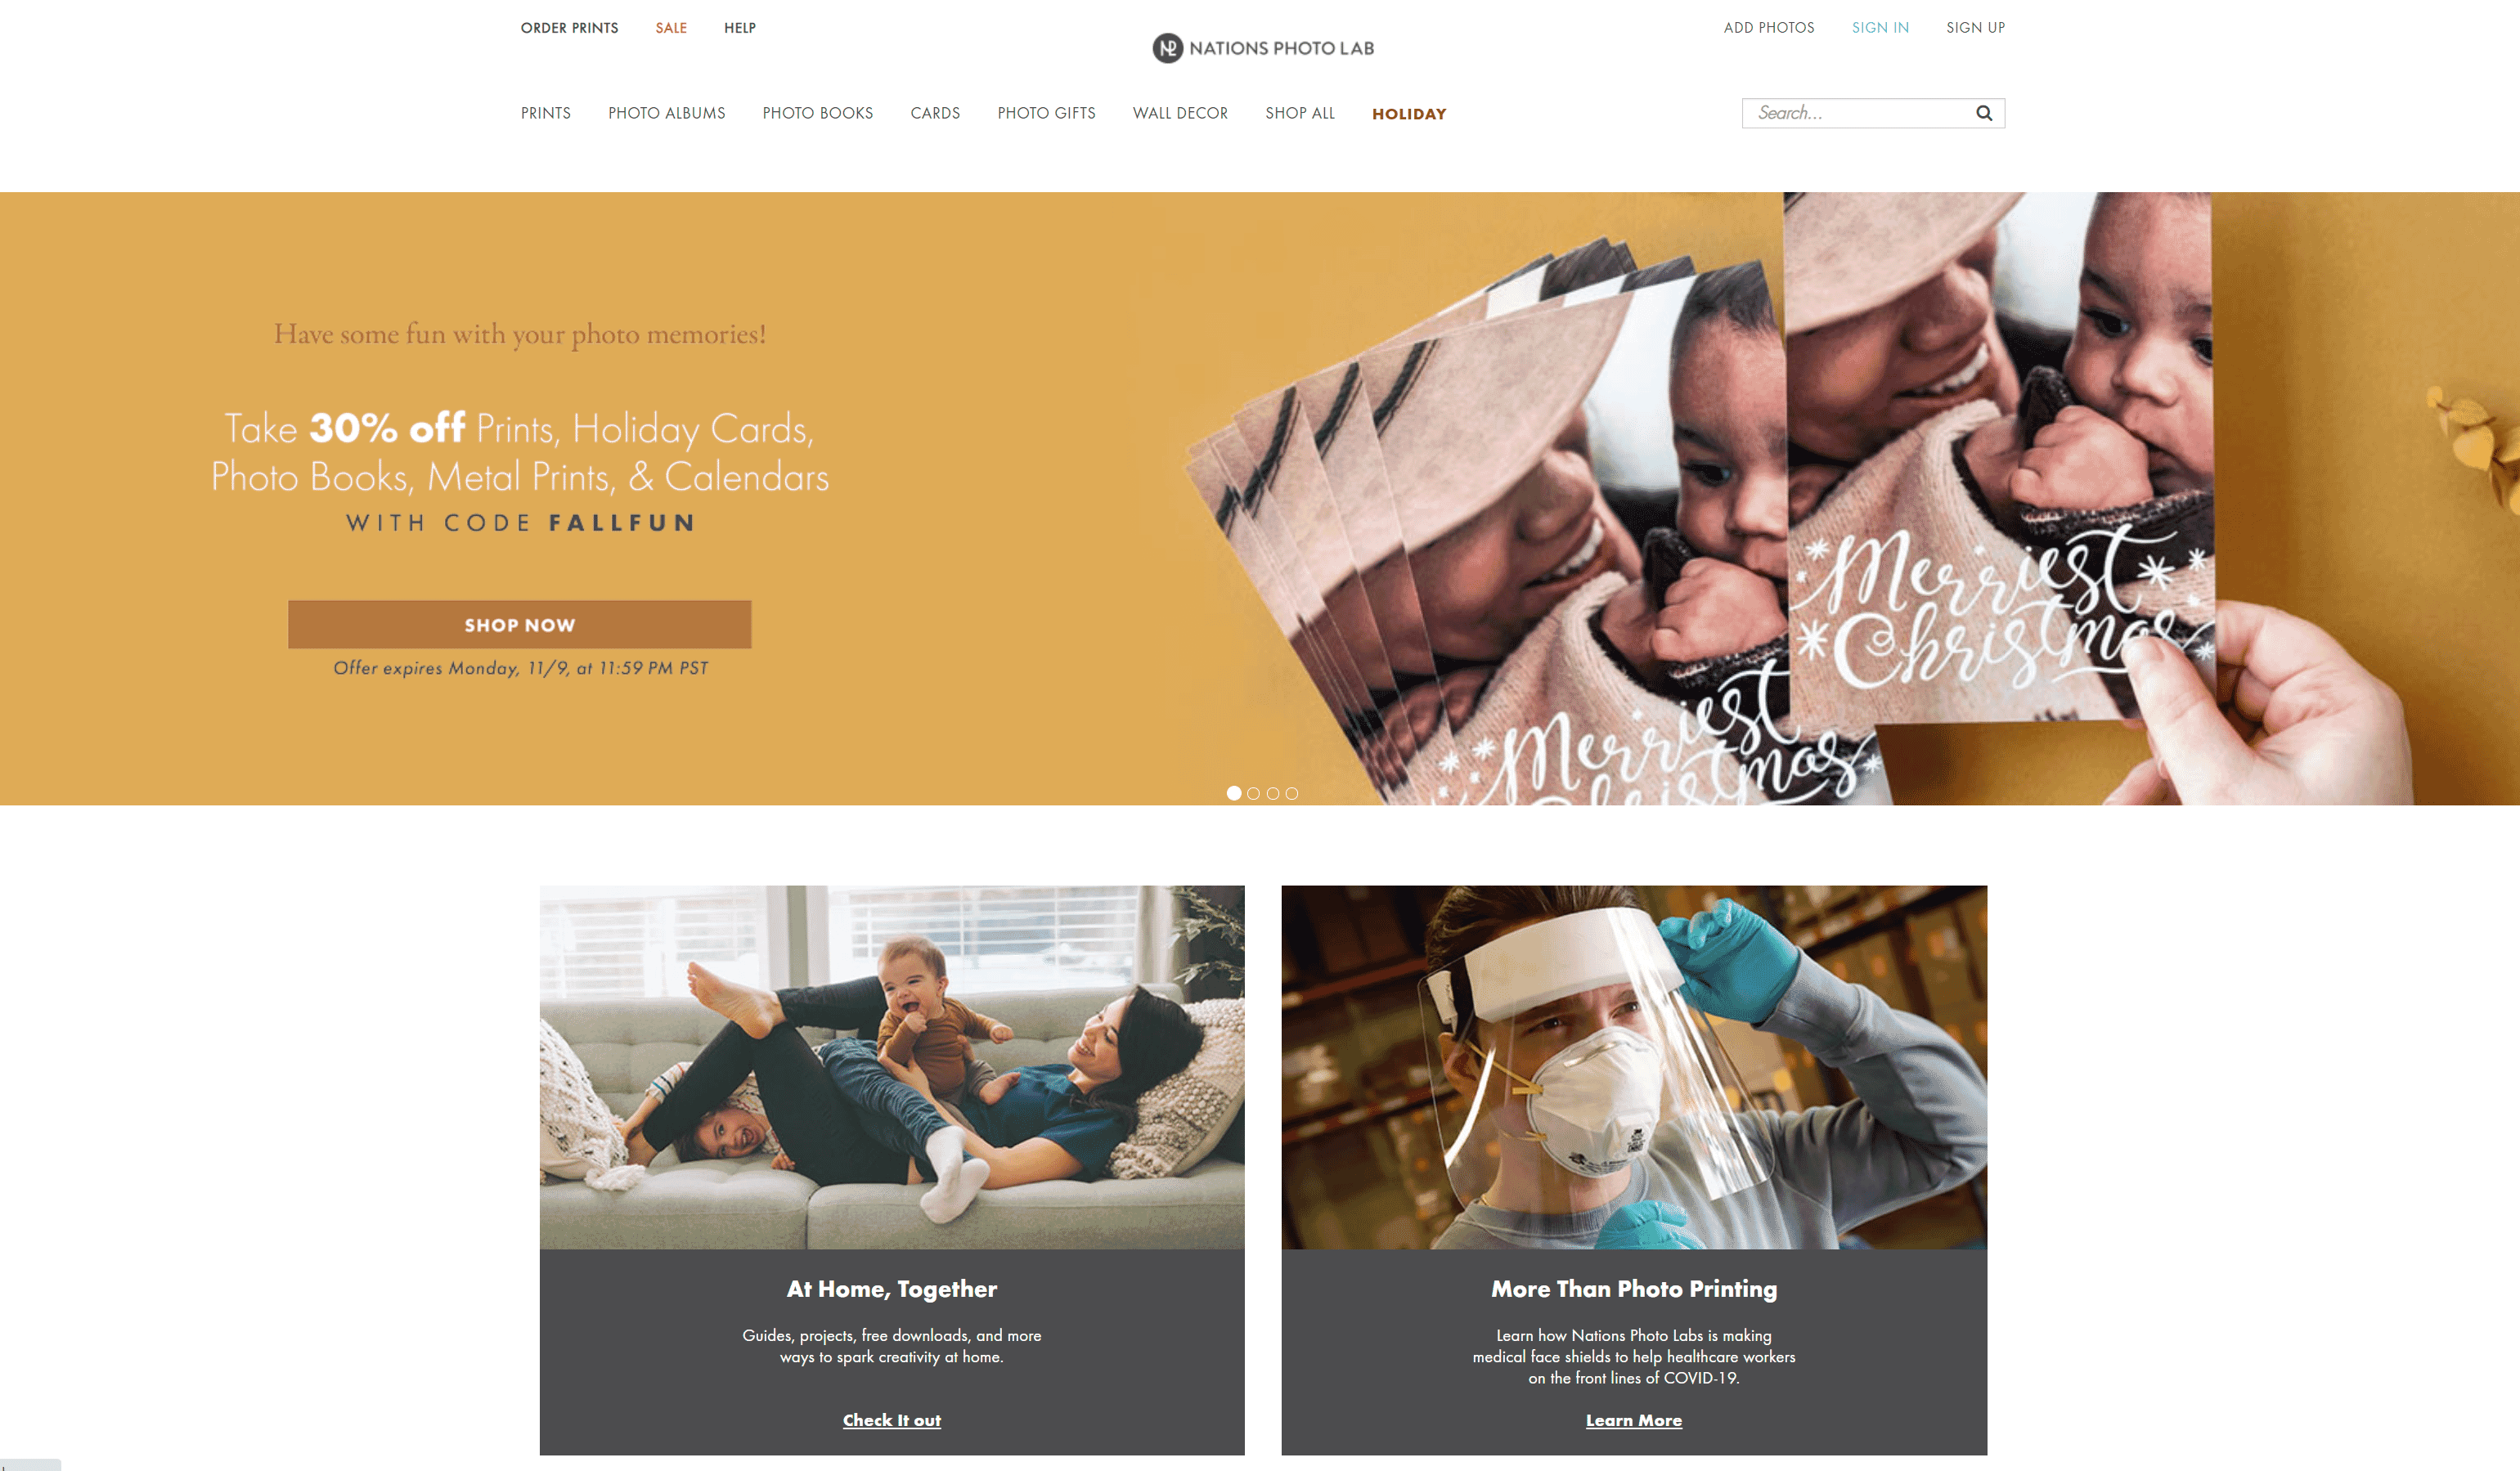
Don’t worry if you’re unable to find a good in-person printer, though. Plenty of online labs offer tremendous quality, and the shipping isn’t bad, both in terms of costs and time.
(At present, my favorite online printer is Nations Photo Lab, which offers beautiful results at ultra-cheap prices.)
Print with a Portable Printer
If you’re after quick printing, but you don’t want to use a lab and you don’t have a printer of your own, then you do have another option:
You can purchase a portable printer, which will connect to your phone and allow you to print images on the spot.
Portable printers generally aren’t expensive, though the quality isn’t incredible. And you will be limited by the size of the printer – you’ll often only be able to produce small prints, in the range of 2×3 to 4×6.
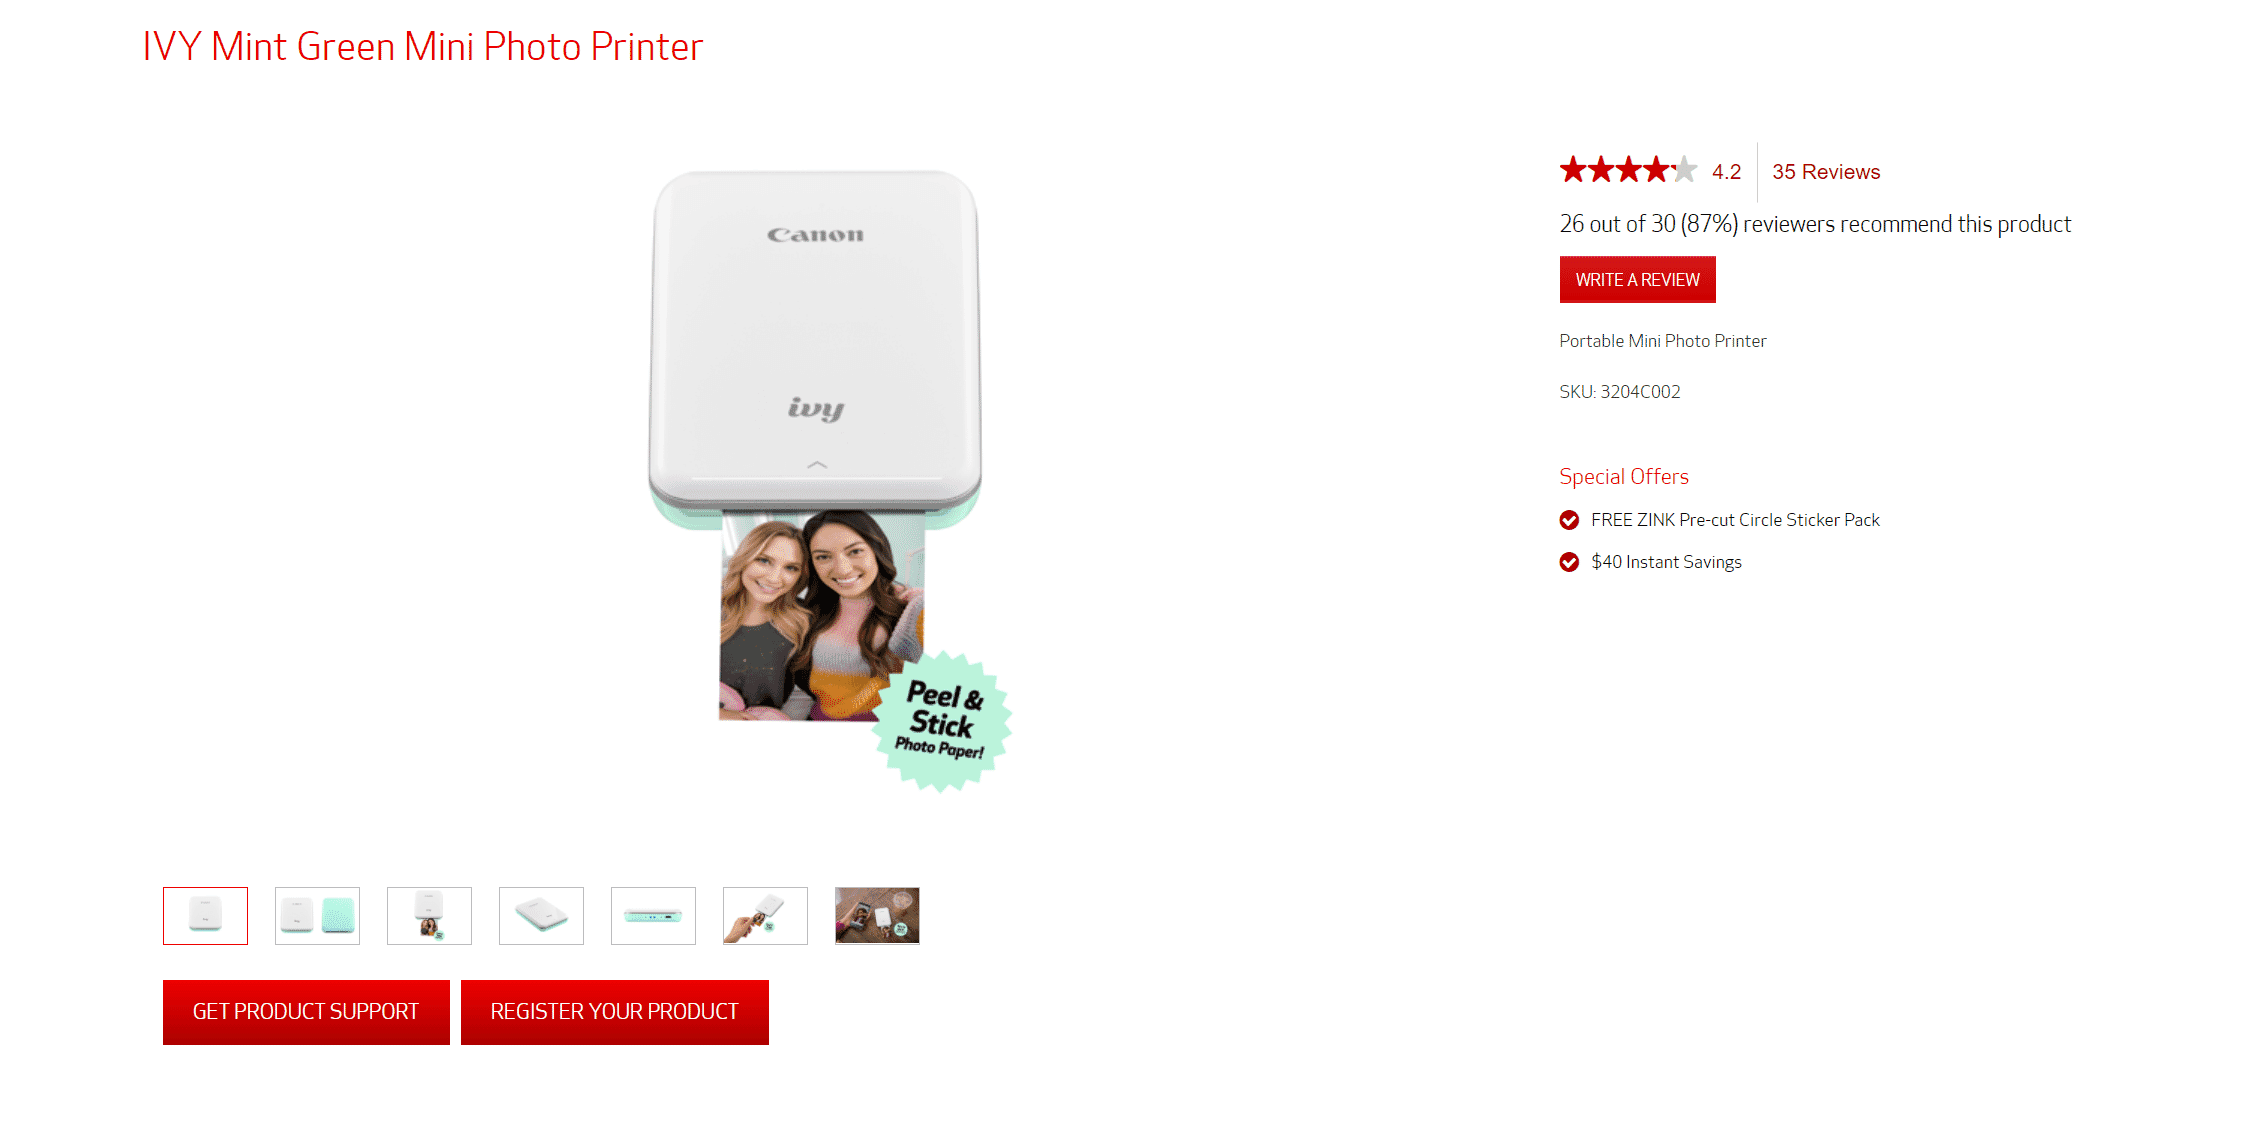
(For instance, the Canon IVY, a popular portable printer, only prints 2×3 photos.)
But portable printers are, well, portable; you can carry one with you everywhere you go and print photos on the spot if you like.
So don’t discount portable printers. They may not be the most powerful printers around, but they allow for a highly efficient workflow!
How to Print Photos from Your Phone: The Next Step
Hopefully, you can now confidently print images from your smartphone, no matter your method of choice.
Phone printing is a great way to produce beautiful prints, fast…
…and the more prints you have, the easier it is to appreciate your best images!
So start printing your photos, today.
Can you print photos from your phone?
Yes! There are quite a few ways to print photos from your phone, including printing from an app, exporting to a home printer, printing from a lab, or printing directly to a portable printer.
Are there special printers that allow you to print directly from your phone?
Absolutely! There are plenty of portable printers that you can use to print directly from your phone. They’re not even that expensive.
How do you print photos off your phone?
To print photos off your phone, you’ll want to use one of three basic methods: Printing with a portable printer, printing through an app or printing lab on your phone, and printing with a normal-sized printer at home.
Printing with a portable printer is quick and easy, but you’ll be limited in your size options (and you have to buy a portable printer).
Printing through an app is very cheap, but you’ll have to wait for the photos to arrive, plus you’ll often have to pay.
Printing from a lab offers the best quality, generally speaking, but it’s also the most expensive and the slowest.
Printing with a normal-sized printer at home will depend heavily on the printer you own; some printers do a fantastic job, and other printers produce very mediocre prints.
What size can you print pictures from your phone?
That depends on the method you use. If you print via a portable printer, then you’ll be pretty limited in terms of your size options–generally, you’ll be able to produce 4x6s or so (and maybe a little smaller or a little bigger, depending on your printer model). If you print via an app, you have lots of flexibility; you can print large, you can print small, you can print canvas or metal or acrylic, if you like.
If you print by exporting directly to your printer, you also have a lot of flexibility (though you’ll be constrained by your printer’s size limitations). Finally, if you print by sending the image to yourself and uploading it to a printing lab, then you can print at whatever size you like, assuming that your printing lab has the capacity and that your image file is big enough.
