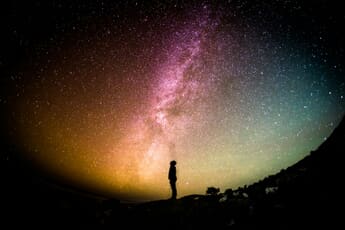
Landscape Photography Camera Settings: The Complete Guide
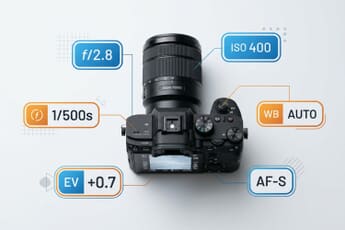
Master every camera setting for landscape photography — from aperture and shutter speed to RAW shooting, ND filters, focus stacking, and golden hour timing. A practical guide with settings for any scenario.